Tripod Mount
Position your Voyager anywhere using the powerful and flexible magnetic tripod mount. With its standard tripod thread (1/4-20 UNC) it quickly screws into any tripod head, making it easy to create a setup that's perfect for you.
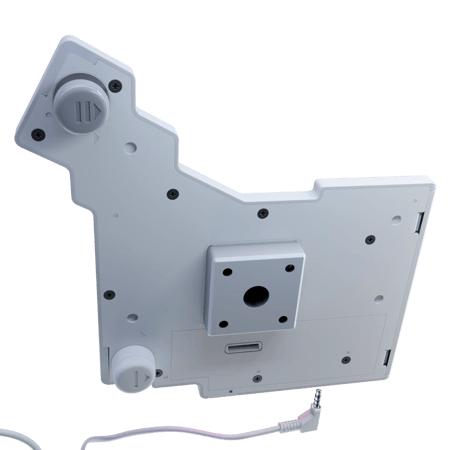
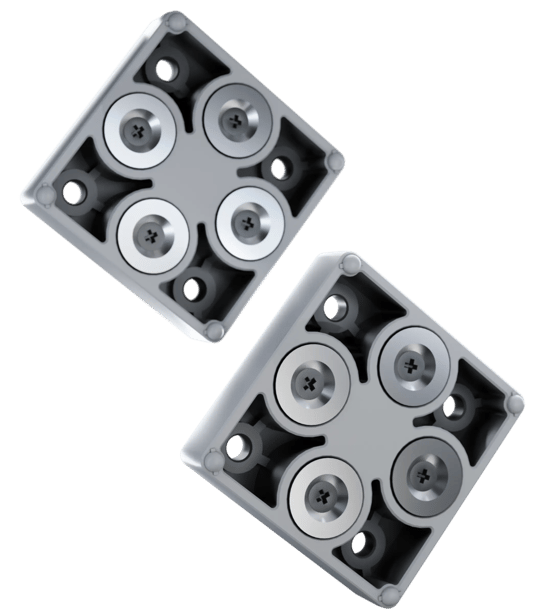
How the mount works
- Four powerful rare-earth magnets
- Orientation pins to snap to the exact same spot on your Voyager each time
- A metal tripod thread
- Four screw holes for even more flexibility in mounting
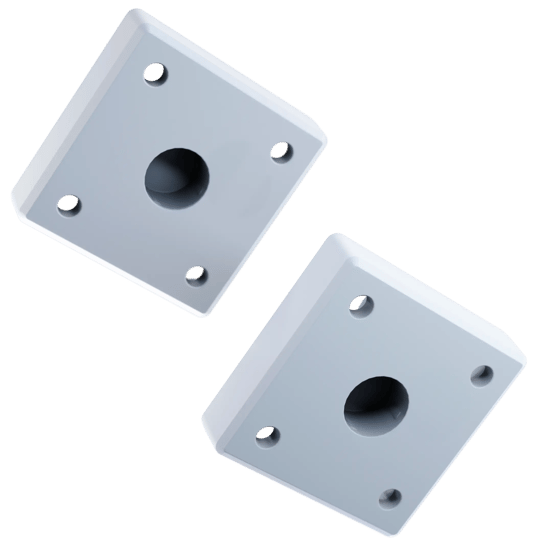
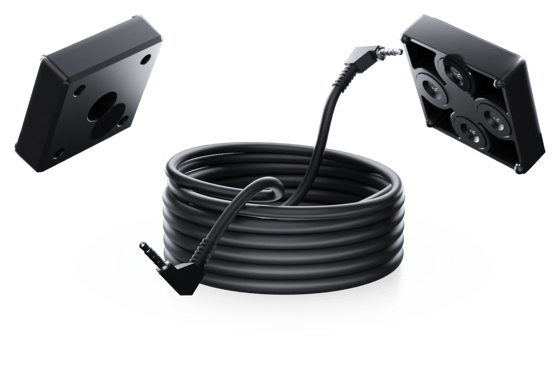

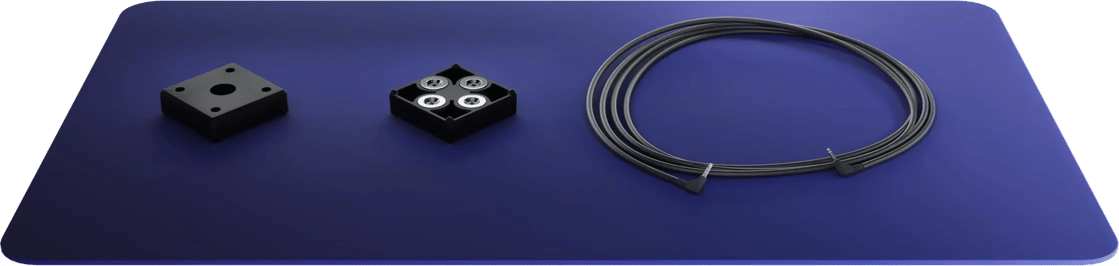
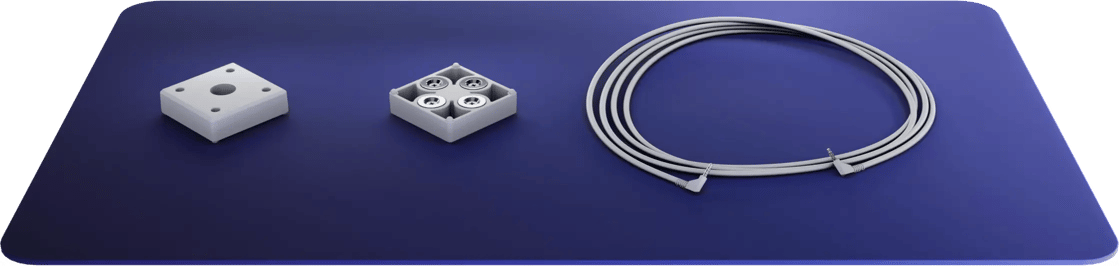
What’s in the box
- Two mounts, one for each half of the board.
- A 210cm TRRS interconnect cable. This is a lot of cable, so you can easily route it around objects and get really creative with your setup.
We specifically went with a standard-size tripod thread because it opens up so many mounting possibilities. When you think about it, cameras often need to be mounted in all sorts of creative ways to get just the right shot. As a result, there is a massive ecosystem of different camera mounts, tripod heads, and clamps. Yay for open systems!
Here are just a few ideas for what you can do with the Voyager's tripod mount:
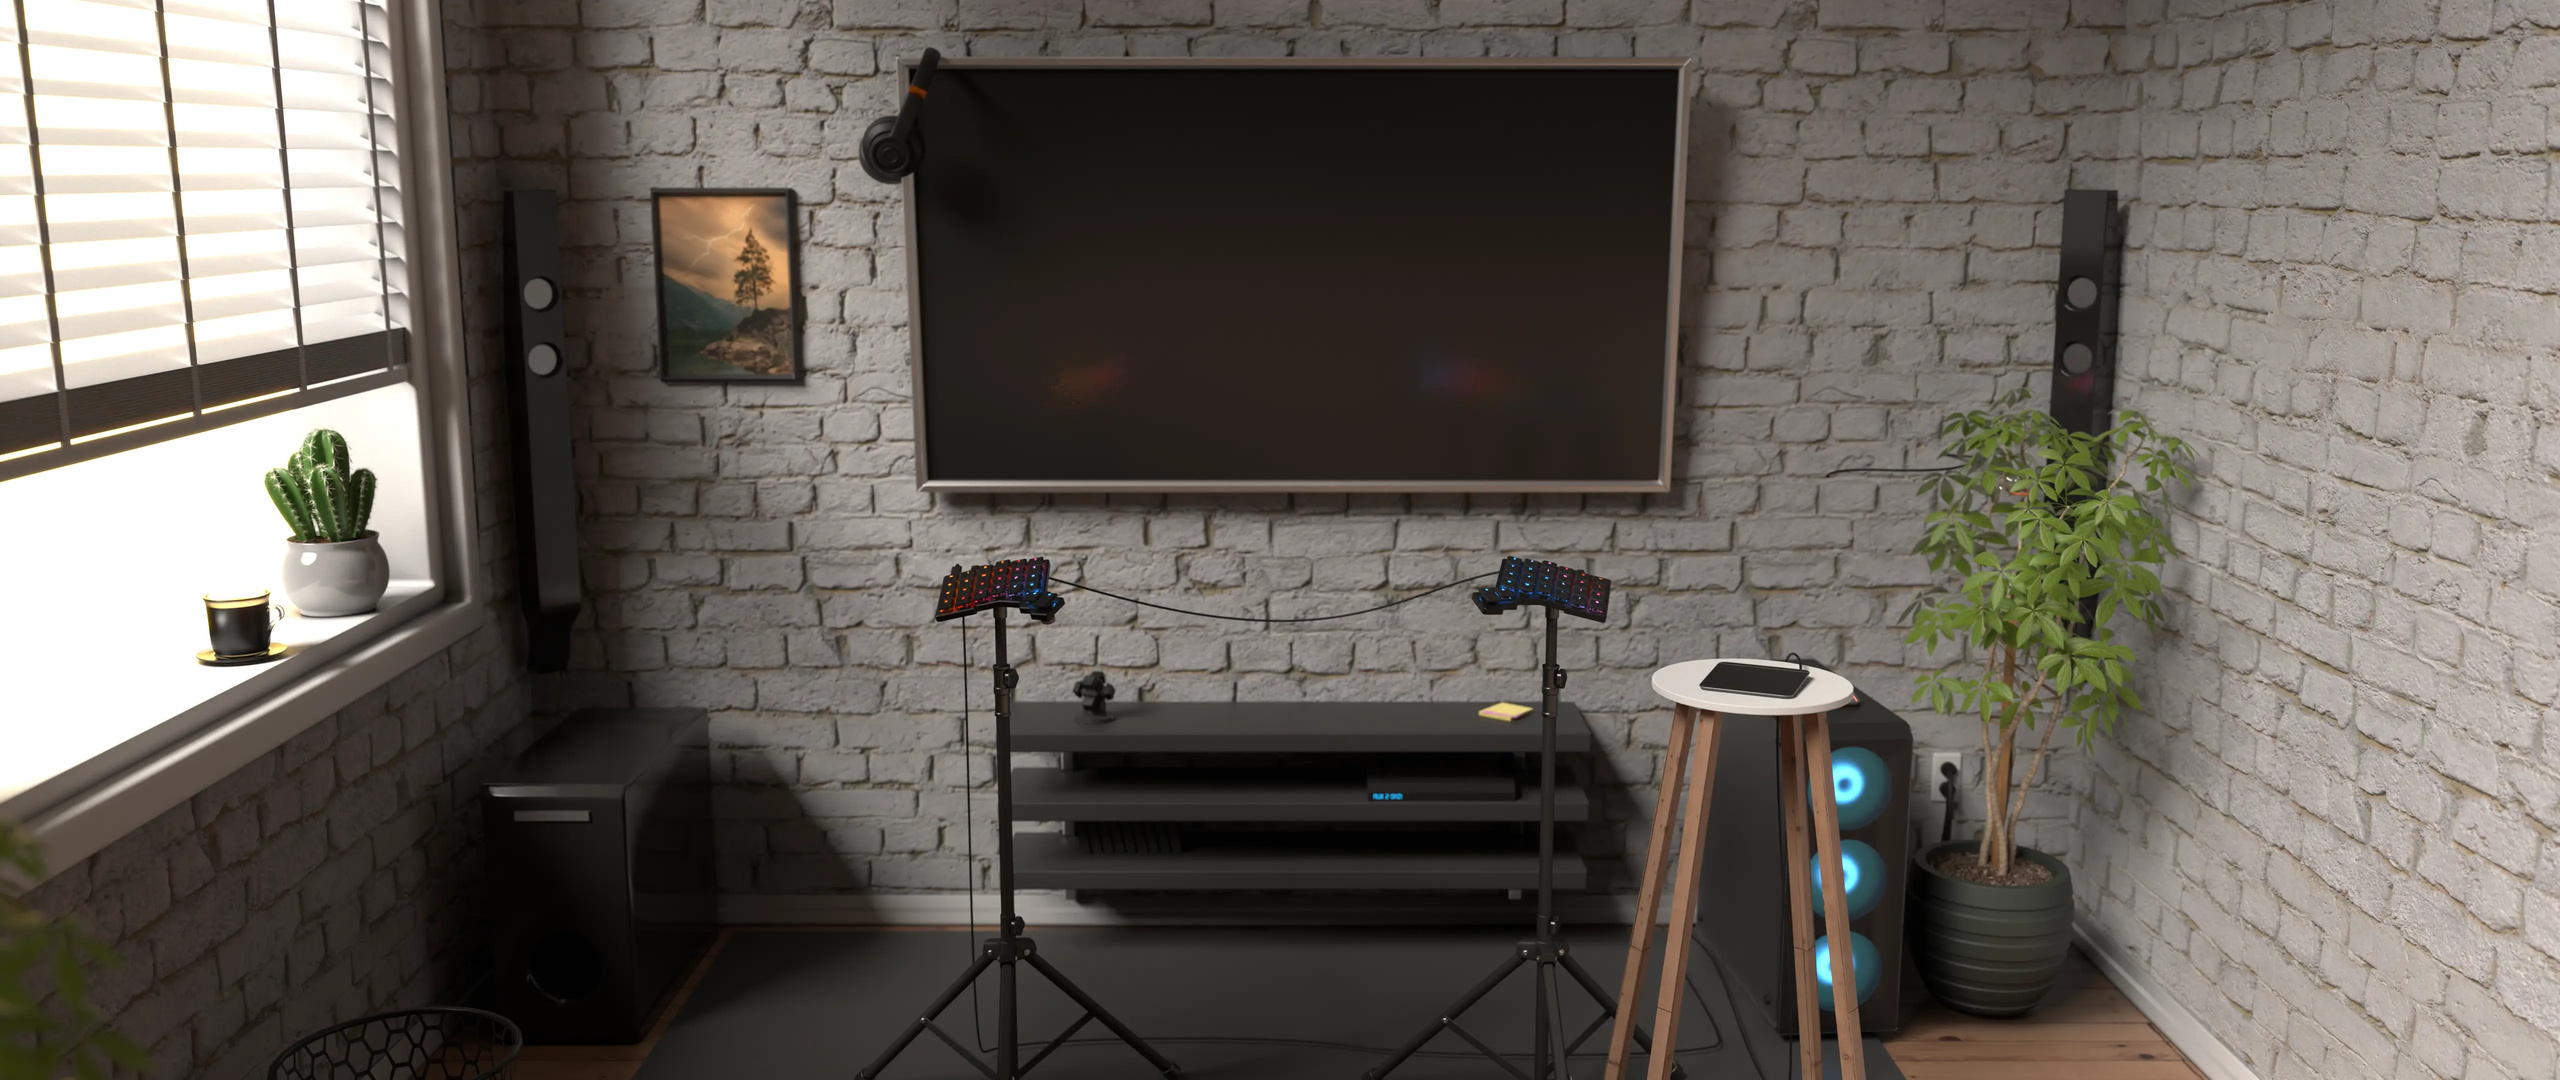
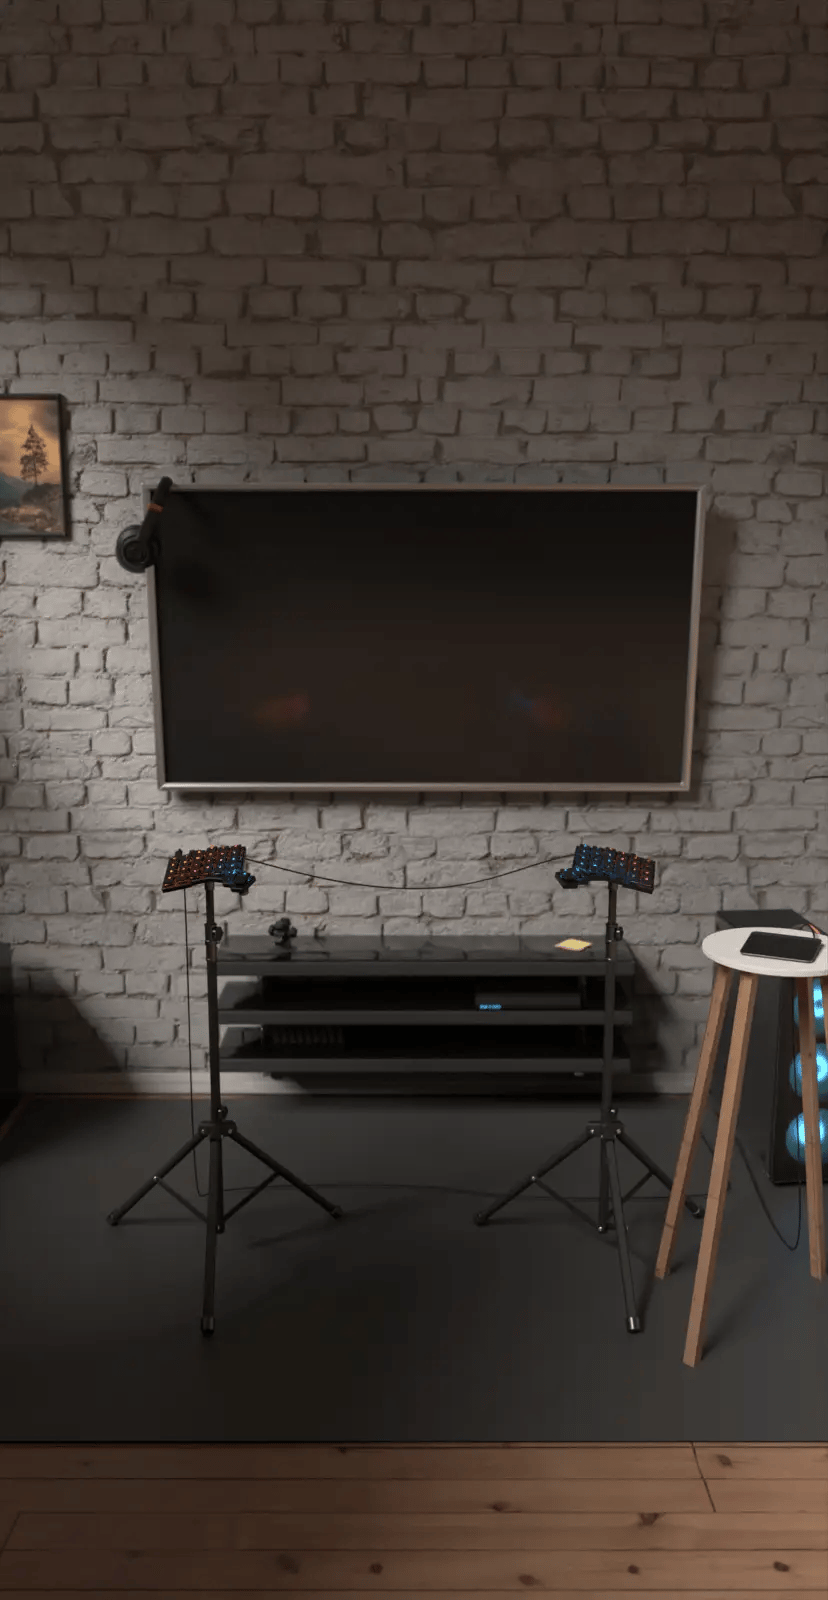
Get rid of your desk
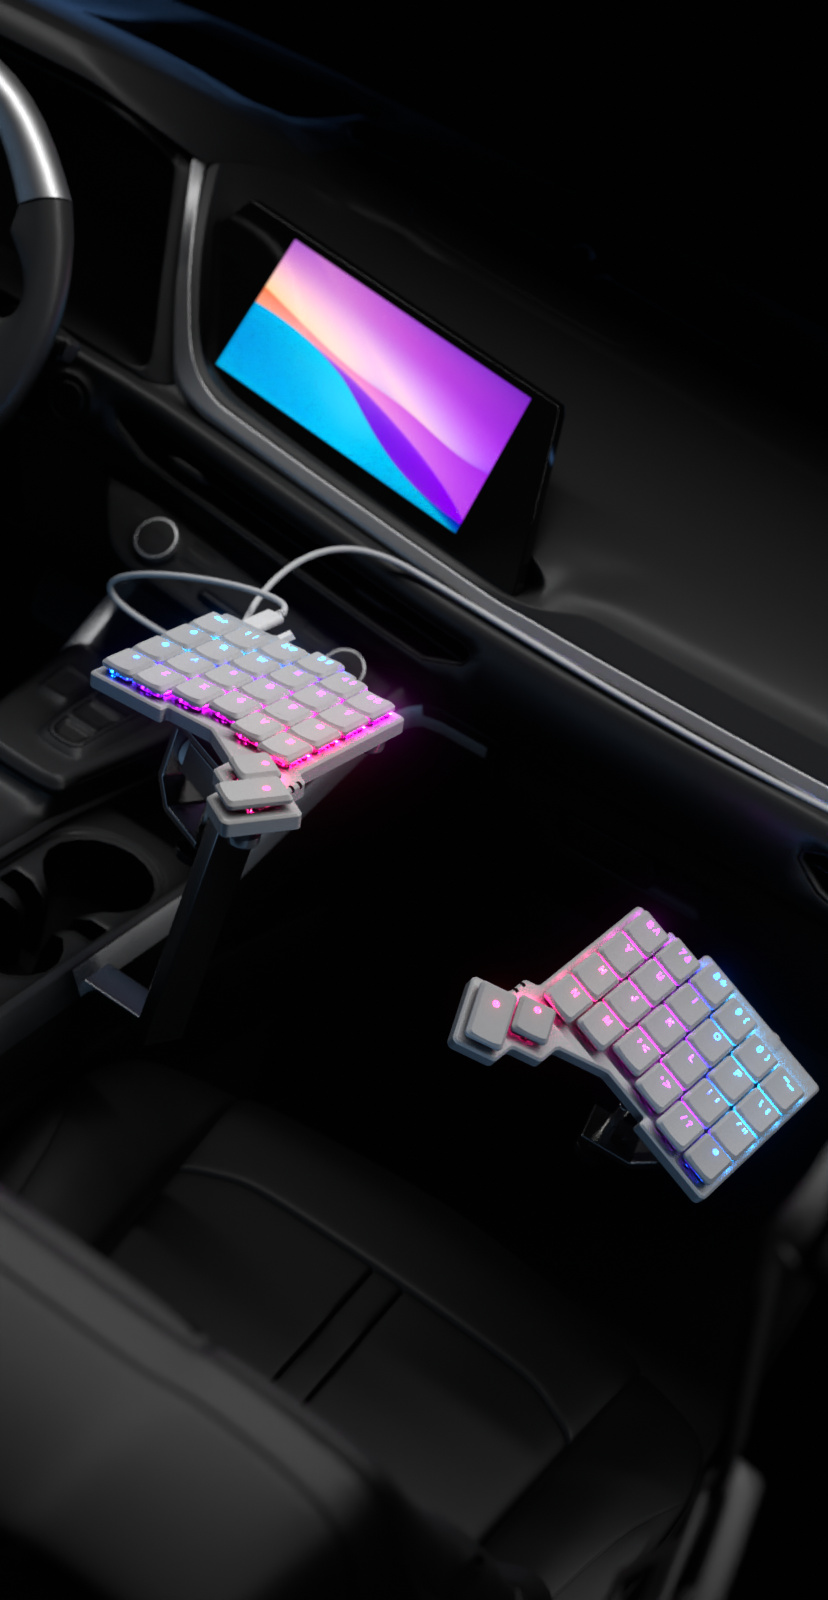
Create a completely wild desk-free setup where you have two freestanding tripods in front of you.
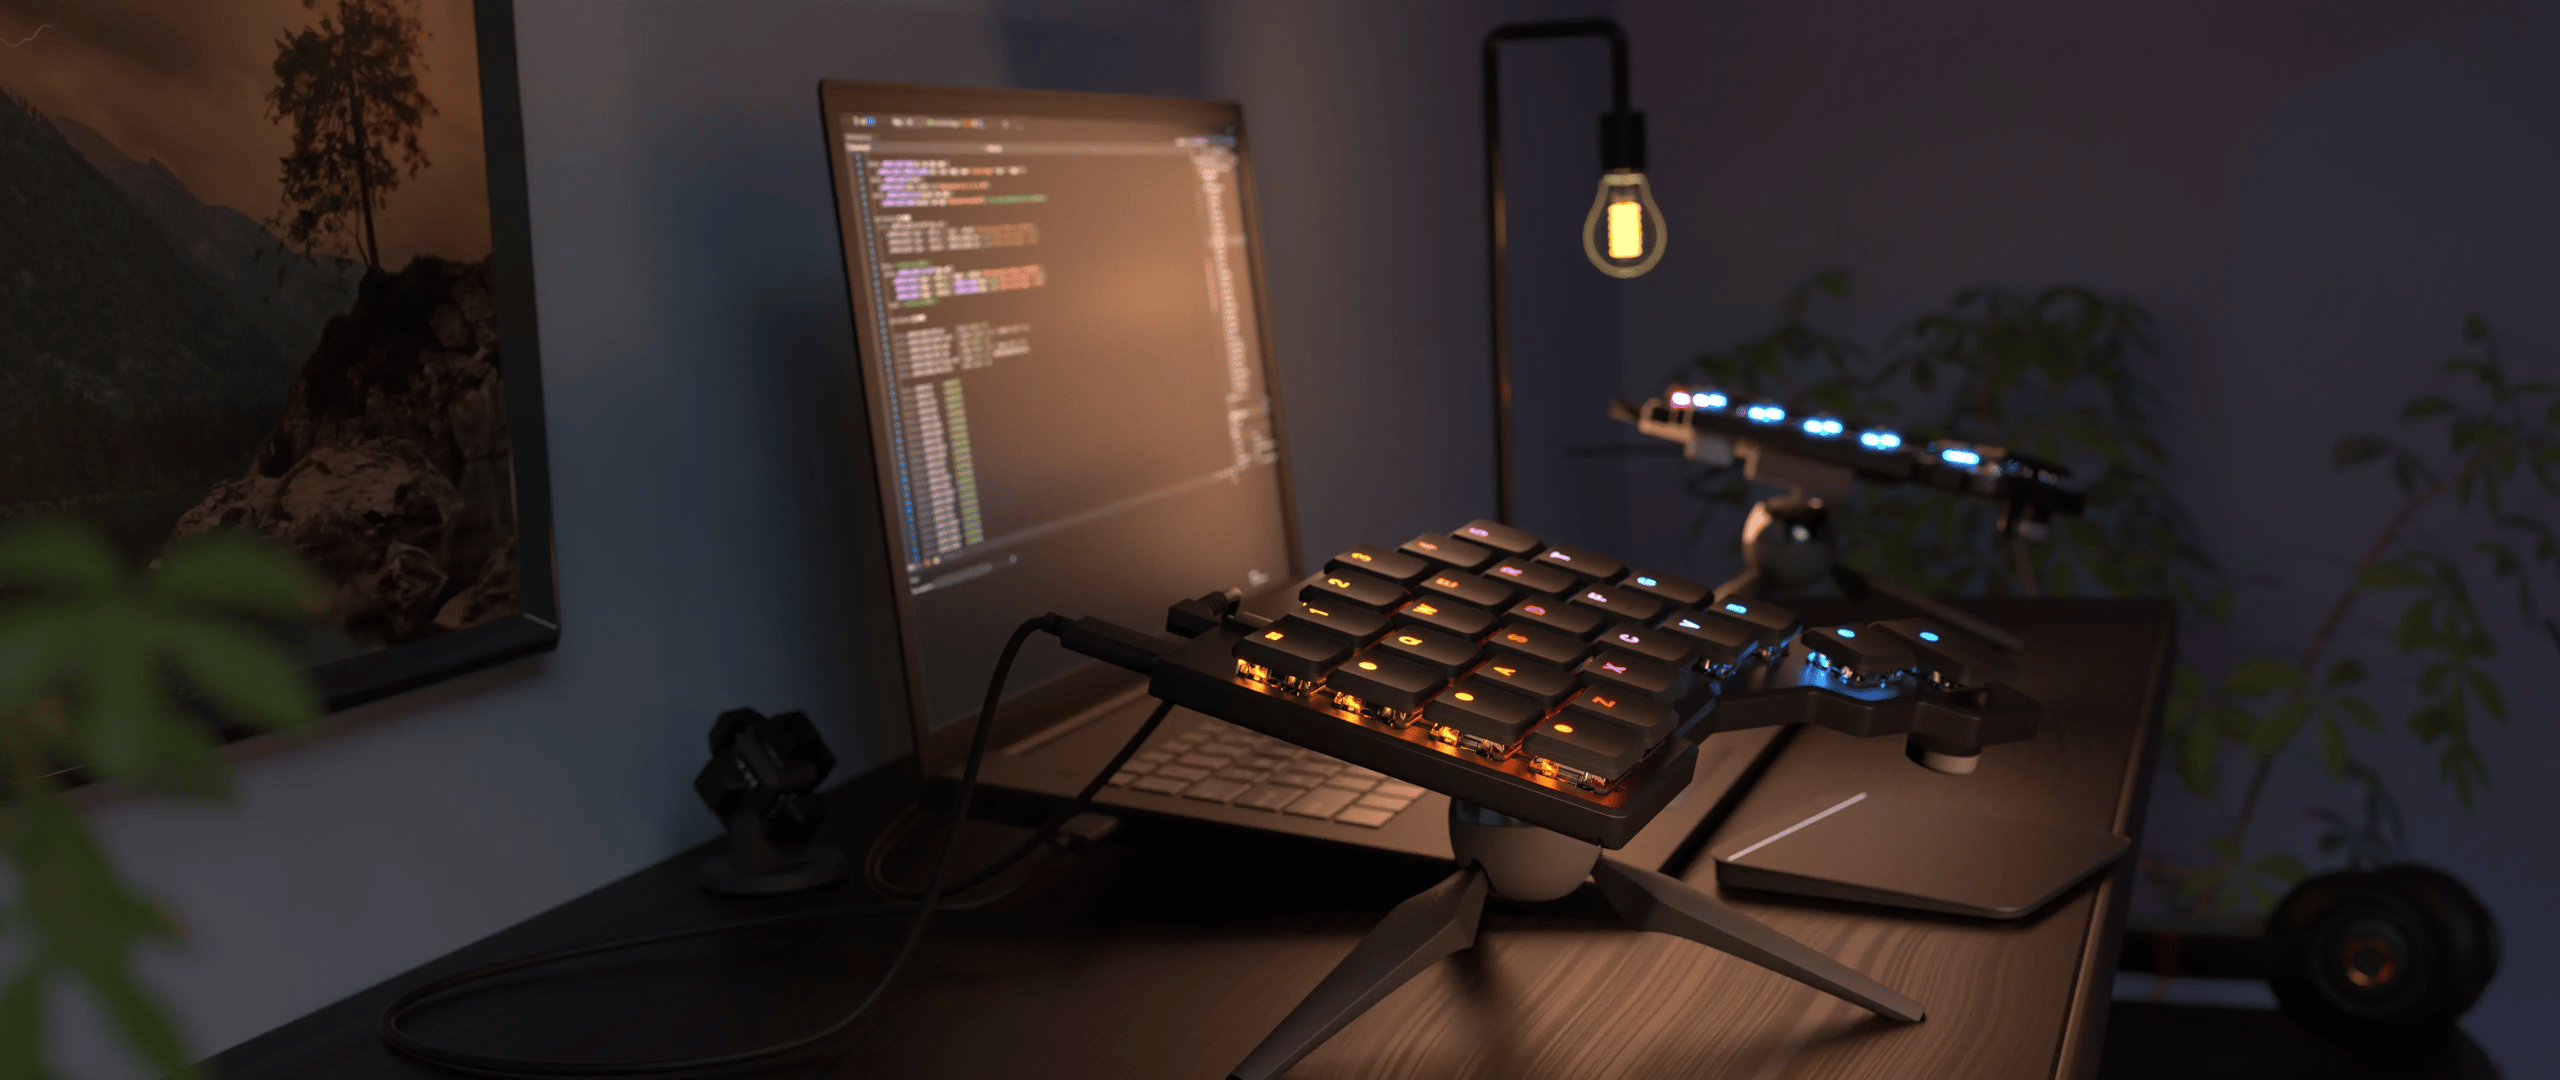
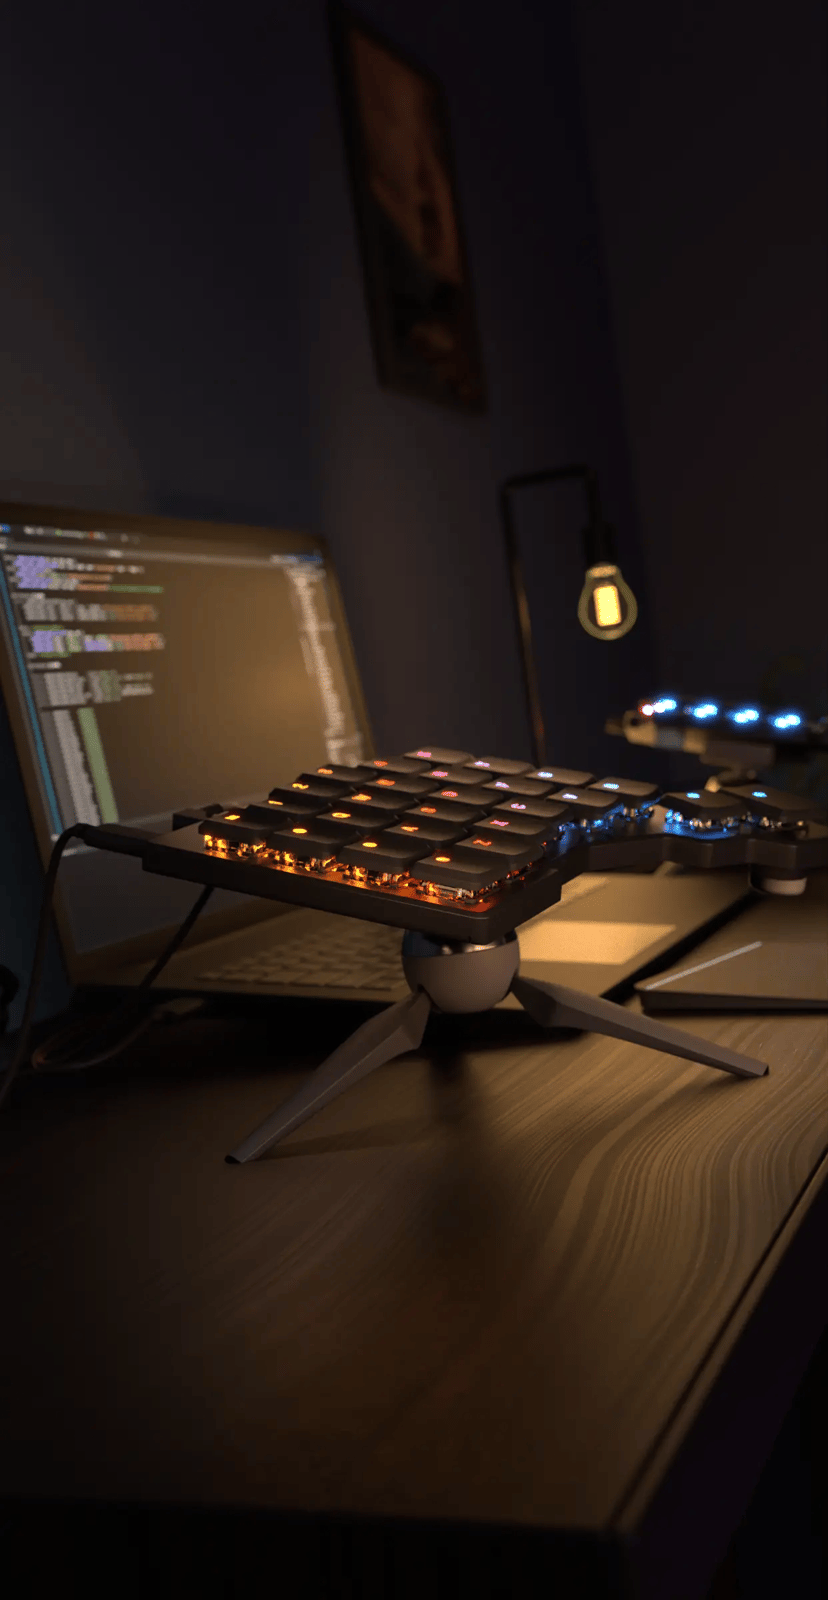
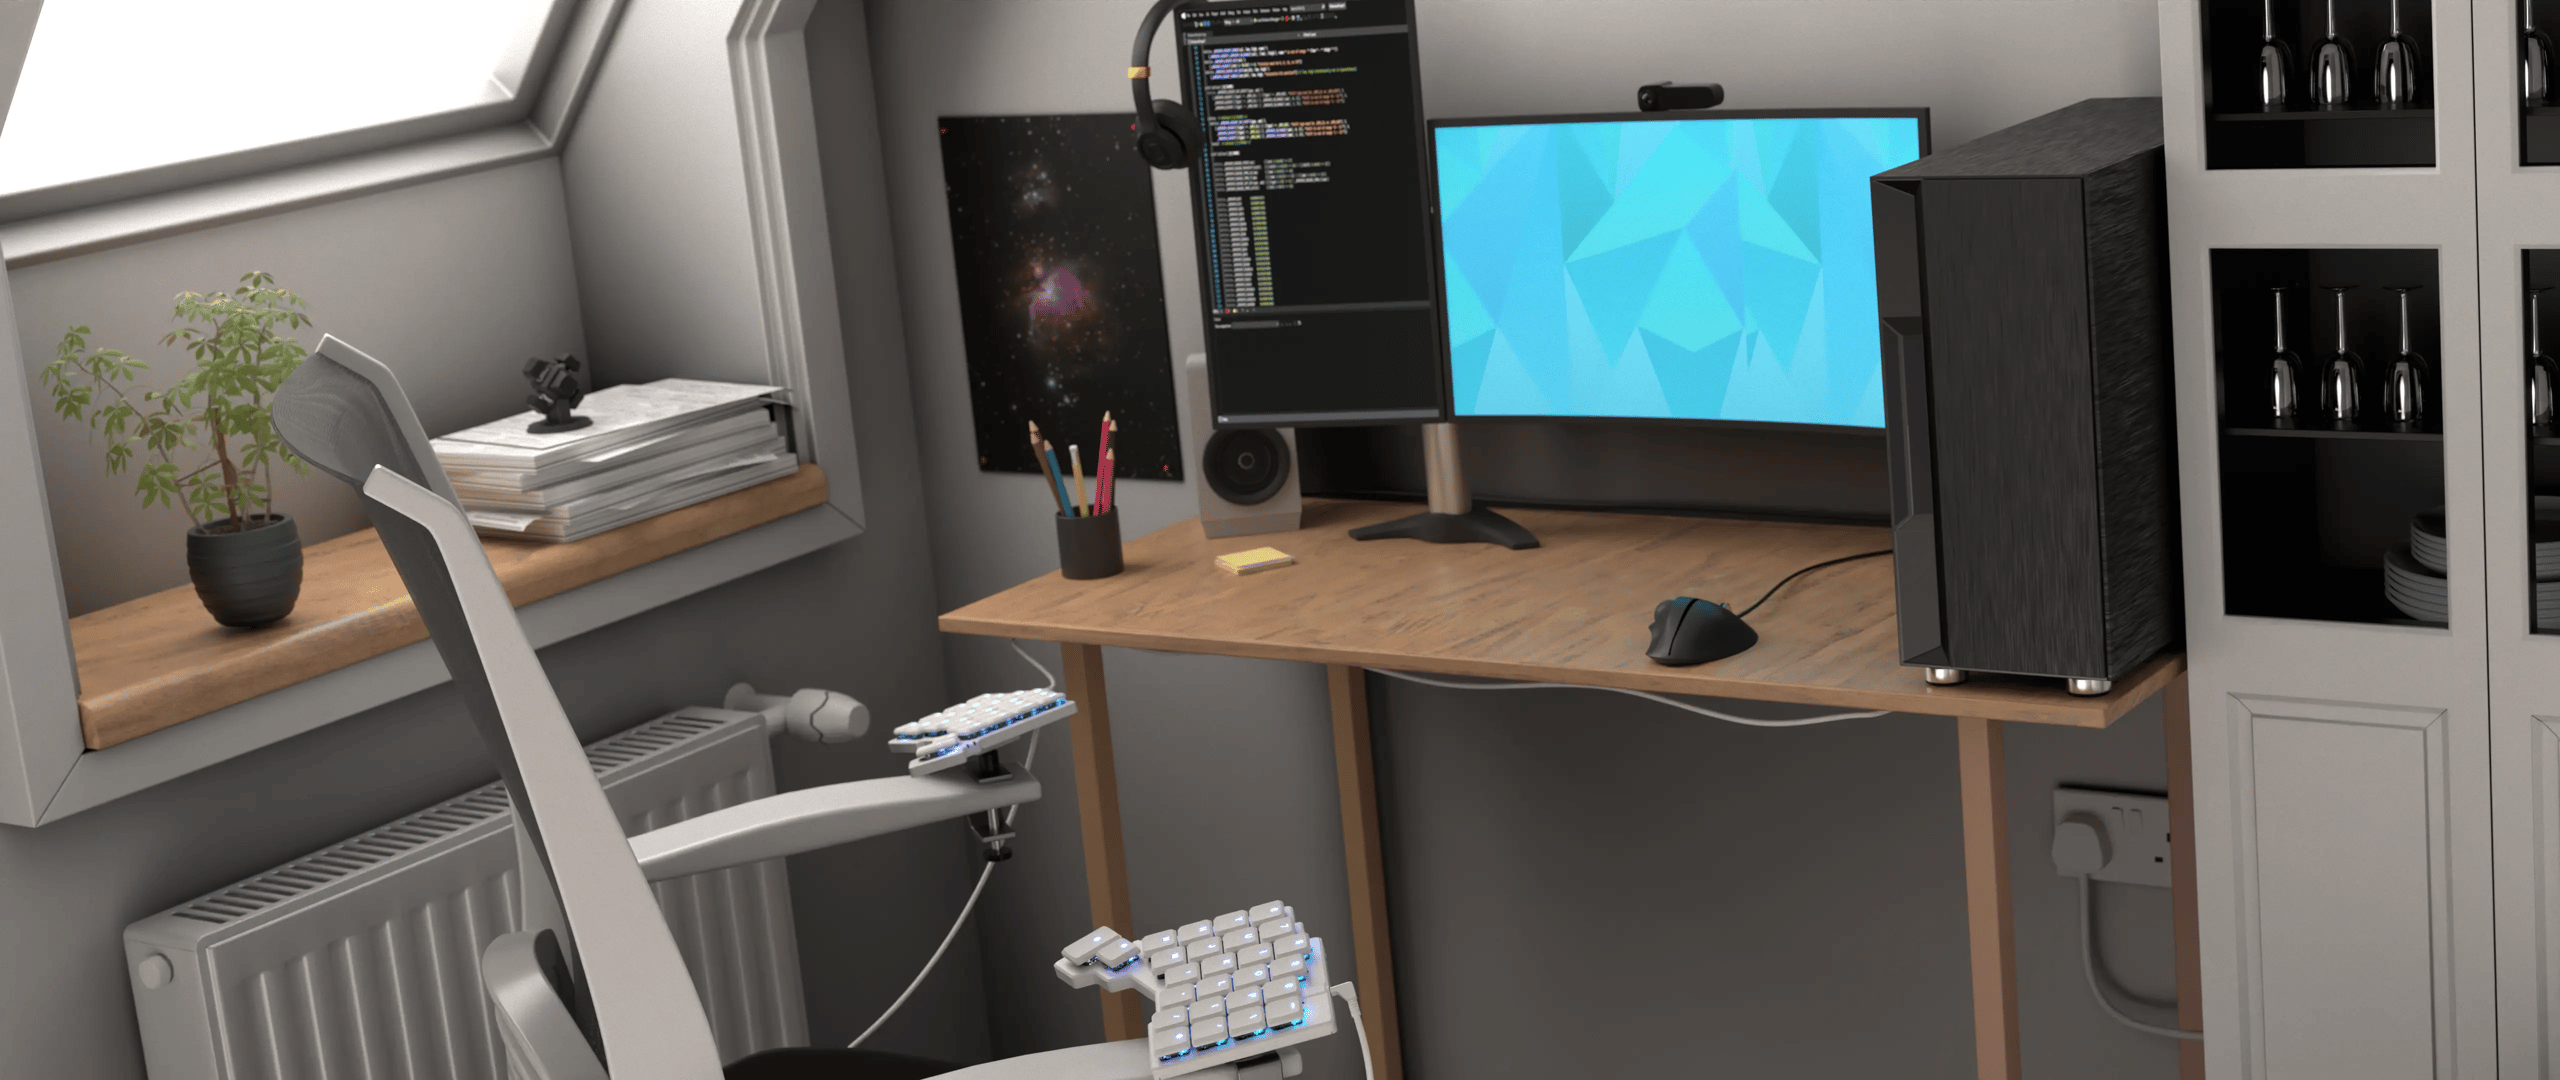
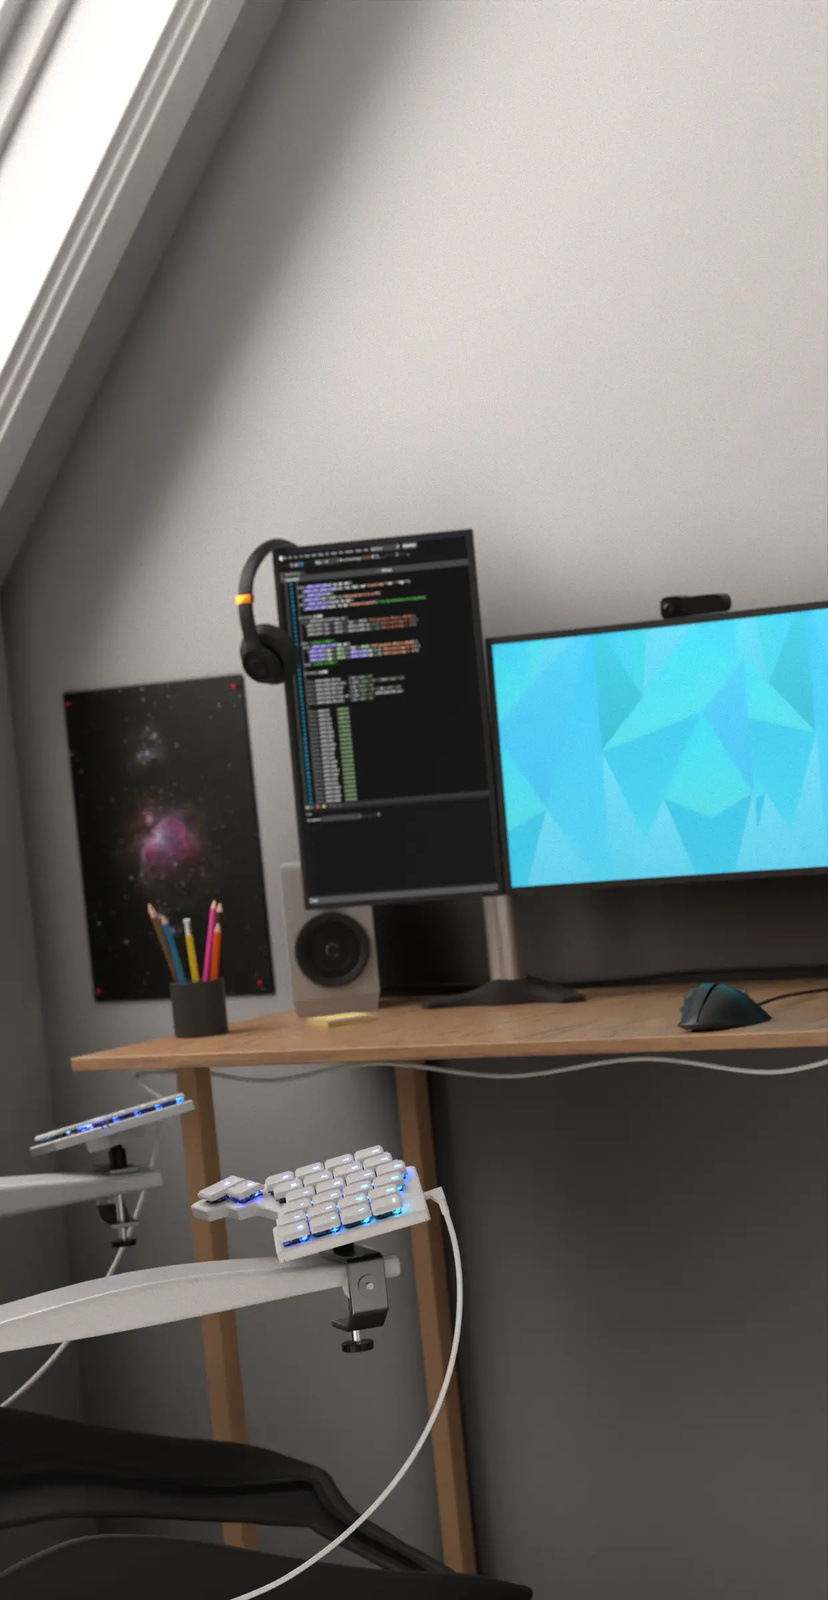
Use mini-tripods on your desk
But you don't have to say goodbye to your desk: There are lots of tripods meant for smartphones, webcams, and smaller cameras. You can get a couple of these and mount the Voyager to them, allowing you to move the keyboard around while gaining complete control over its angle.
Use a C-clamp on your desk
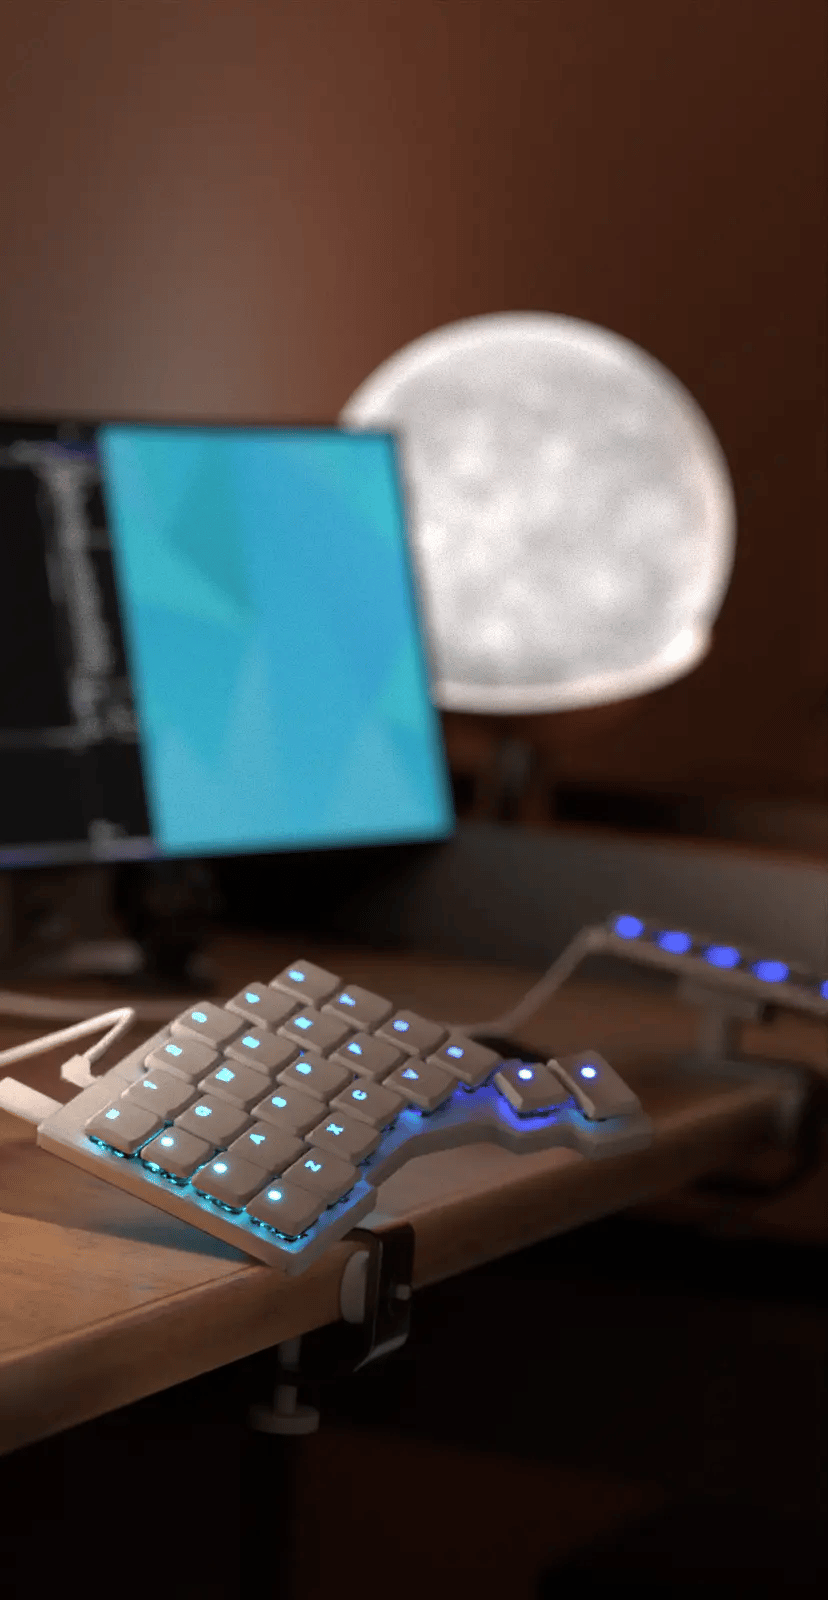
Those mini-tripods are great, but they do take up some space. With a standard "C-Clamp" ball-head tripod, you can also clip your Voyager to the edge of your desk. This saves valuable desk space, brings the keyboard closer to your chair, and allows you complete control over the angle of the board thanks to the tripod's ball head.
Mount the board on your chair
In fact, you can use the tripod mount with those same C-clamps to mount the Voyager directly on your chair, without drilling any holes into the chair or otherwise modifying it.
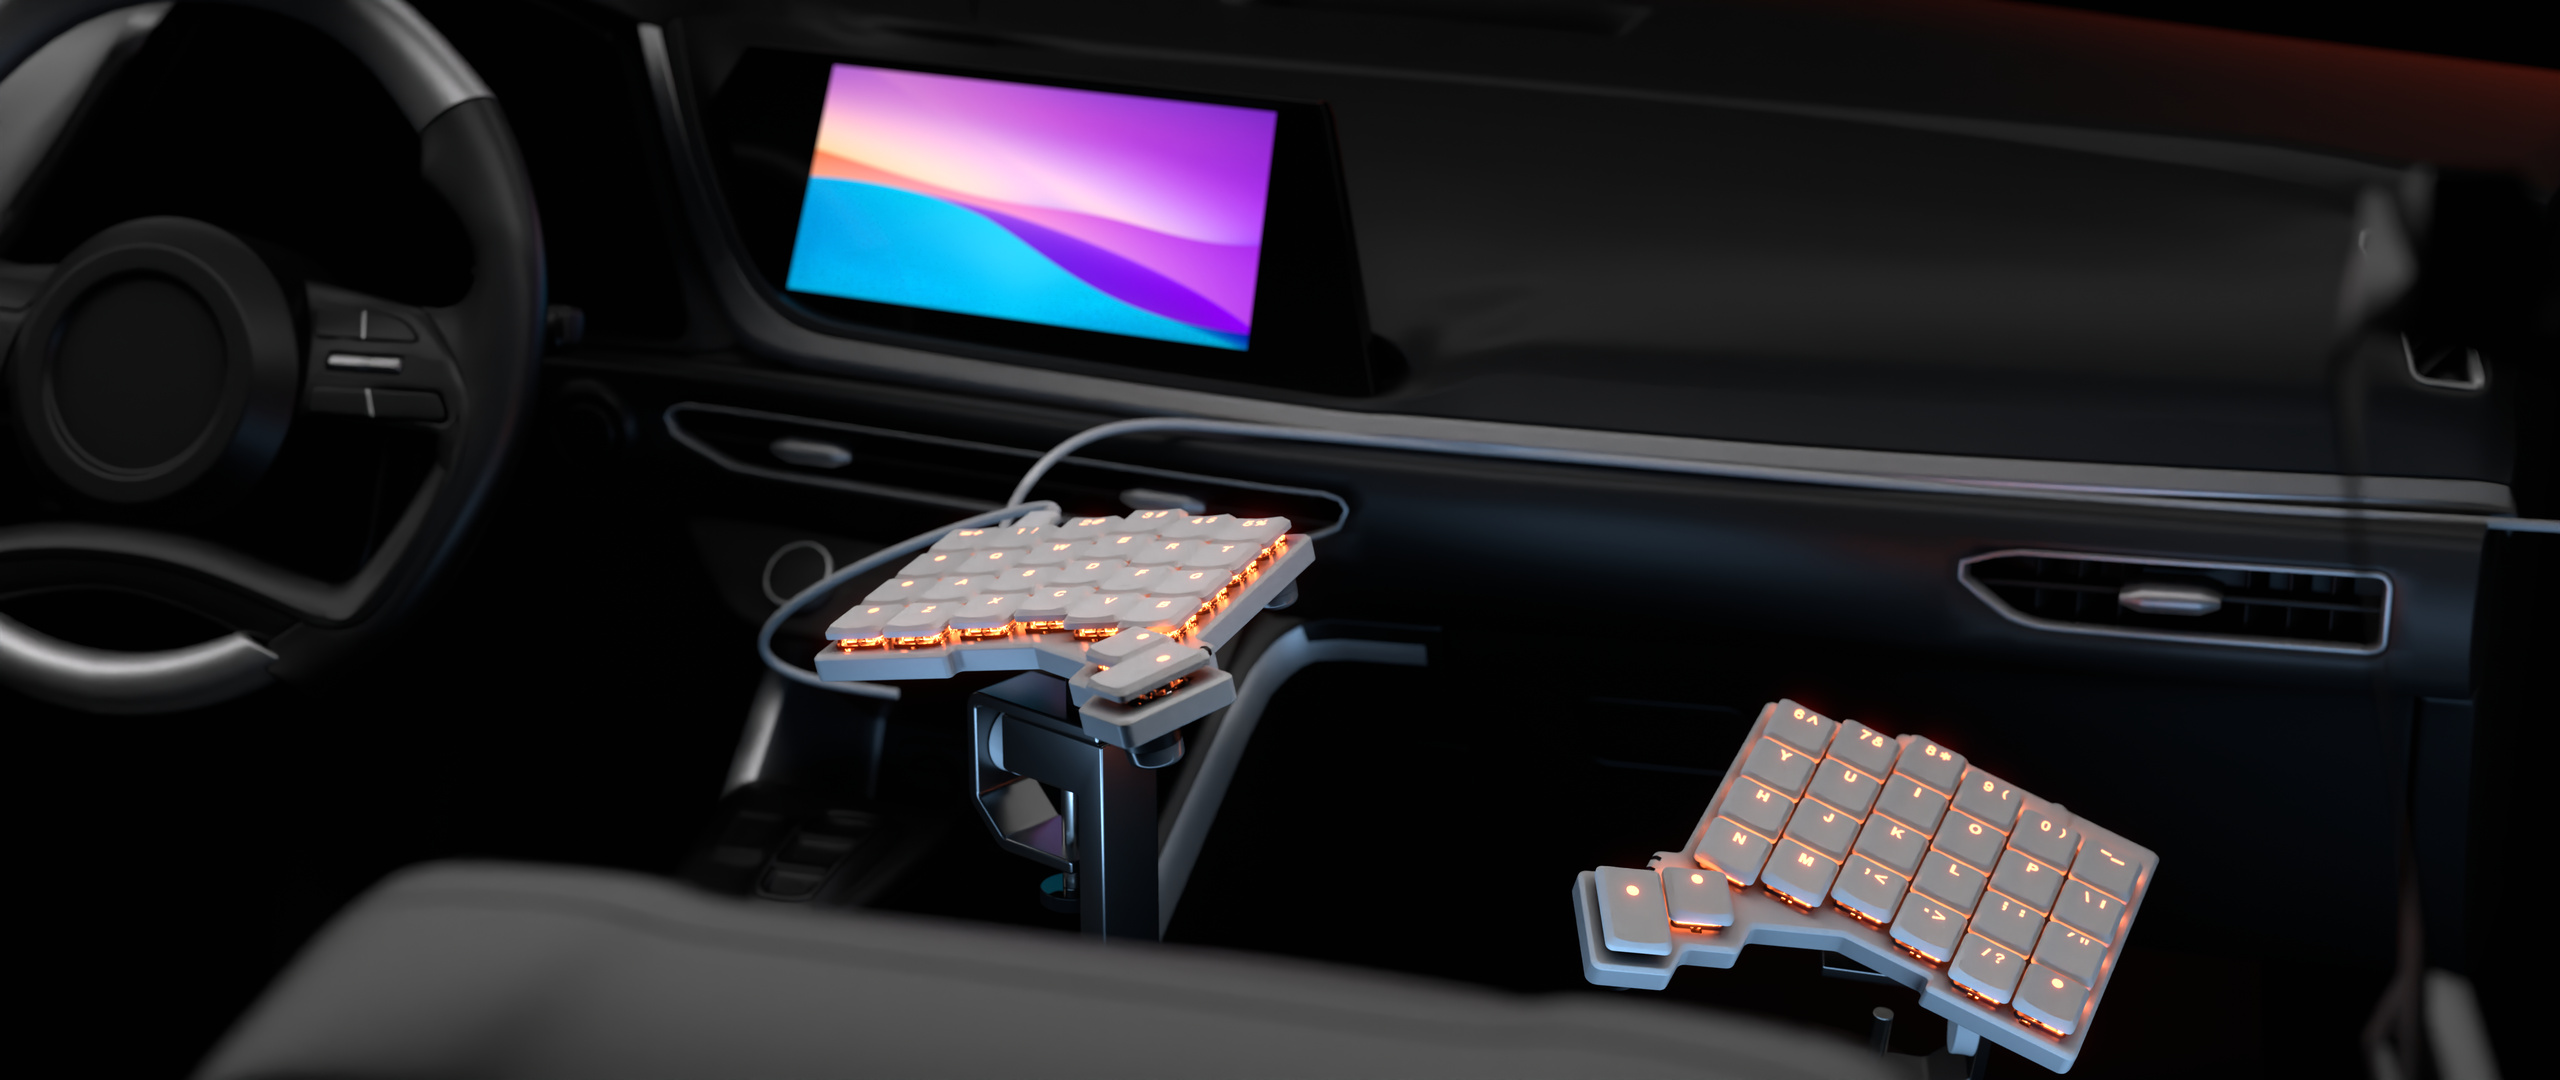
So many possibilities
You shouldn't type while driving, but if you want to create an office on the go, look no further.
While the tripod screw is an open and common standard, we wanted to take this mount a little farther by making it even easier to mount. So we added four screw holes, one in each corner. This makes it quick and easy to mount the magnetic plate onto a piece of plywood or anything else you want to drive four small screws into, opening up the ultimate in DIY.
The Voyager can be easily removed from the tripod mount, but it never falls. The four embedded rare-earth magnets offer a secure hold even for extreme 90-degree tenting angles. And when you're ready to pack up your Voyager, simply lift it off the mount.
Color


...
Plus $20 for courier shipping from Taiwan