Change-it-yourself
No soldering required. Next-level customization, out of the box.
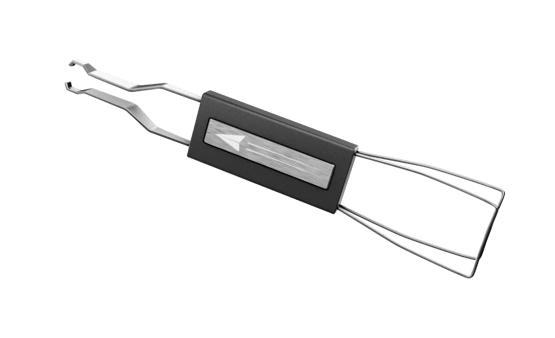
Every Voyager comes with a key puller in the box. It's easy to swap out a switch: simply slip the key puller into the grooves on the board, pinch, and pull. Ta-da!
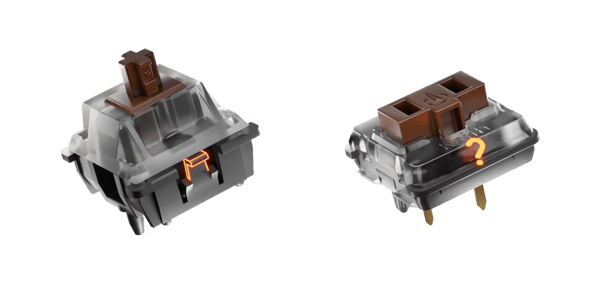
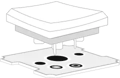
It took some work to make it this easy. While MX-style ("traditional") mechanical keyswitches have indents on the sides for a key puller to bite into, the Voyager is built around Choc switches which don't have these indents.
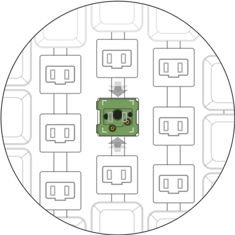
To solve this, we put grooves on the top plate of the Voyager itself:
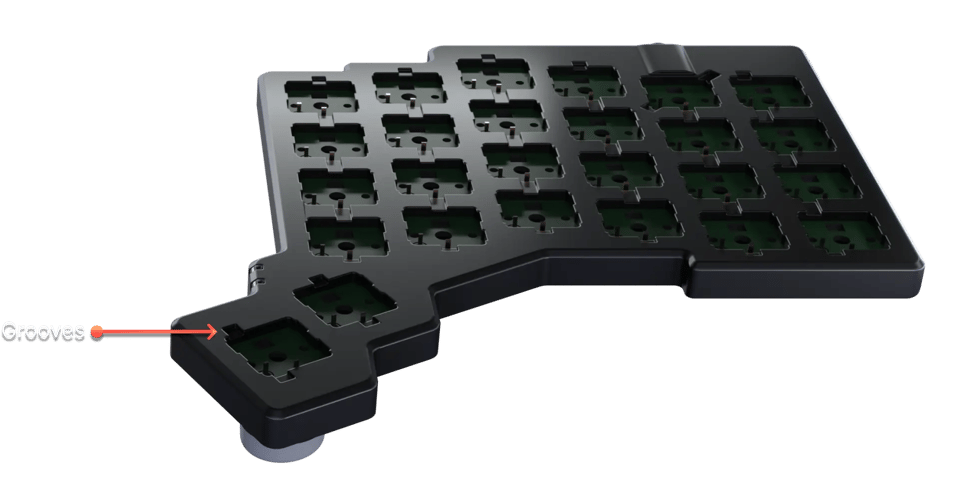
These make it easy to slip a key puller in, pinch, and tug. We were careful to position them so that when you pull on the switch, it comes out nice and straight, with no bent pins.
How to swap out a switch on your Voyager
First, we'll be removing the keycap over the switch. Hug it using the "loop" side of the key puller. Then tug directly upwards, gently. You don't want to break off the clips that hold the keycap onto the switch.
If your whole switch comes out, don't panic! You didn't break anything. Some switches grip the board more firmly than others. Simply pull the keycap off the switch and push the switch back into place.
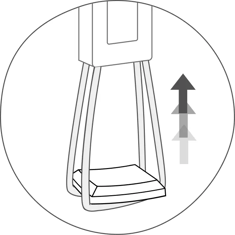
If the switch didn’t come out with the keycap, flip the key puller so that you're using the "tweezers" side of it. Slip the tweezers into the grooves, gently pinching the switch. Then, tug directly upwards and the switch will pop out. It is important you don't do this at an angle, so you don't bend the pins on the switch
Fun fact: The LED is actually under the keyswitch, not embedded in the switch itself.
That's it. Two steps — it's that simple.
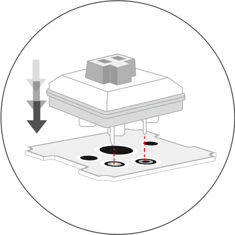
To pop a new switch in, hold it directly over the socket, making sure it's in the correct orientation (switch pins lined up with the sockets on the board). Place it in its slot, then push directly downwards. It should click into place.
If it doesn't, that might mean the pins are bent. Simply pull it out, gently straighten the pins, and give it another go.

To install a keycap on a switch, simply push it in, making sure it's properly centered before applying force. This shouldn't require much force.
Manufacturing trivia for keen-eyed readers
If you carefully look at the Voyager, you'll see some grooves are placed right in the center of the switch, while others are off to the side or at an angle:
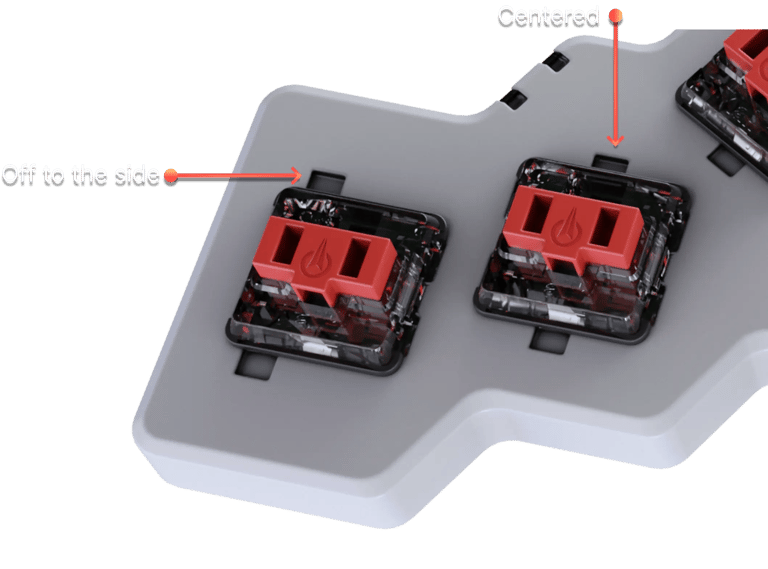
This is because the Voyager's top plate is manufactured using a process called "doubleshot injection". It is actually made out of a mix of two materials: Plastic for the shell, and a silicon blend for the feet. This sort of tooling is quite complex, and we had to work around it when positioning the slots. And of course, because the board is so thin, we needed to use an angled slot where the TRRS connector falls.