Minimal Case
Minimal Case
A hard shell travel case for the ZSA Voyager. You can use the included loops for your own straps (I've repurposed some Velcro ties, but feel free to go crazy.)
There's no separate storage for the feet and cables right now, though I'm working on an updated model that will. In the meantime I've found that the magnetic feet stay attached just fine so I've just been leaving them on when taking the board places.
Kneeboard
Tenting Shell
Tenting Shell
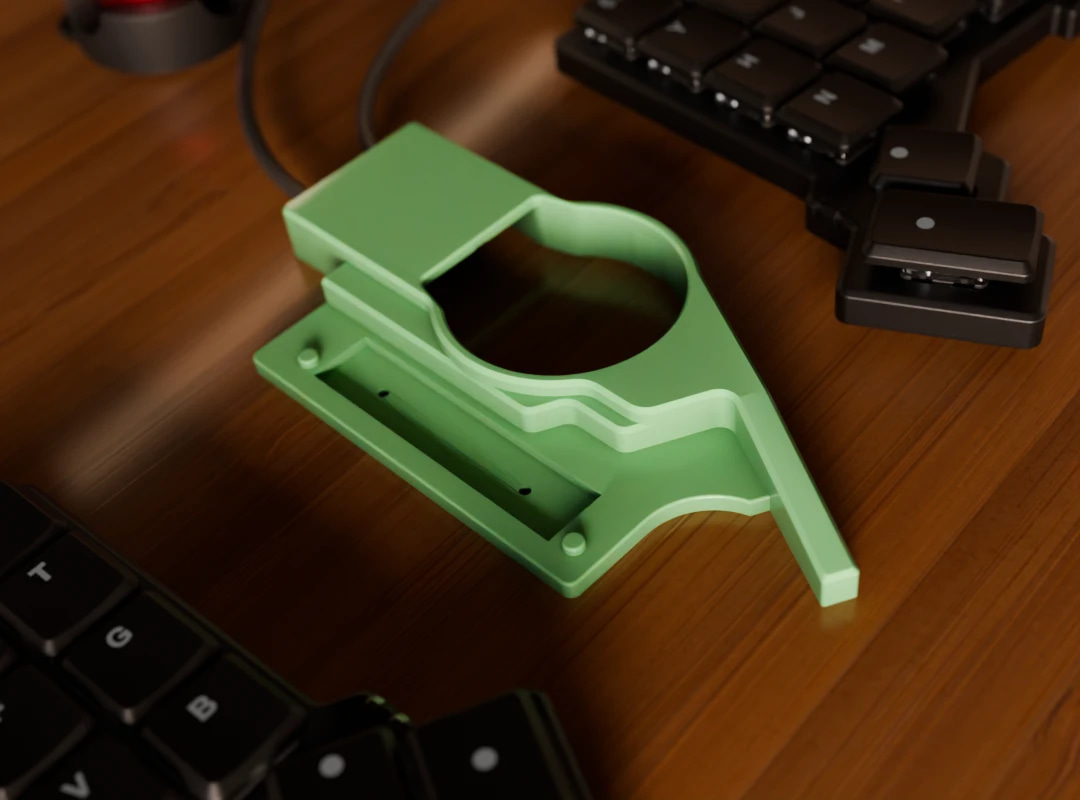
This is a ZSA Navigator holder with tenting bar, for the voyager keyboard, it allows you to switch your trackball between left and right side.
Included is a second tenting bar without a holder, you should mirror whichever model you need to be on the other side.
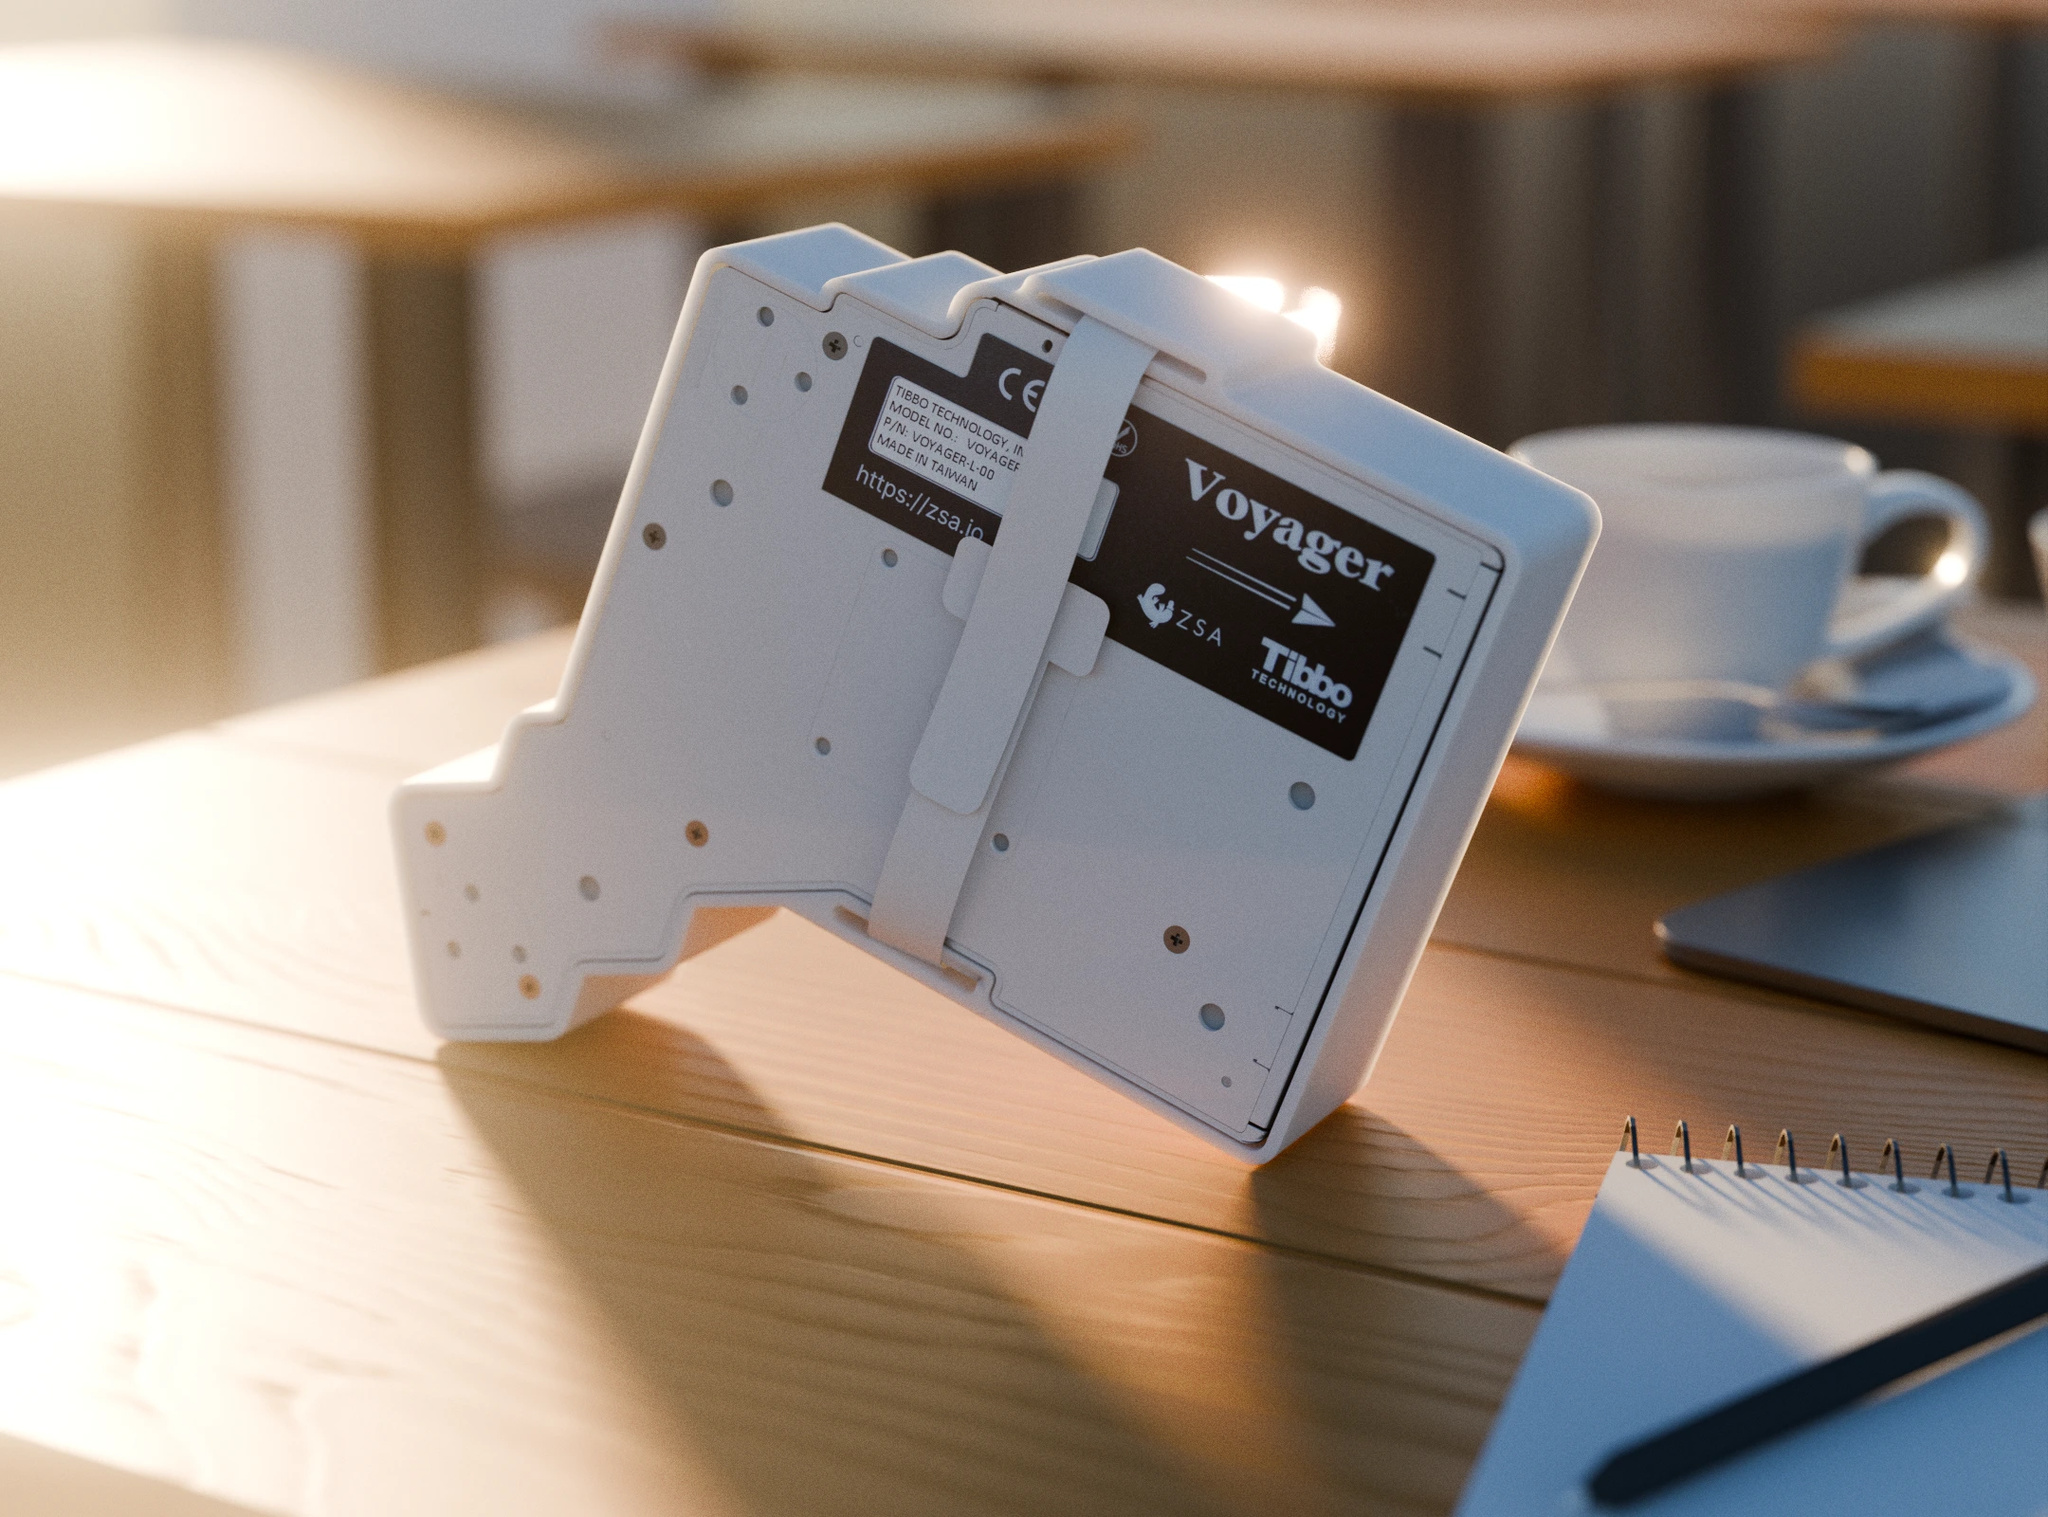
Travel Case
Travel Case
This is a rigid travel case designed for the ZSA Voyager keyboard. Magnets secure the keyboard inside the case and also serve as the locking mechanism. The case's hinge is formed from M4 screws and heat-set inserts.
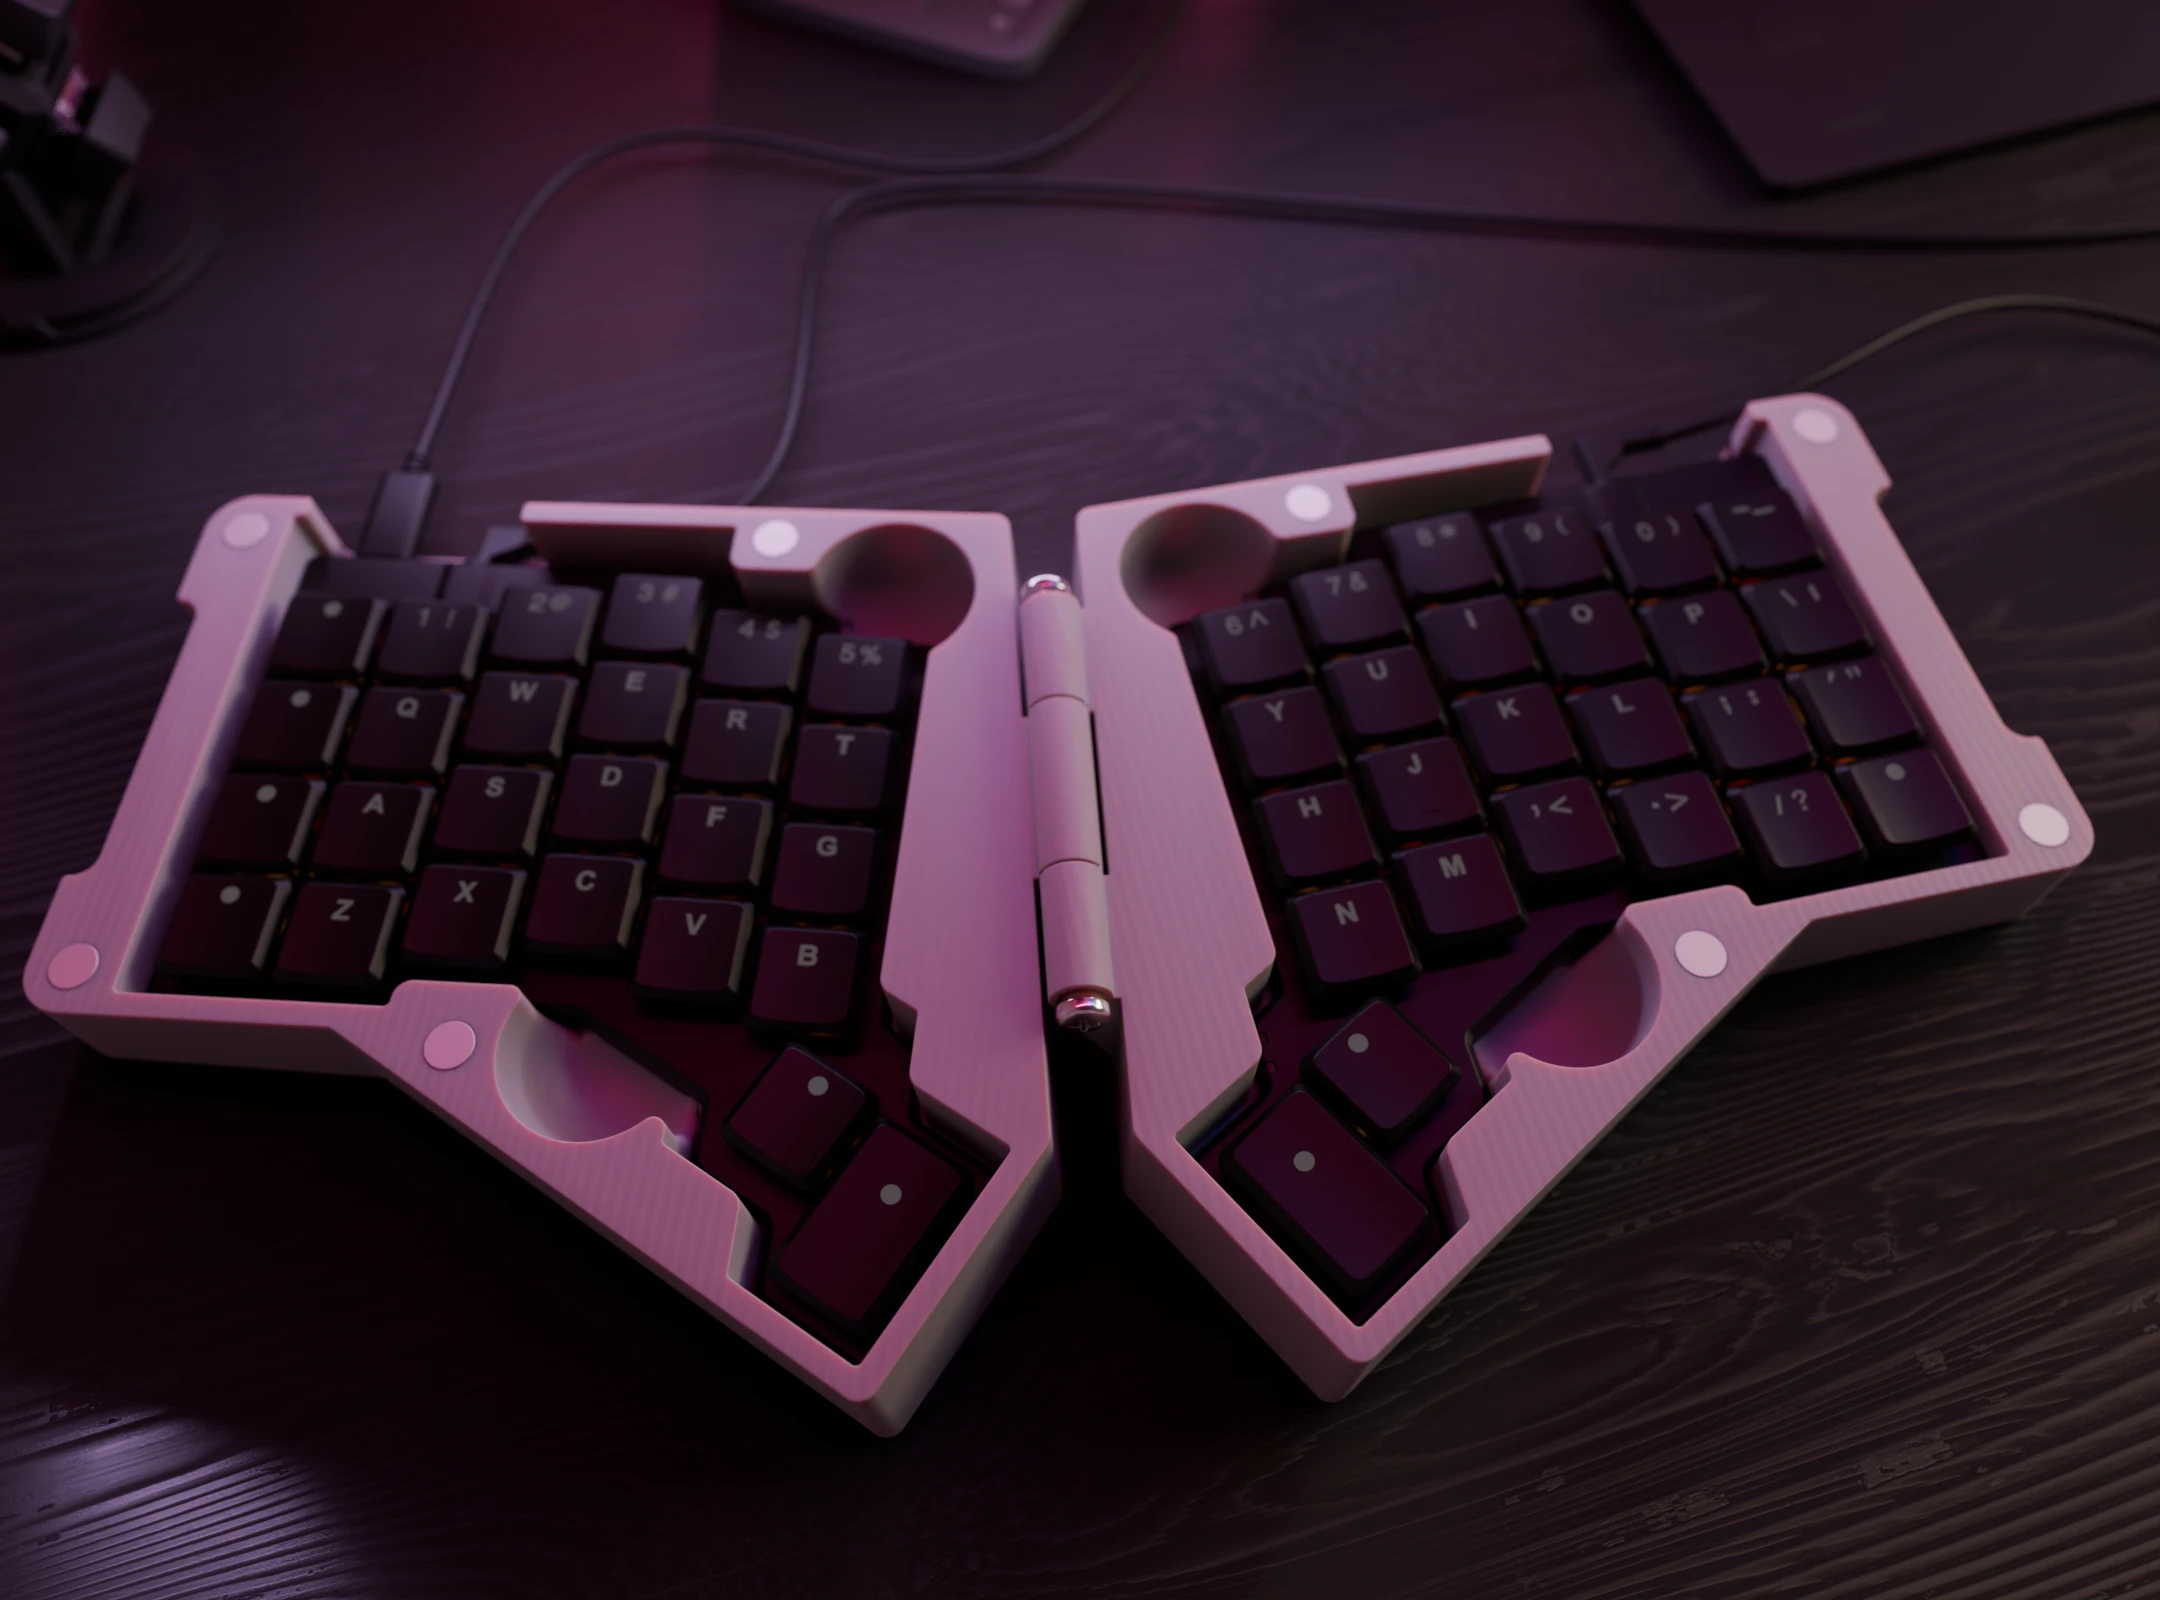
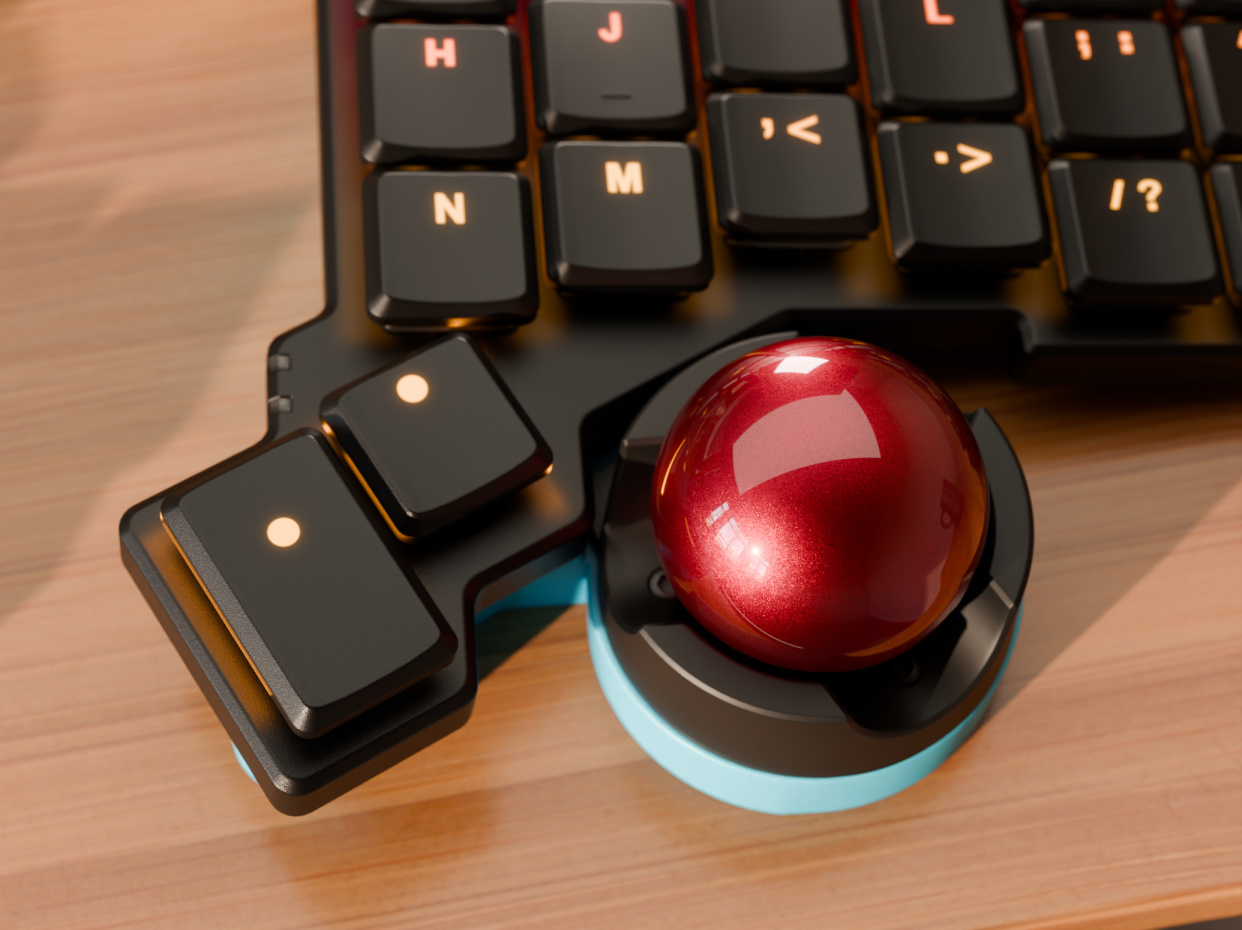
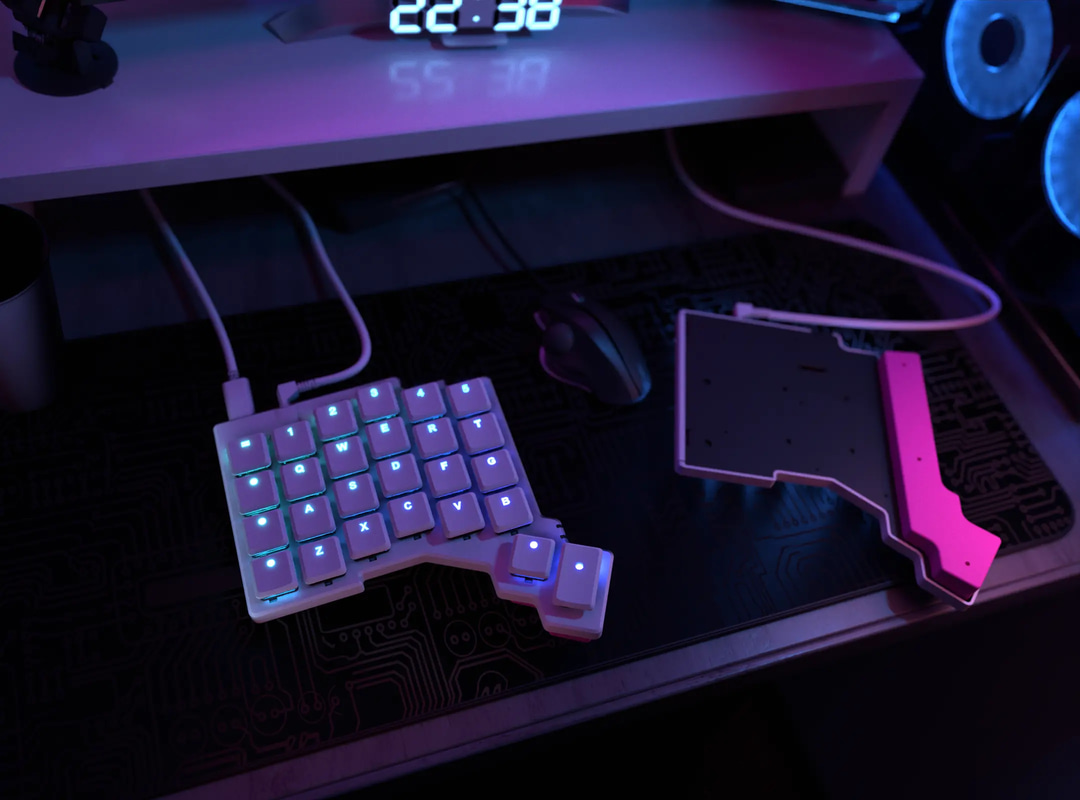
Navigator Shell
Navigator Shell Mount
This is a ZSA Navigator Shell, for the Voyager keyboard, it allows you to switch your trackball between left and right side.
I have also included a (right side) shim if you use your Voyager flat on your desk, it will equalize both sides, but you will need to source your own magnet for it, you should mirror it if you need a shim for the left side.
Wrist Support
Voyager wrist support with
optional tenting
Wrist support for the ZSA Voyager with optional tenting bars of either 10 or
5 degrees.
You'll need at least 8 (4x2) magnets for the tenting bars, but there is room for 20 (4x2) magnets if you want everything snappy. You'll also need a few drops of glue for the magnets.
Thumb Trackball
Navigator Thumb Trackball Mount
If you prefer a thumb trackball, this official ZSA printable lets you move the Navigator to your thumb while giving your board some built-in tenting. It includes a “passive” part for the side without the trackball, so both halves of the board have the same tenting angle.
You can choose either a standalone version or a version that re-purposes the Voyager and Navigator magnets to make the mount even more secure.
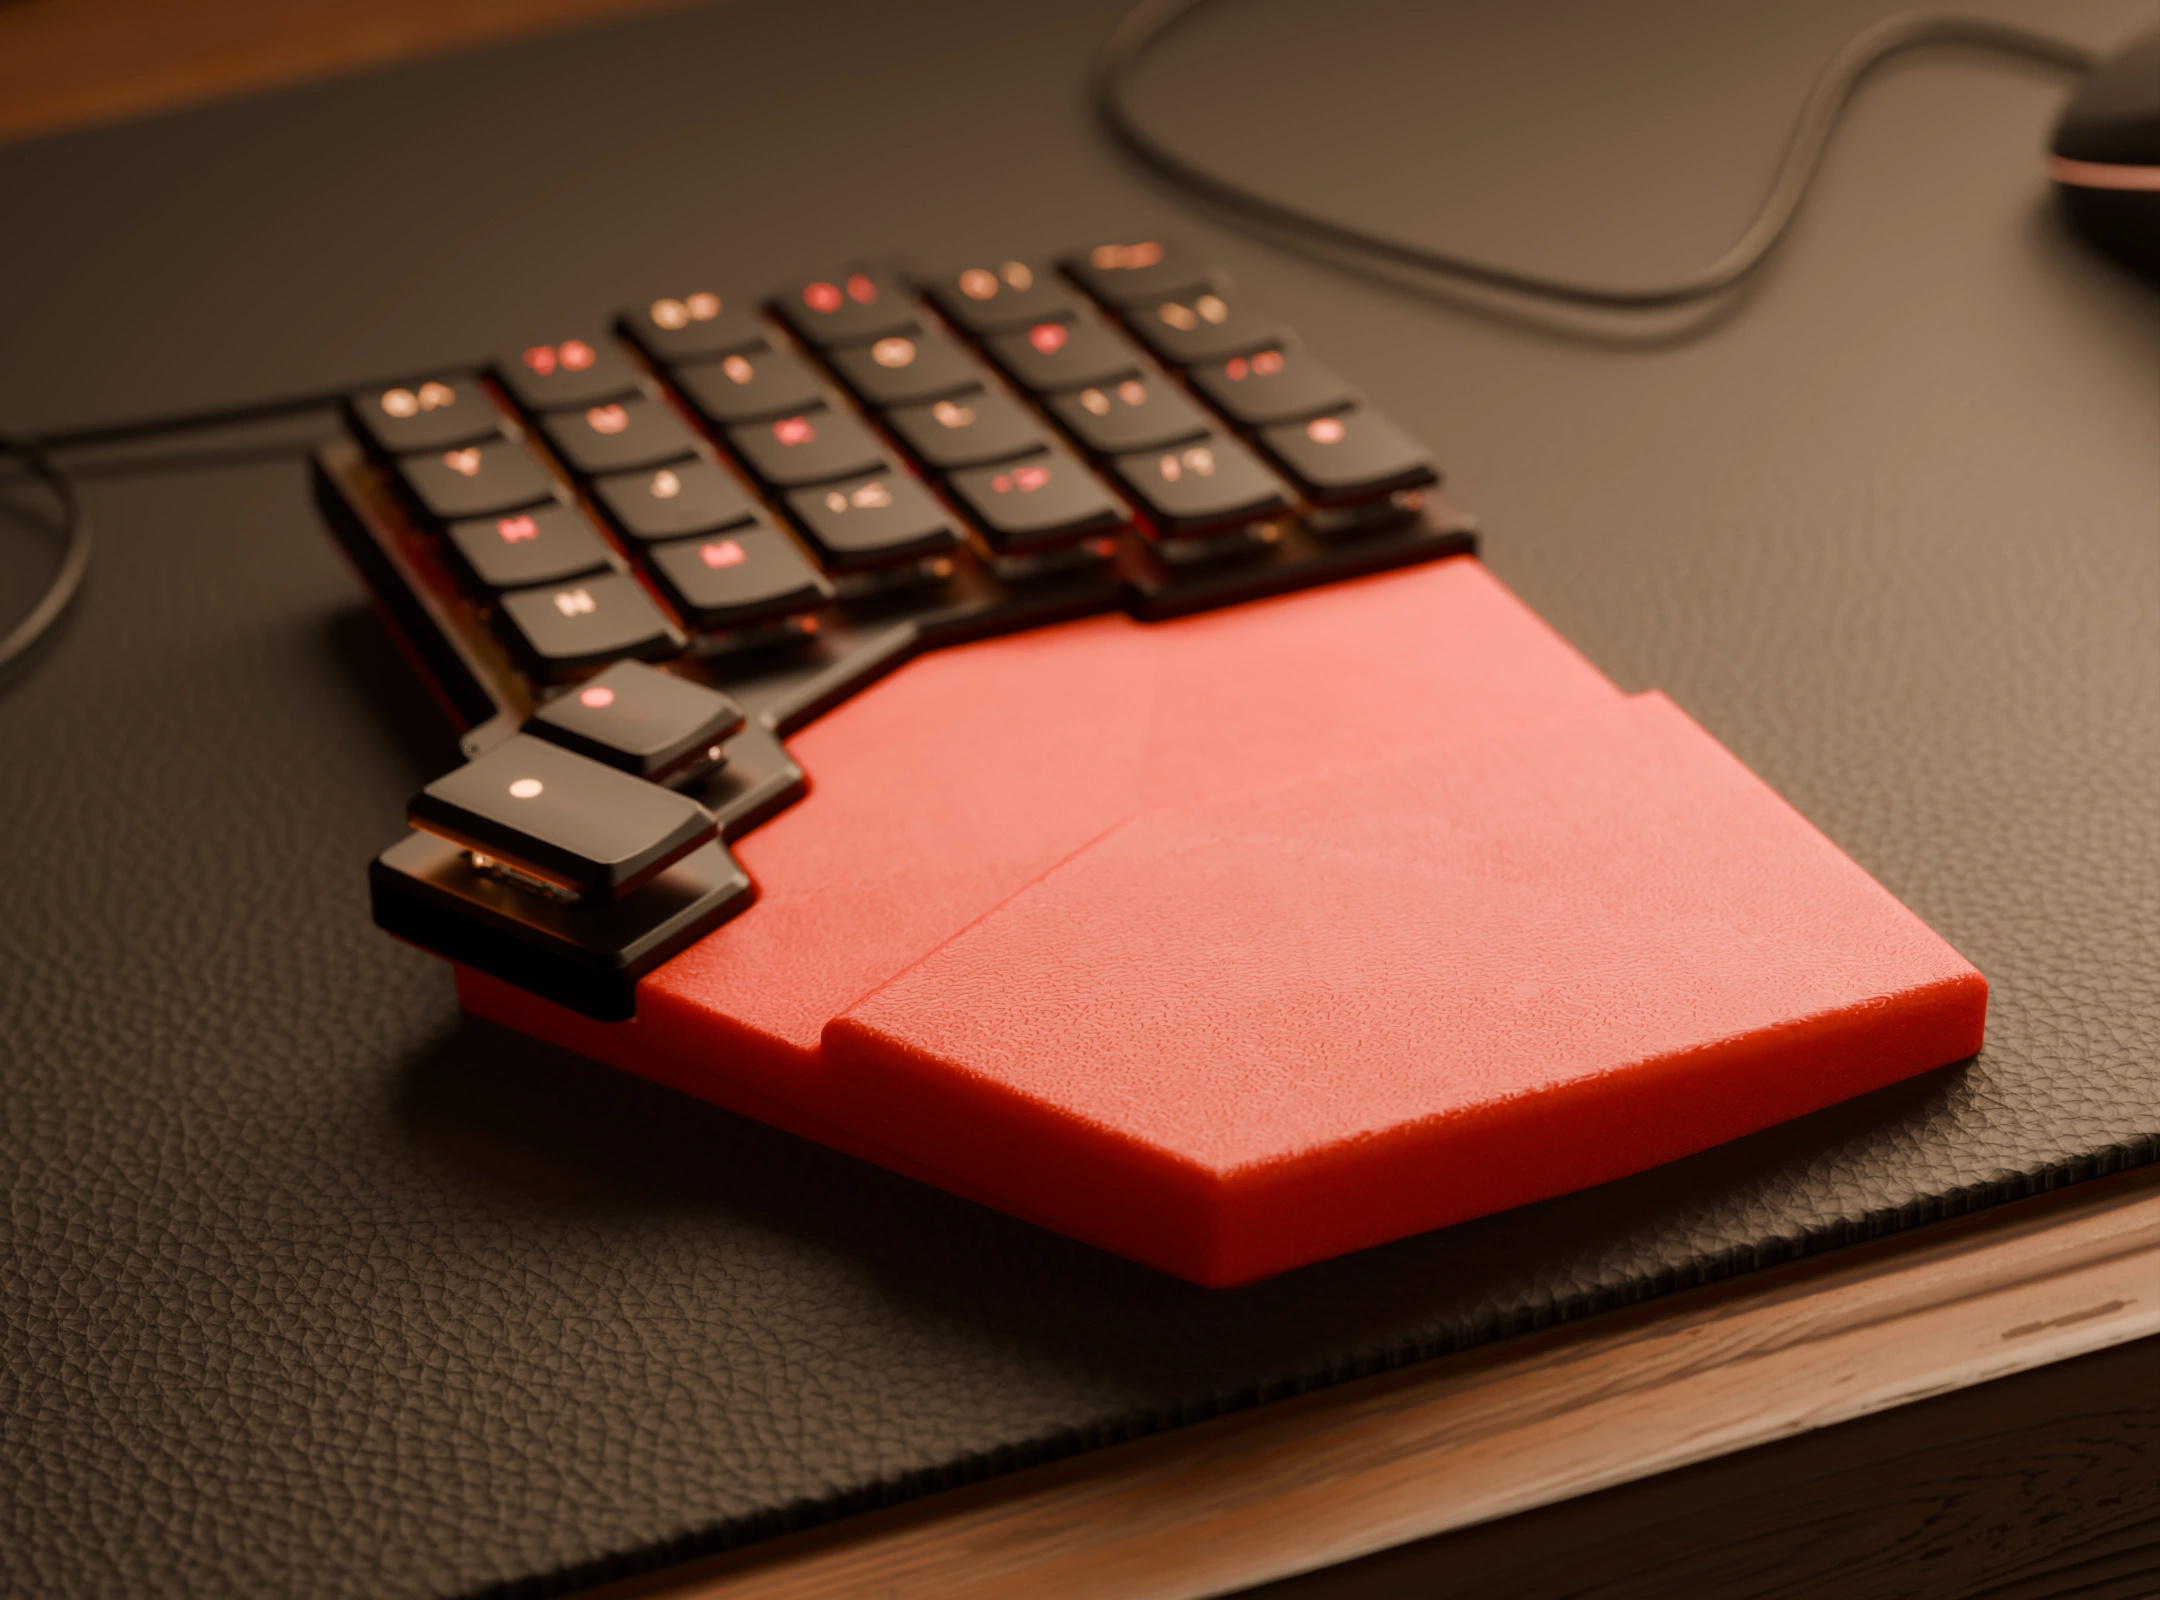
Wrist Rest Kit
Slightly increase the tenting of the keyboard ZSA Voyager and accommodate wrist pads
This is a kit I made for my keyboard ZSA Voyager for 3 combined purposes:
- Add the tenting of the keyboard to 7.5 degrees
- Provide fixed location for wrist rest pads (model = Fellowes wrist pad for mouse, very comfortable, durable, quite cheap, and easily available)
- Option to bind the two halves together, to keep them aligned at a fixed distance, which is helpful in the learning phase (muscle memory works better when removing a source of variation between 2 typing sessions)
No gluing, no screwing. The keyboard remains in place thanks to the magnetic feet of the keyboard, finding their place in the holes in the support.
Keyboard Set
Unifying baseplate and aluminium keycap files for Voyager; Keycaps designed for aluminium CNC.
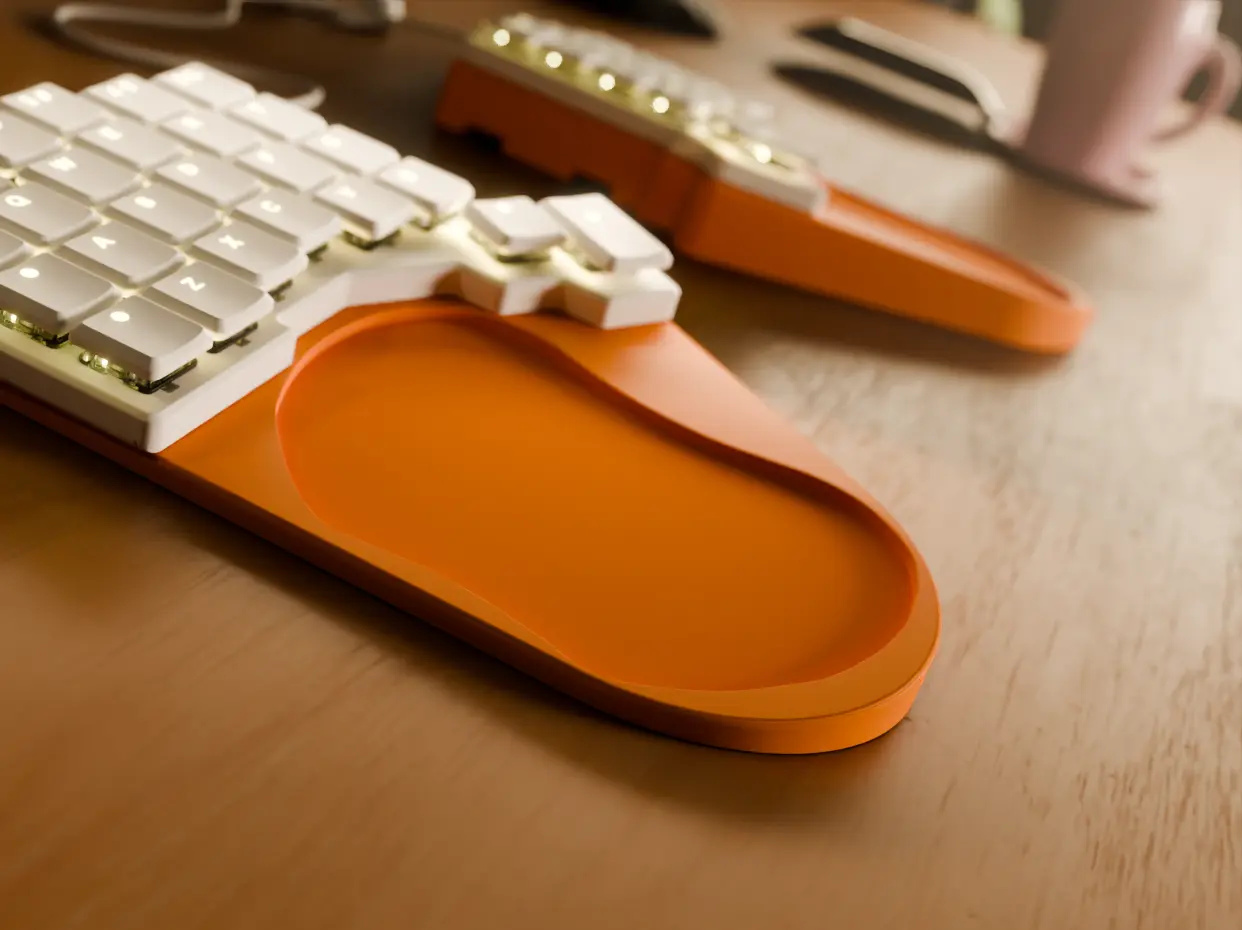
Voyager Dock
I recently purchased the Voyager, and am really happy with it!
However, I missed the tenting and palm rests of the Moonlander, so I designed and printed something that suits me pretty good! I couldn't find something similar online, but I didn't look too much as I was kinda eager to design my own.
Printed this with 10% infill and .20mm layer height, which took 6 hours. No supports necessary.
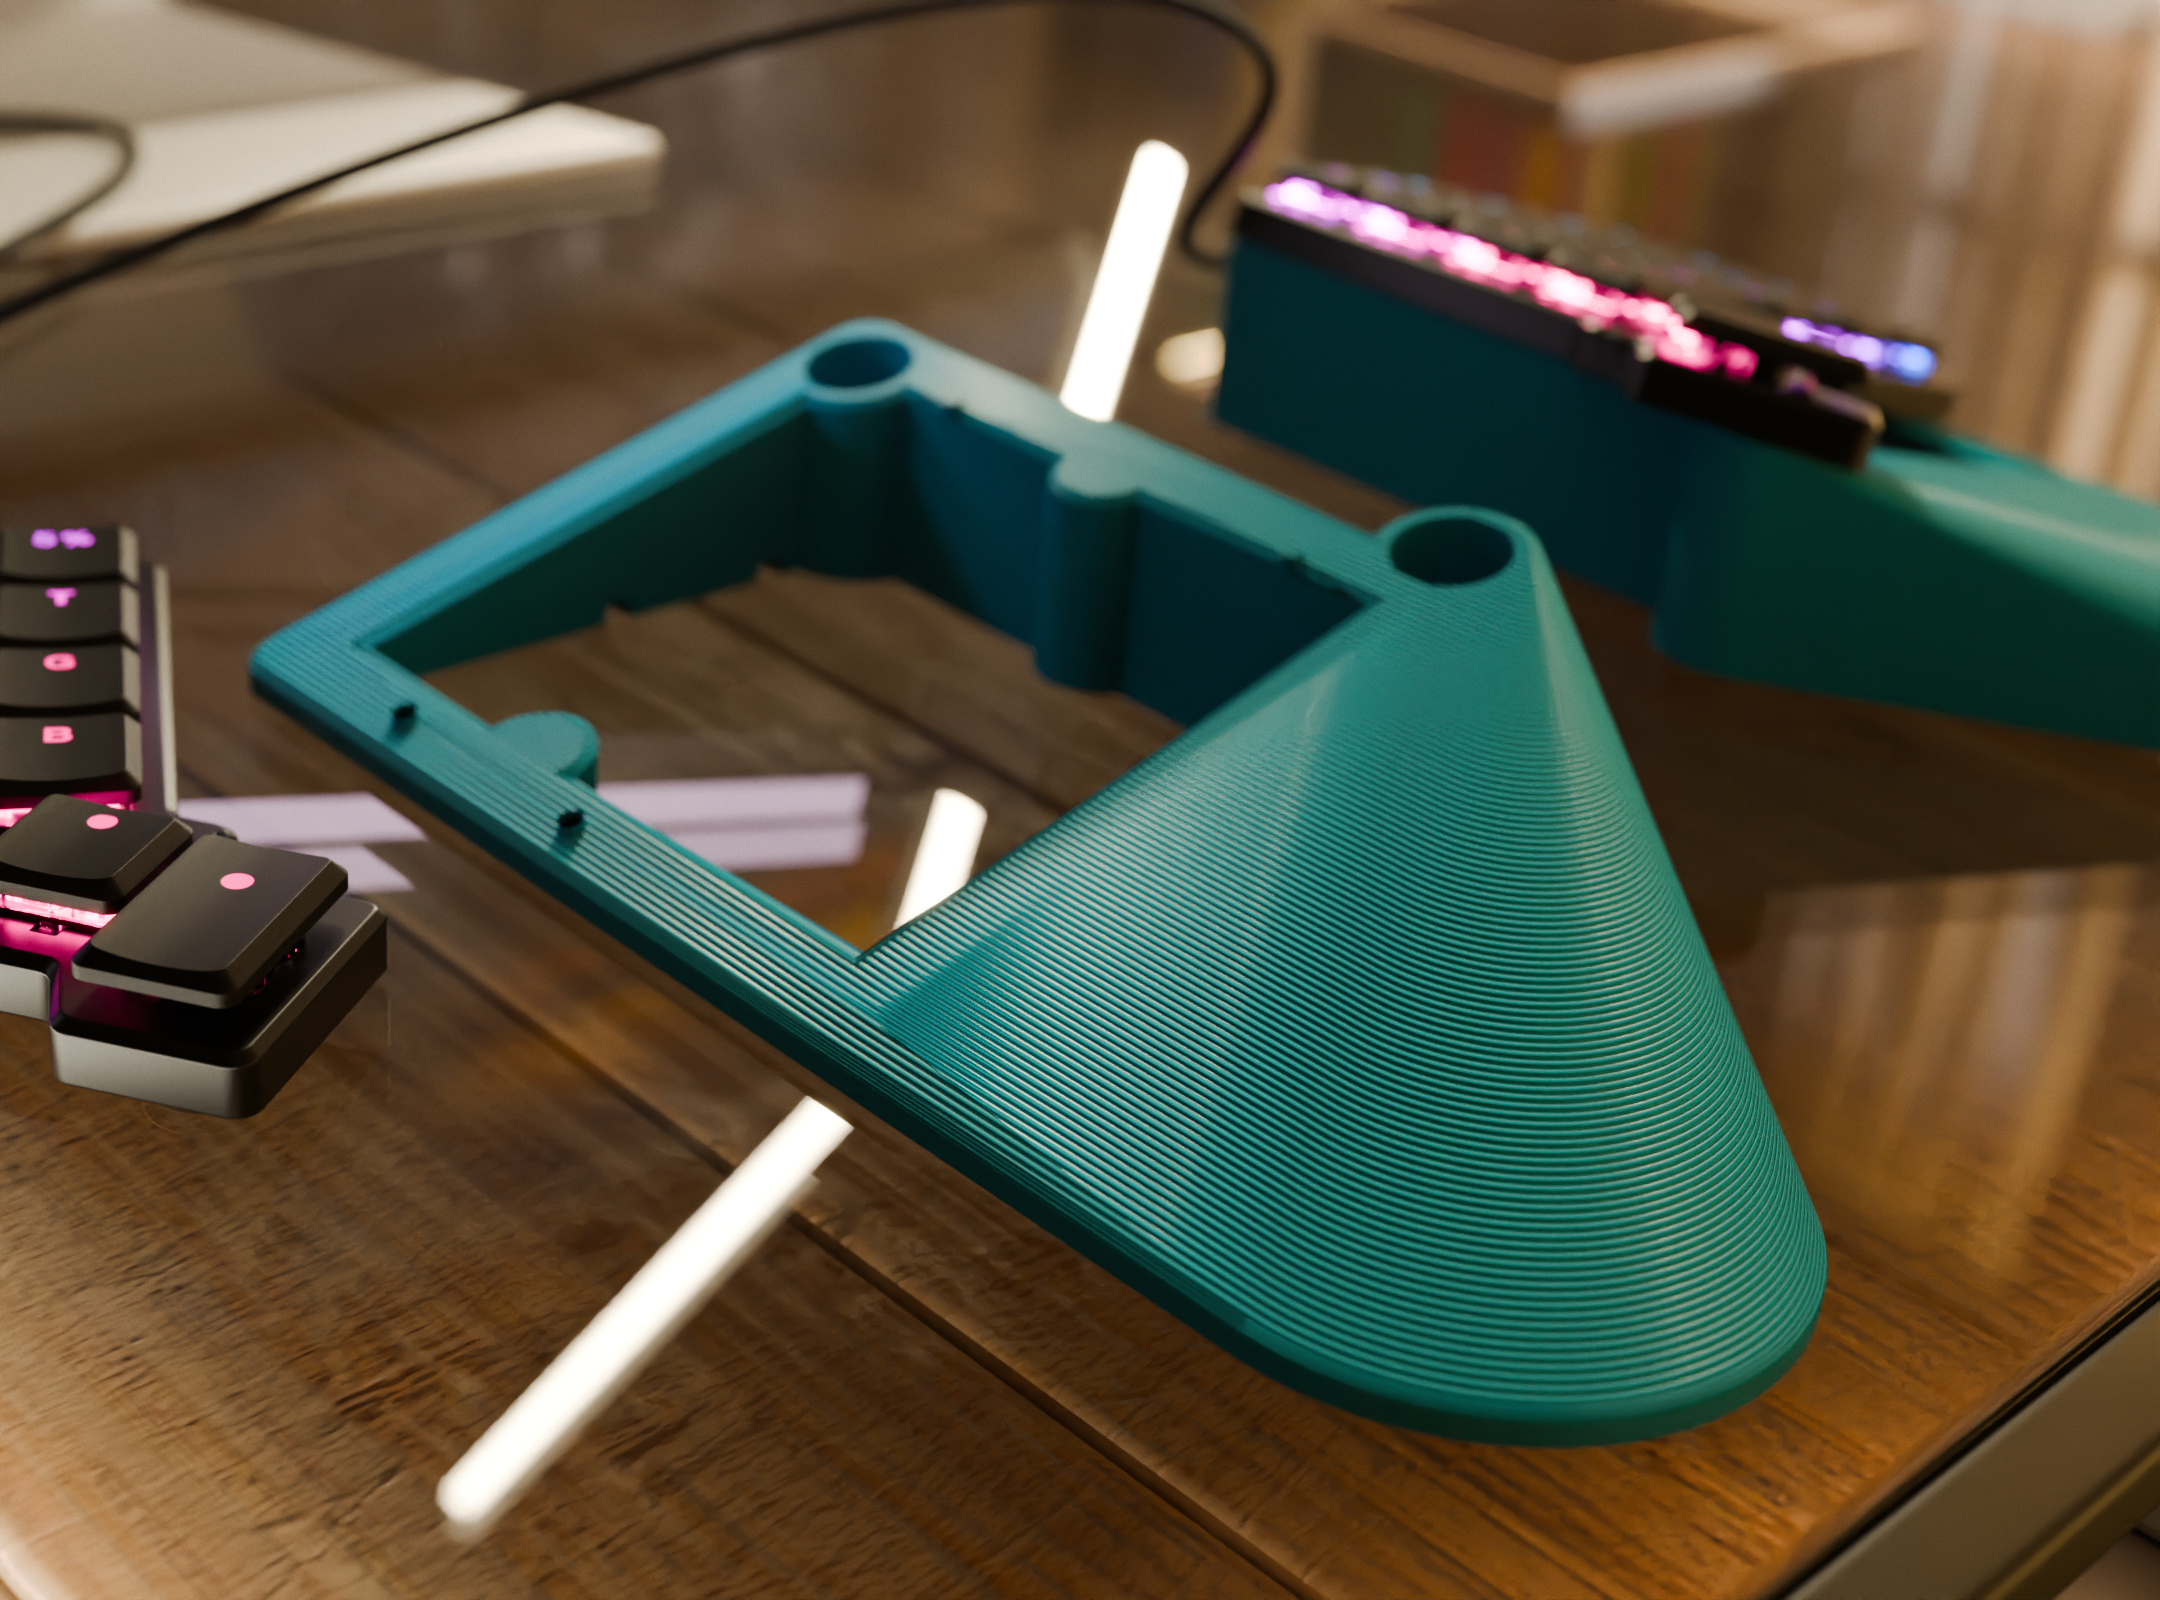
Tenting Leg
No supports needed!
This model creates a large, sturdy leg to be used with the ZSA Voyager keyboard for a higher tent pitch. It is designed to fit snugly over the magnetic feet that come with the Voyager, which provides a sturdier and more stable base than the tent leg currently provided by ZSA themselves.
One side of the foot holes is larger as well so that individuals with larger fingers should still be able to push the feet back out of the hole if they want to go back to using them or readjust the alignment. Versions to cover common tenting slopes. The top has alignment pins and recesses for 10 mm x 3 mm magnets.
Voyager Stand
Tenting for the ZSA Voyager keyboard.
Versions to cover common tenting slopes. The top has alignment pins and recesses for 10 mm x 3 mm magnets.
Printed with 10% infill and 4 top shell layers.
Additional Thumb Key
2 keys to convert the default B and N keys into thumb keys when moving all keys 1 layer up on the ZSA Voyager keyboard.
The default configuration for the Voyager keyboard only has 2 thumb keys on each side. I found that too limiting, so by eliminating the number row, all the alpha keys can be shifted one layer up, leaving the bottom-most layer available to be used as thumb keys (the CVBNM, keys on the default layout). However, the innermost keys of that layer and the small thumb-cluster keys interfere with each other.
By using these custom keycaps, you can now press those keys with the thumb without interfering with the neighboring keys and allows for full set of 5 thumb keys on each side of the keyboard.

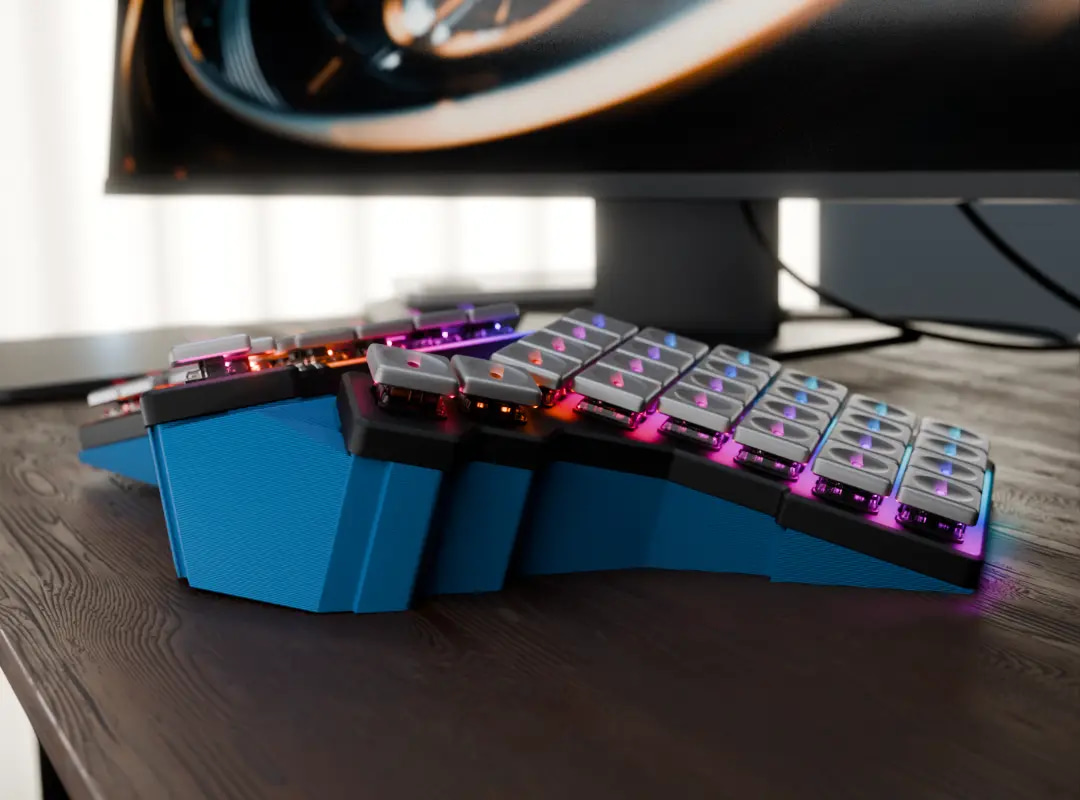
Tenting Bar
The first printable for the Voyager comes directly from us. It's a bar that allows you to tent the Voyager at a steeper angle than what's possible with the included legs.
The bar has indentation pins to help it lock into the correct position on the Voyager, and three indents for magnets.
You can use the magnets and screws from the Voyager's legs, or get rare-earth magnets elsewhere if you'd like to experiment (any strong magnet will do, though you may have to edit the file to adjust for the size of the magnet you go with).
Make Your Own Design
One thing that might help you design a Voyager accessory is the STL file for the shell of the unit. This contains exact measurements, so you can design around it and make sure your new accessory fits perfectly.
Once you have a design you’re happy with, please feel free to put it up on Thingiverse for others to use. If you’d like to be featured on this page, email us at contact@zsa.io and let’s talk!