Getting Started
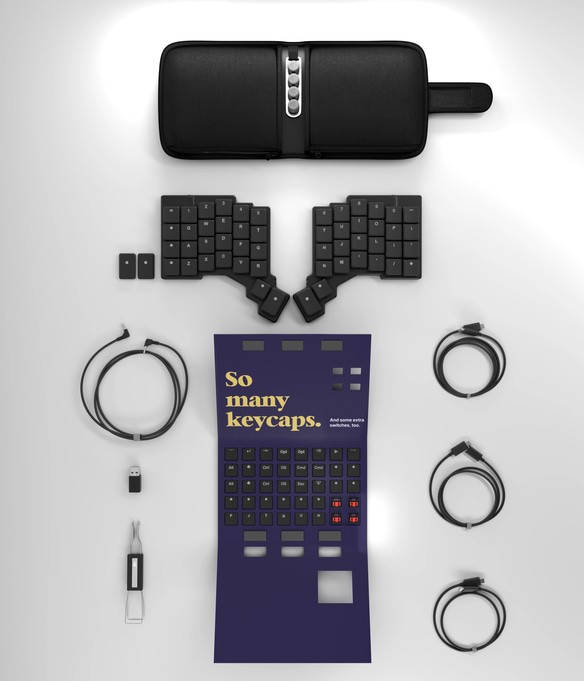
What’s in the box?
- Keyboard: 2 halves.
- Extra keycaps: 38 additional keycaps included with every Voyager
- Keycap sleeve: For holding all the extra keycaps.
- Key puller: Use it to remove keycaps and keyswitches, to clean or customize your board.
- Cables: USB C-to-A dongle, USB C cables, and a TRRS cable.
- Legs: 4 magnetic legs.
- Case: Use it folded for a compact (and thicker) footprint, or place it in your backpack unfolded, for a flatter distribution. Includes a specially designed leg holder, detachable so you can move it to the inside of the zippered pocket.
Choosing the right cable
The Voyager comes with three USB-C cables:
A short cable, 22cm long. For scale, this is approximately as long as a European hedgehog.
A medium cable, 38cm long. That's as long as a fennec fox, if you don't count the tail.
A long cable, 220cm, which is about the length of a Komodo dragon.
If these lengths seem oddly specific, it's because they are. Just like the keycaps, the legs, and the carrying case, these cables are custom-made for the Voyager. Each serves a specific purpose and is meant for one particular style of setup:
The right cable, for the right job.
The Voyager also includes a USB-C-to-A dongle, in case the computer you want to plug the keyboard into doesn't have an available USB-C port.
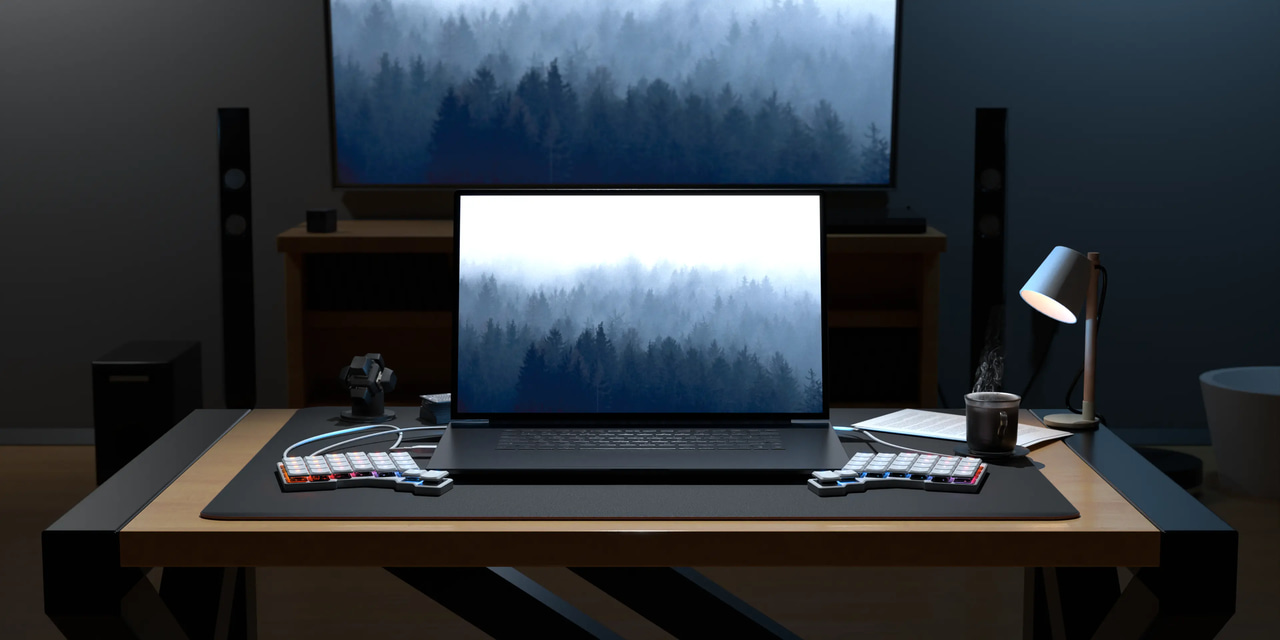
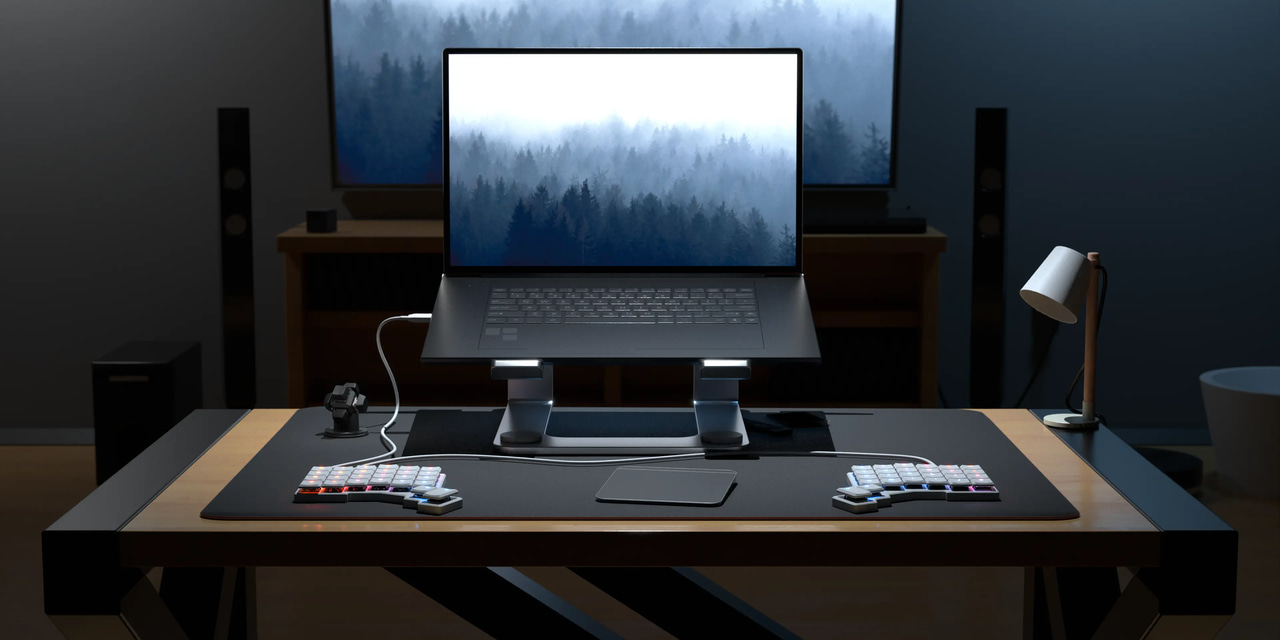
Positioning for comfort
Start flat, without legs. Halves not too close.
When you’re ready, try the legs out.
Here’s how you clip them on. Note that each leg is marked; they’re not the same:
Be sure to remove legs for transport.
When you’re ready to go, clip them into the leg holder.
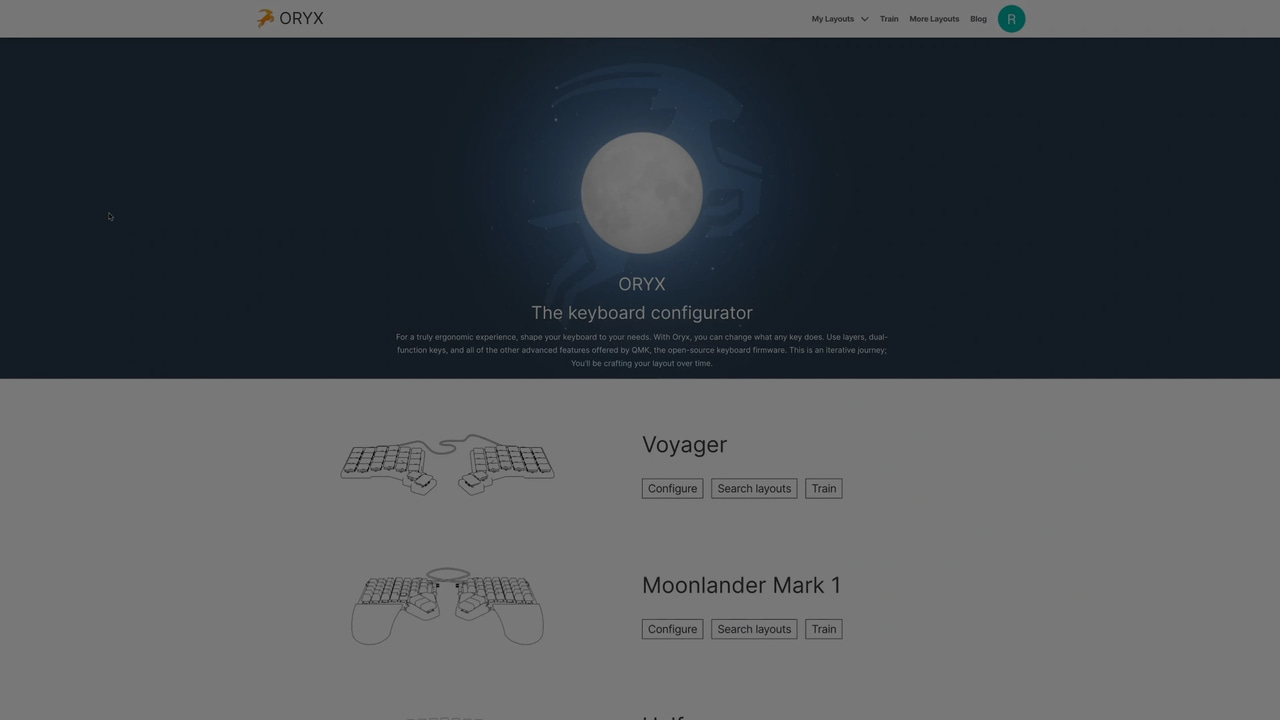
Configuring the board
Now that you have your Voyager in the right position for you, it's time to start typing!
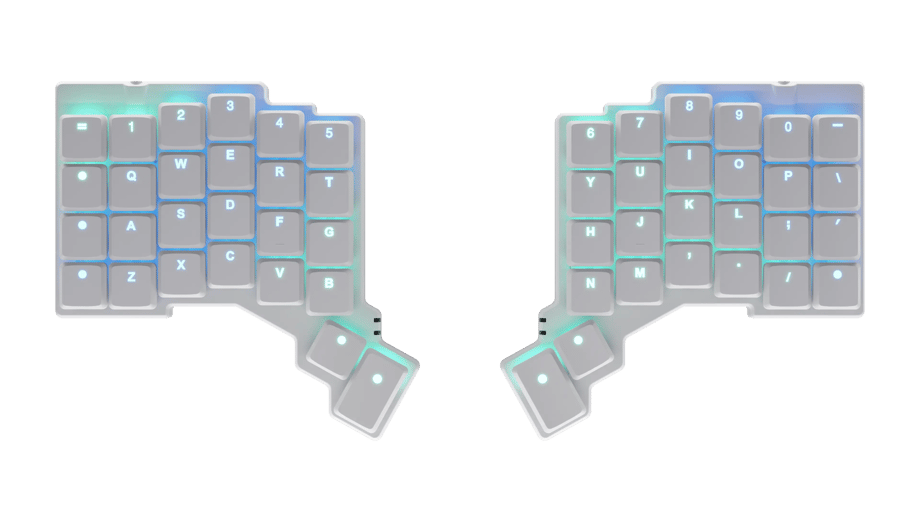
We recommend that you take a look at the default Voyager layout that comes preloaded on your keyboard. Watch a video of the tour below:
If you don’t like it, jump straight into the configurator to make your very own!
Click here for a printable PDF of the keymap
Note: The secondary functions of keys — what happens when you press a key while holding Shift or Alt/Option – aren’t shown on the layout, but these behave exactly as they do on a regular keyboard, so, for example, pressing ‘Shift’ and ‘1’ will result in a ‘!’.
More control!
(Customizing the firmware)
Your Voyager requires no software to work. All the customization is done on your board, at the firmware level. This means that nothing you do here will burden your machine, and it’s all cross-platform and portable. Just plug your keyboard into any random computer, and your familiar custom layout is right there, zero installation needed.
The layout that comes pre-loaded on your unit is not perfect for you — it can’t be, because in ergonomics, one size does not fit all. It’s time to unleash the power of the Voyager and truly make it your own.
Before we get started on the firmware side of things, take some time to learn some terms we use in configuring your board.
Using the graphical configurator
Changing the keyboard layout is easy — at a high level the process is as follows:
- Create a new layout using the online configurator.
- Compile it and download it to your computer.
- Flash it to the keyboard.
Creating a new layout
You can create a new layout by clicking “Modify layout”.
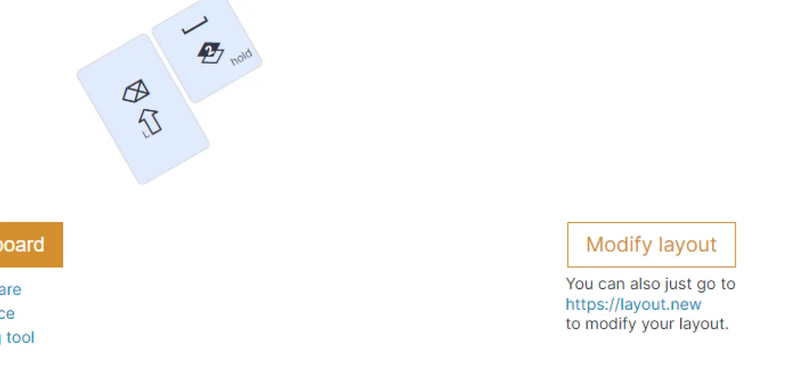
This will take you to a new view where you will be able to add new layers, modify individual keys, and more.
Customizing the layout
After clicking Modify Layout you’ll get a very similar view to the one that you saw before, only now you can actually change things.
Let’s begin by explaining the main elements on the screen:
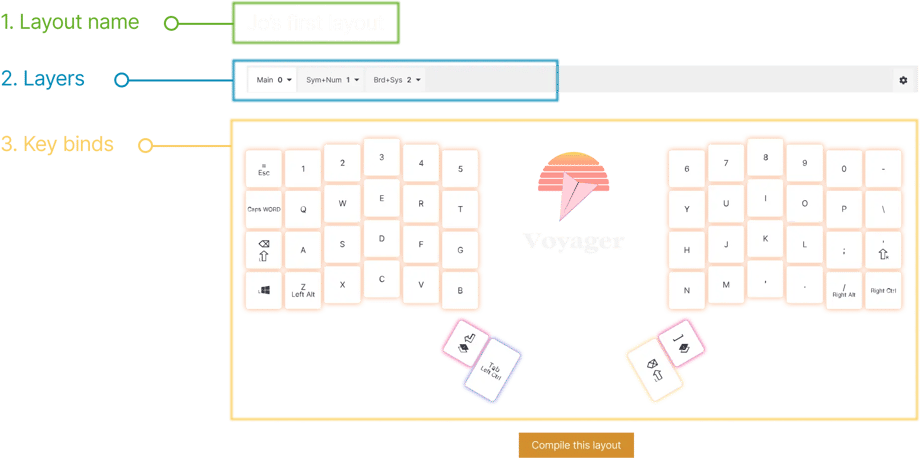
1. Layout Name.
You can specify a name that describes your layout. Our users sometimes append a version to this field, for their own reference, though if you‘re logged in, we will keep track of your layout revisions for you.
2. Layers
Here you can add, remove, rename, and move layers.
3. Key Binds
This is where you’ll spend most of your time. You can click any key to modify its function. Let’s go ahead and click C:
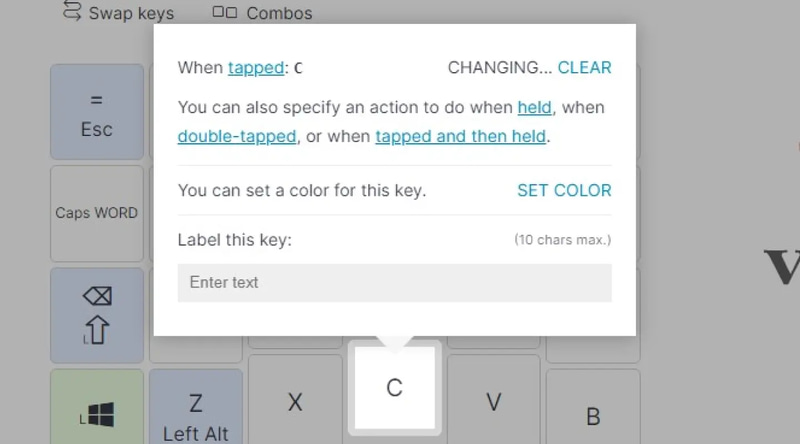
Now, let’s say we want to have the “C” key send the “C” keycode if tapped, but momentarily switch layers when it’s being held down.
“When tapped” is already set to “C”, so we click the text that says “when held”.
In the sidebar that opens, we begin by searching for “Layer”. This will show us all the Layer-related functionality.
We can see that “MO” is a perfect fit, so we go ahead and select it. Now, we simply specify which layer to go to when held.
After doing this we can click outside of the box. The layout display will update with our new selection:
You can repeat this process as many times as you want to build your own layout. We recommend that you take your time to explore the multiple options that available. Remember: This is a journey keyboard. This won’t be the last time you edit your layout!
Over time, you might want to explore keybinds for double-tapping a key, or a tap followed by a hold. You can have one key do up to four different actions. The real challenge is muscle memory: We suggest not making too many changes at once, so that you’re able to keep track of them as you use the keyboard during your work.
Once you’re happy with your layout, hit the “Compile this layout” button. This will lock your changes and generate a binary file which can be understood by the chip on the keyboard.
There are two ways to save your layout to your keyboard:
With our native app (called Keymapp), or right from Chrome. You can’t use Firefox because of Firefox’s own limitations, not because we don’t like it (we do).
Select your OS
You can use either Keymapp or Chrome.
Here’s how you do it with Keymapp.
Here’s how you do it with Chrome.
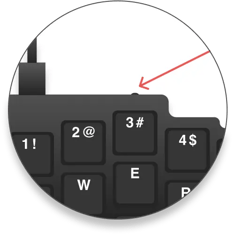
No more paperclips! The Voyager has a dedicated reset button, on the top edge, near the “3” key in the default layout. And just like any other ZSA keyboard, you can still use Oryx to map ‘reset’ to any key you’d like.
What does this button do?
“What does this button do?” — with Keymapp, you never have to wonder.
Keymapp allows you to view your keyboard's layout right on your screen, in real-time. When you switch a layer, Keymapp shows you the keys active on this layer.
 Find out more about Keymapp
Customizing in code: Working with the underlying firmware
The firmware running on the Voyager is the Quantum Mechanical Keyboard Firmware (or QMK, for short), which we actively support. It’s a third-party open-source project running on multiple keyboards, with over 300 contributors and thousands of forks.
If you enjoy working directly with the code driving the keyboard, you can dig right into QMK on GitHub, compile it locally, and customize your keyboard at the deepest levels possible. This is a good starting point — QMK is extensively documented.
Master your layout
One of the best ways to get started with your new keyboard is to use the connect feature in our typing trainer, typ.ing. This feature shows your keymap dynamically on your screen, in real-time, including all layer changes. Here’s how it works:
(Live View requires a ZSA keyboard)
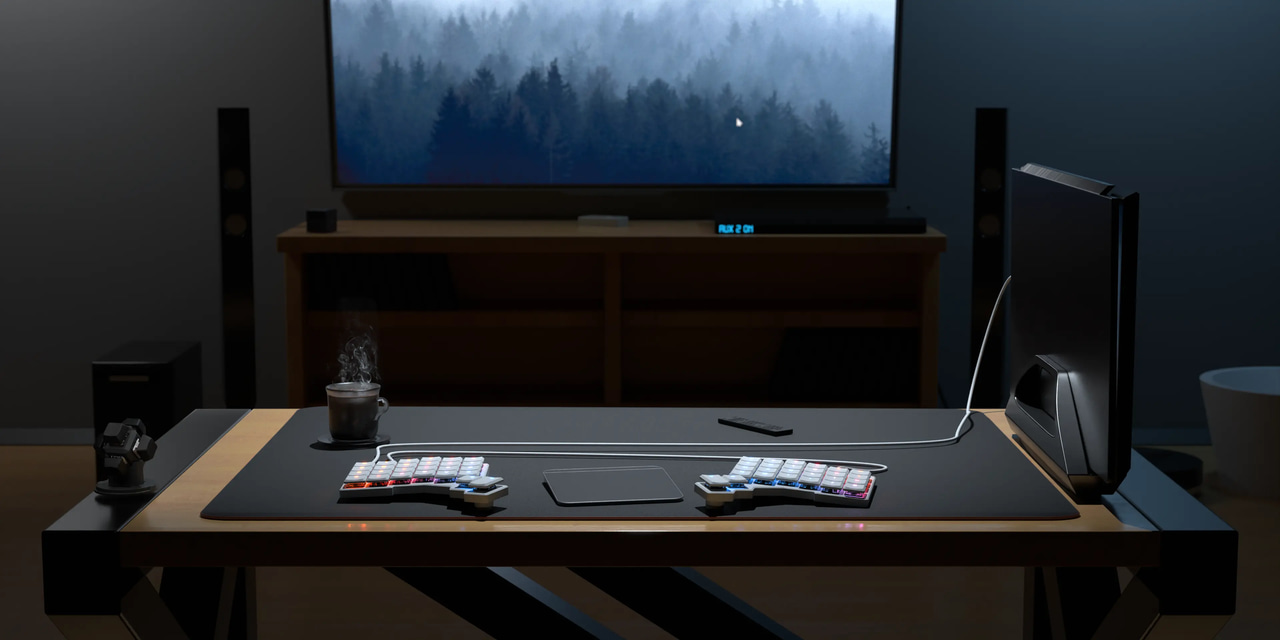
Make it pretty, turn on the lights!
You can turn on the LED Lighting of your keyboard by pressing the lighting toggle switch located on Layer 2 (if you're using the default layout).
Here’s a quick GIF:
There are two ways to control the lights on your Voyager: Manually, or automatically per key/layer. All of this is configurable through Oryx, but we do recommend you familiarize yourself with a few of terms used in our detailed blog post.
Changing your keyswitches
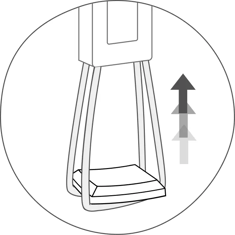
First, we'll be removing the keycap over the switch. Hug it using the "loop" side of the key puller. Then tug directly upwards, gently. You don't want to break off the clips that hold the keycap onto the switch.
If your whole switch comes out, don't panic! You didn't break anything. Some switches grip the board more firmly than others. Simply pull the keycap off the switch and push the switch back into place.
If the switch didn’t come out with the keycap, flip the key puller so that you're using the "tweezers" side of it. Slip the tweezers into the grooves, gently pinching the switch. Then, tug directly upwards and the switch will pop out. It is important you don't do this at an angle, so you don't bend the pins on the switch
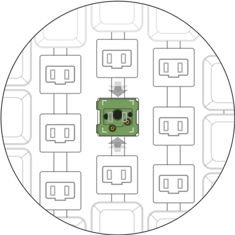
Fun fact: The LED is actually under the keyswitch, not embedded in the switch itself.
That's it. Two steps — it's that simple.
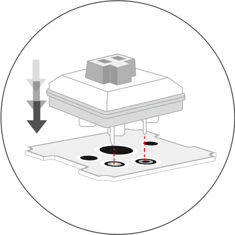
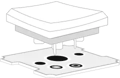
To pop a new switch in, hold it directly over the socket, making sure it's in the correct orientation (switch pins lined up with the sockets on the board). Place it in its slot, then push directly downwards. It should click into place.
If it doesn't, that might mean the pins are bent. Simply pull it out, gently straighten the pins, and give it another go.

To install a keycap on a switch, simply push it in, making sure it's properly centered before applying force. This shouldn't require much force.
Still have a question?
Robin, Nick, Mike, and Erez are here to personally help you. Please email us and we'll get back to you promptly — it is important to us that you have a great experience with your Voyager. ❤
contact@zsa.io