Community
Creations
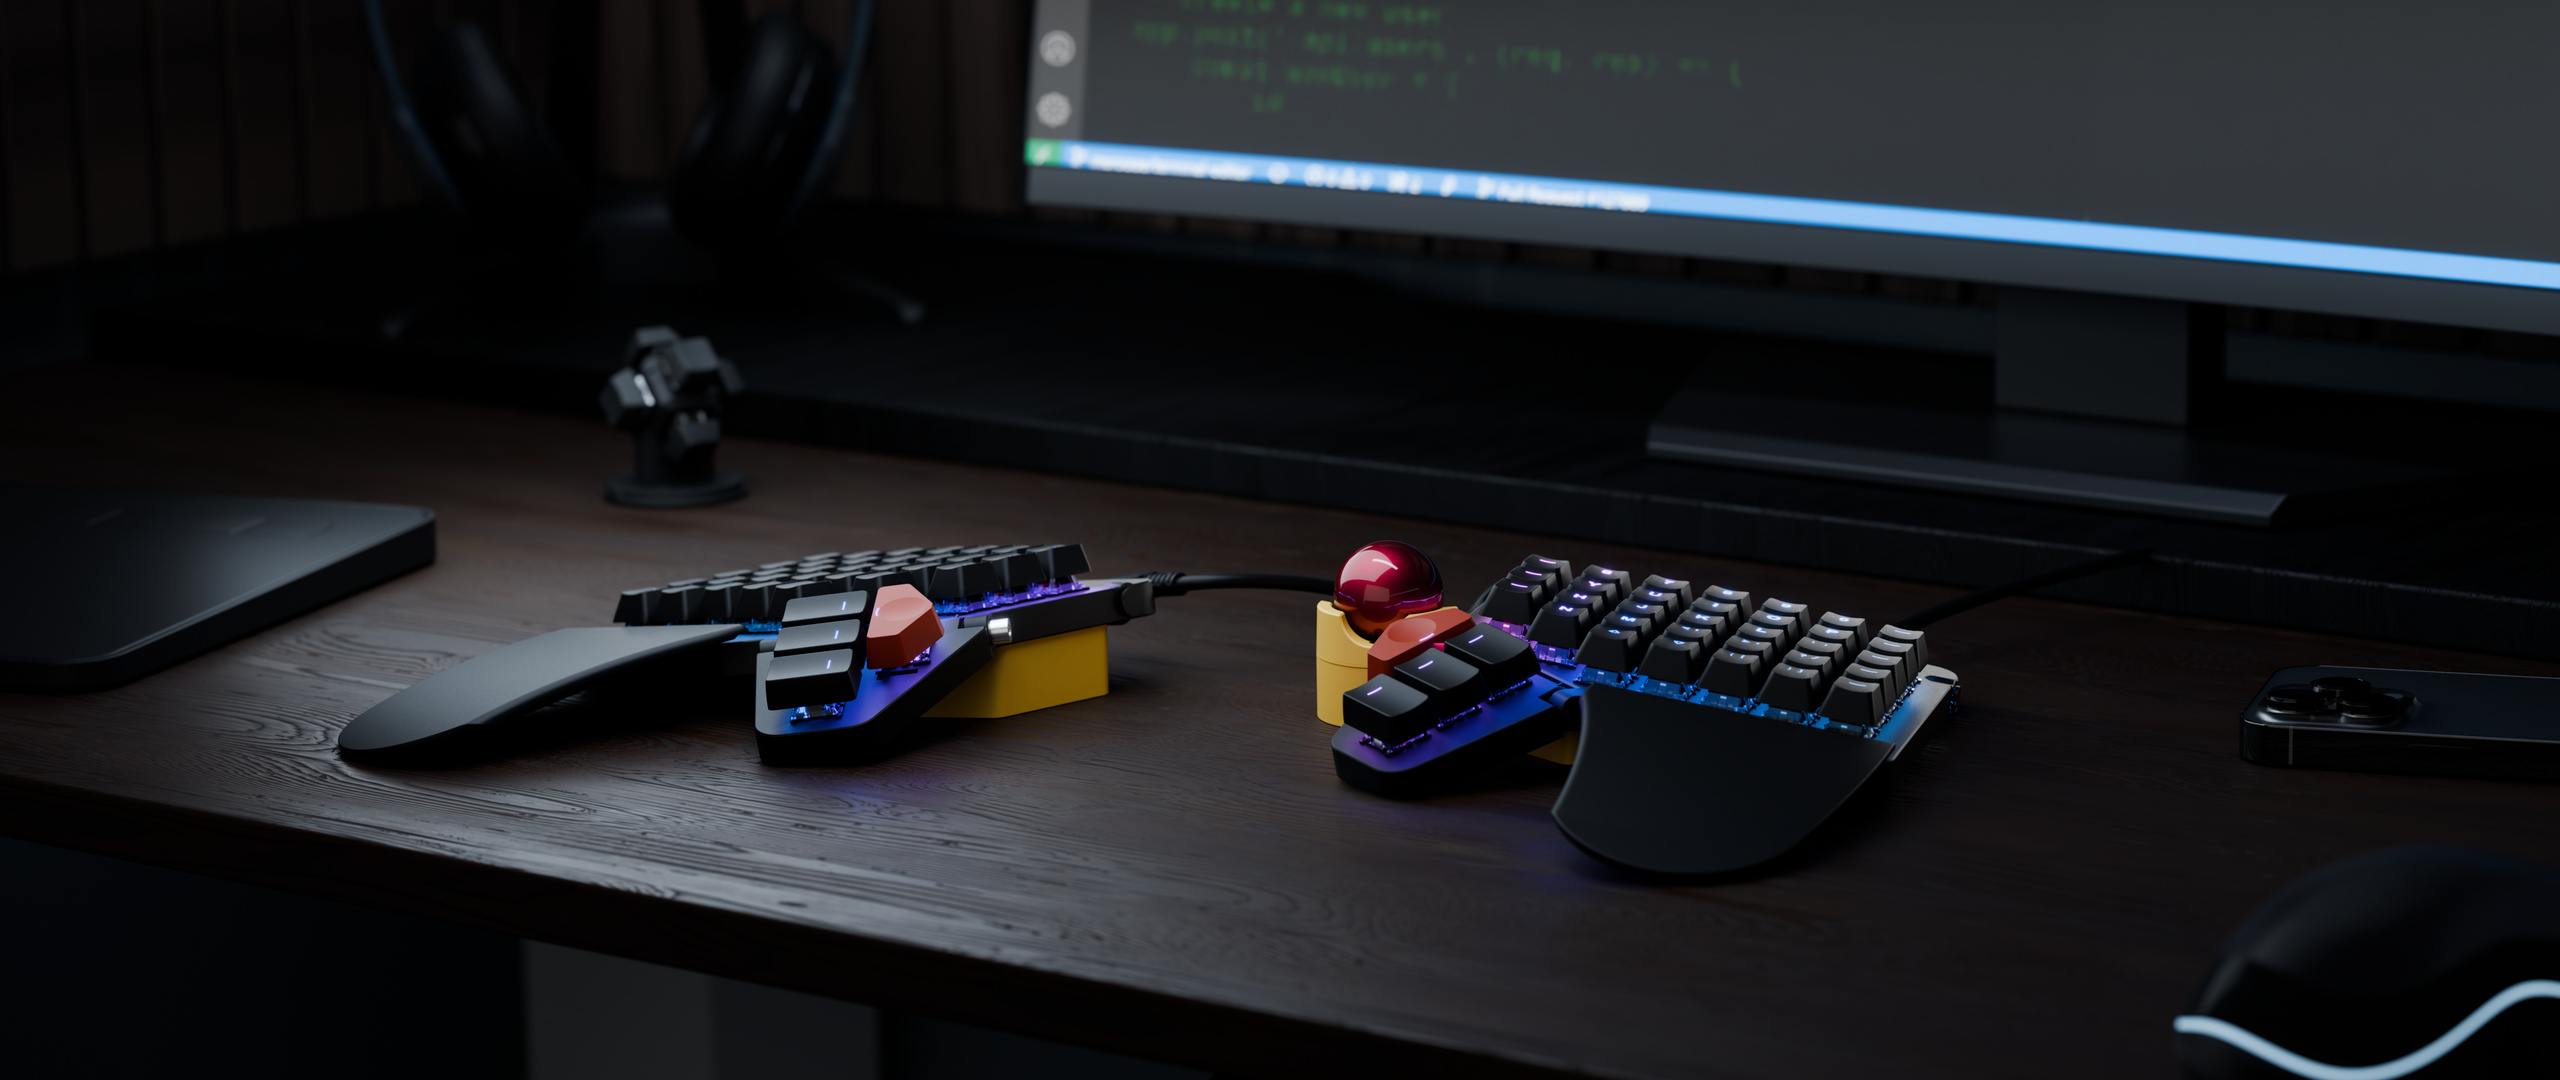
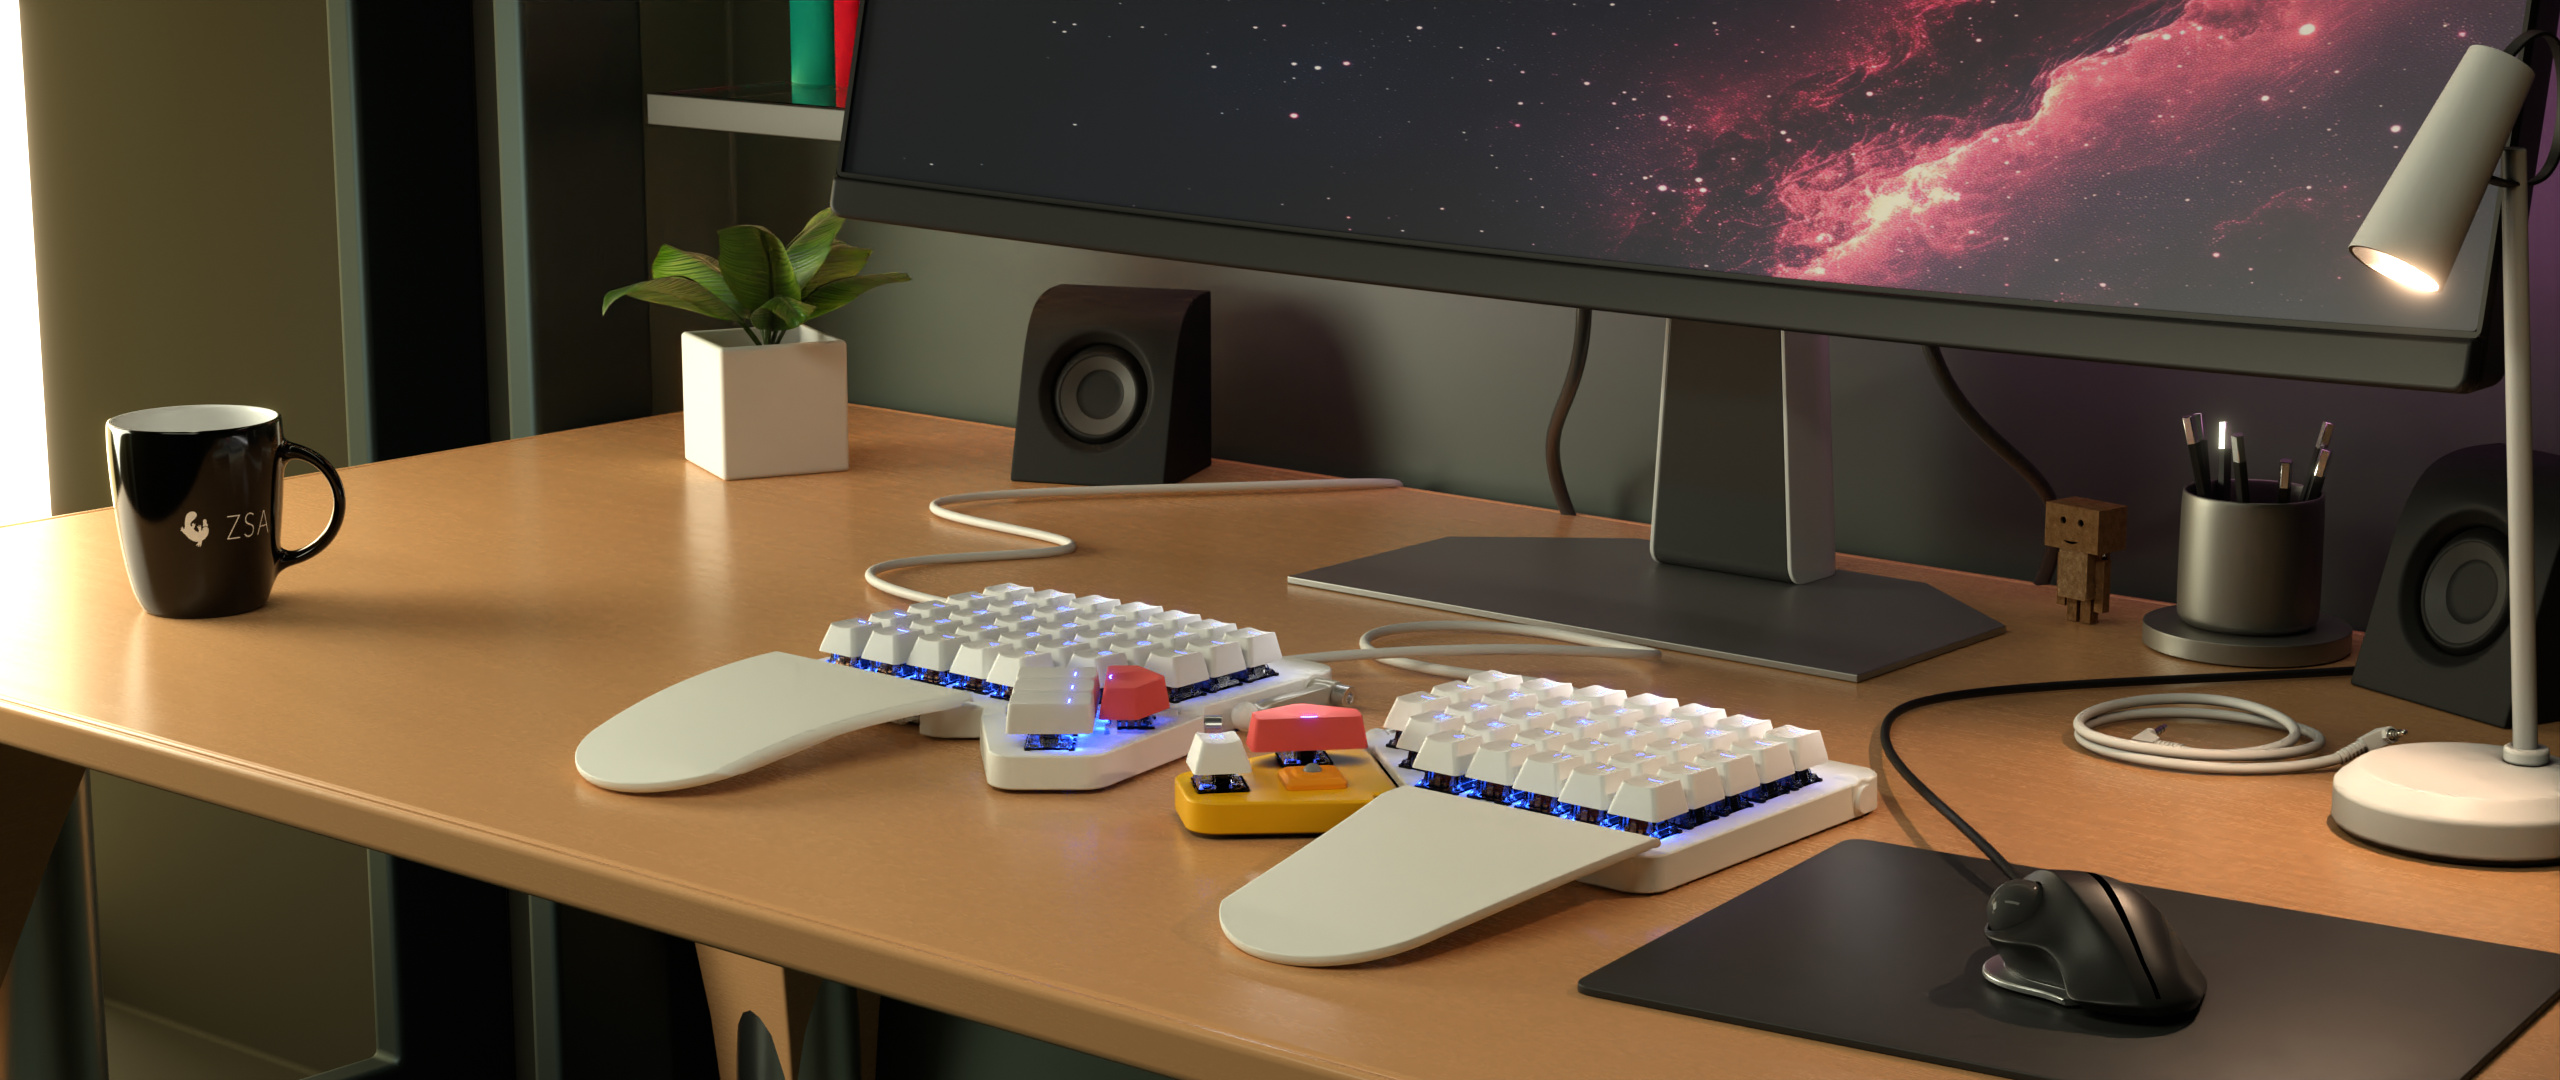
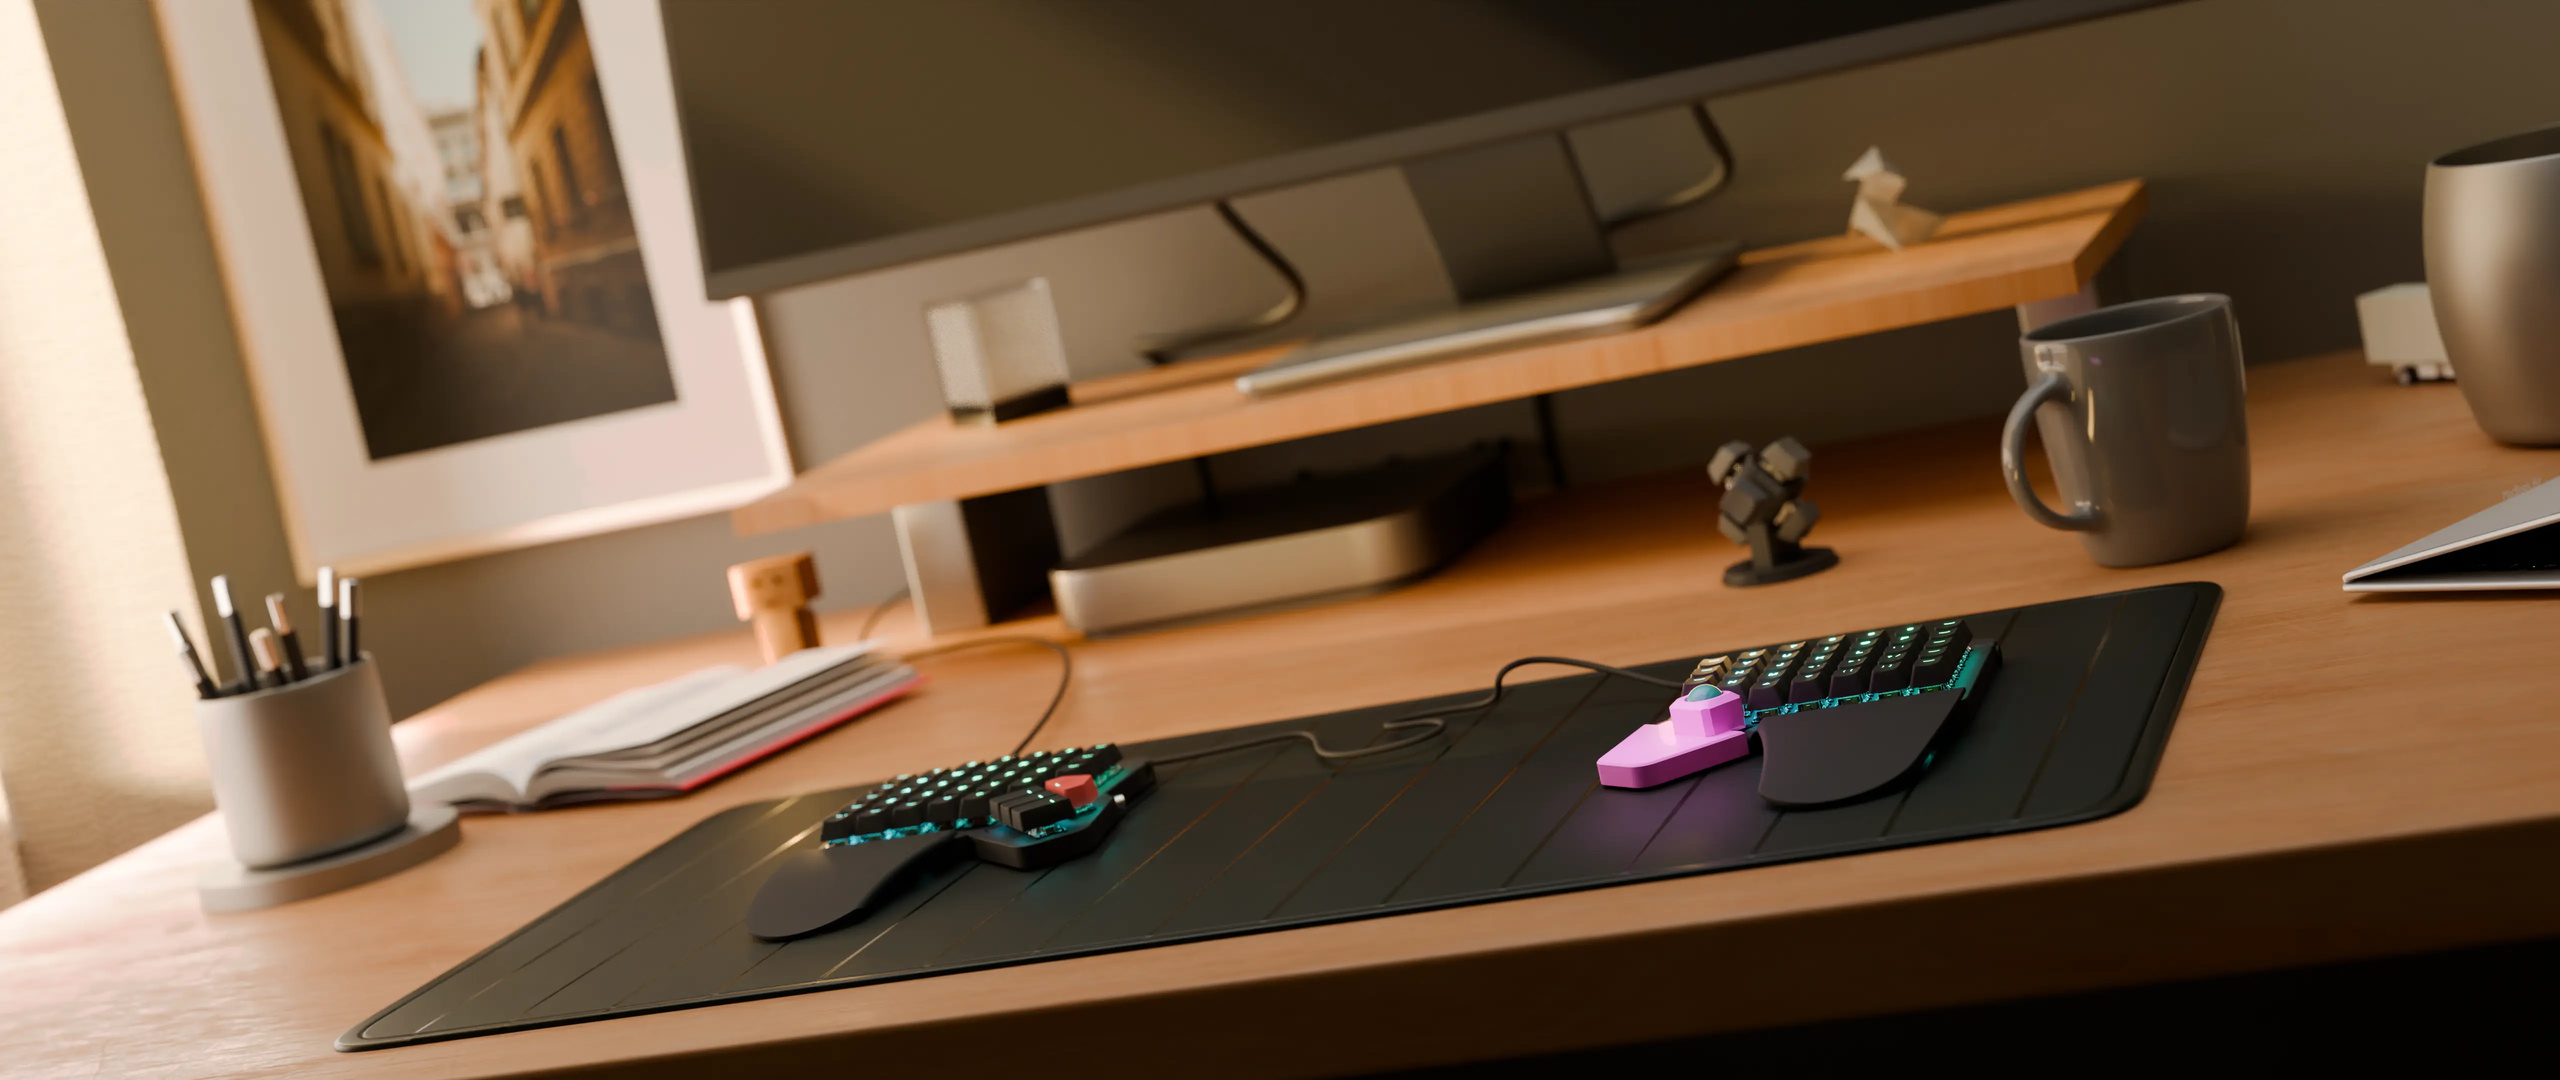

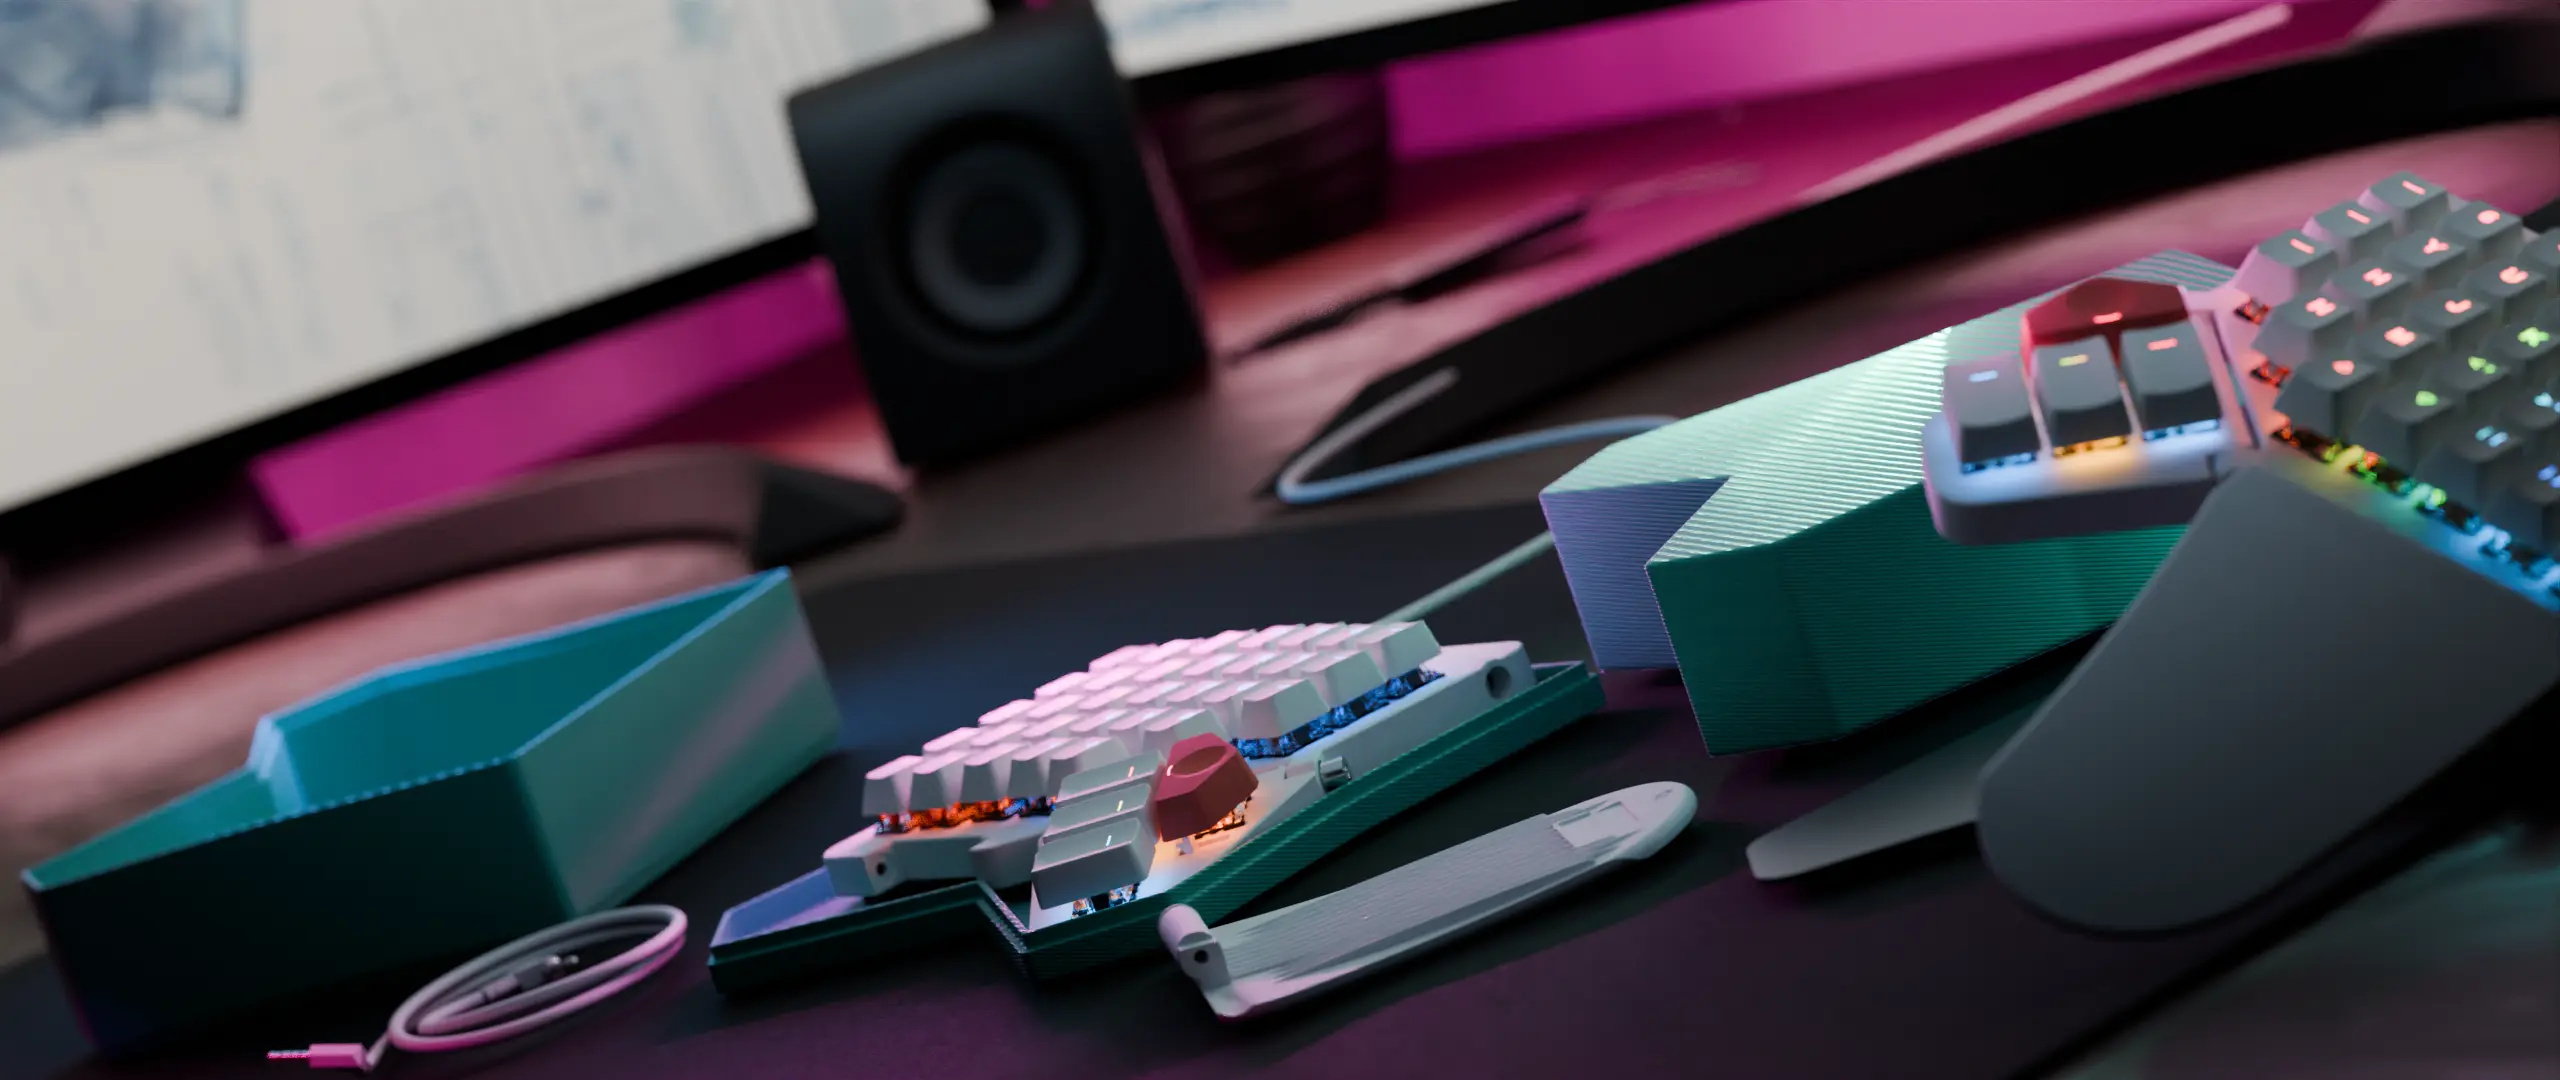
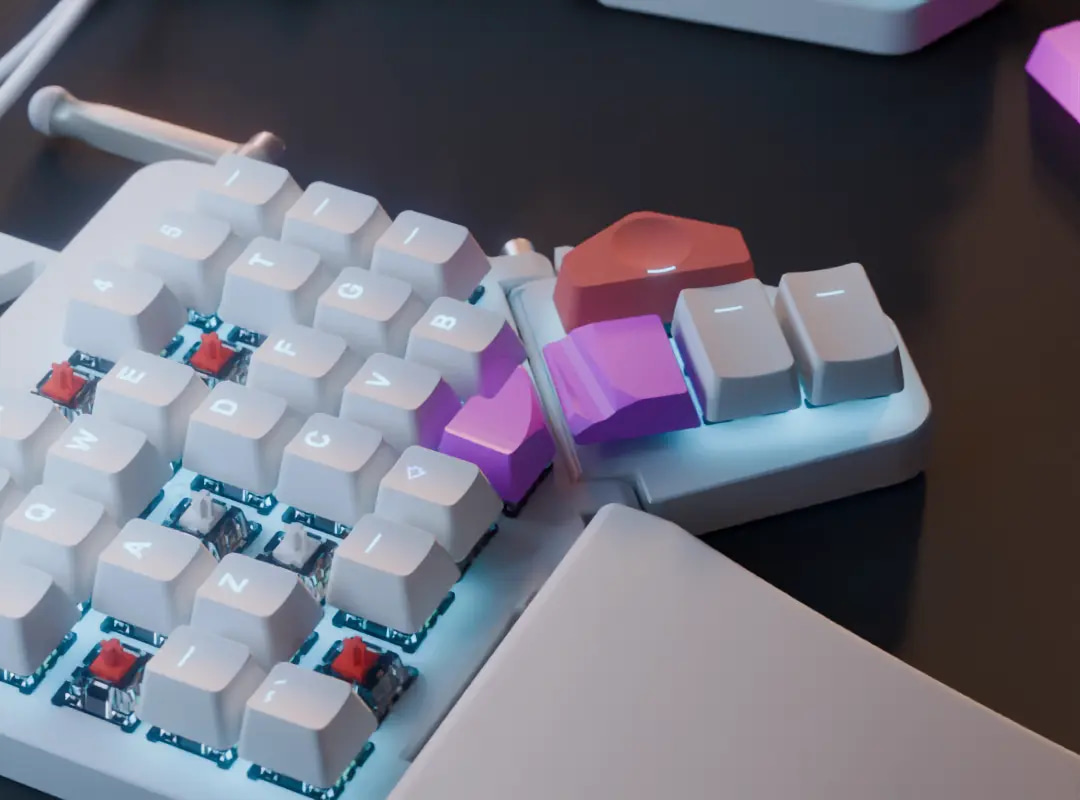
While the Moonlander’s open-source firmware lets you customize anything about how the board works internally, we didn’t want to stop there. The Moonlander is made to be modded: With its modular design and built-in reinforced mounting points, you can design and print your own accessories and add-ons. Here are some cool ones we’ve found.
Filter by:
17 Printables
Moonlander Navigator
A collection of ZSA Navigator shells to use with your Moonlander!
The 3MF file contains 4 different plates, each with a different configuration you can choose depending on what hand you would like the trackball on and whether you would like it below or above the thumb cluster. You only need to print 1 plate. You can also refer to the STL files directly.
All configurations also come with a “wedge” to give the other half of your Moonlander the same tenting angle (20 degrees or so).
All pieces can be mounted to the back of the Moonlander with 4 M2.5x5 screws per side.
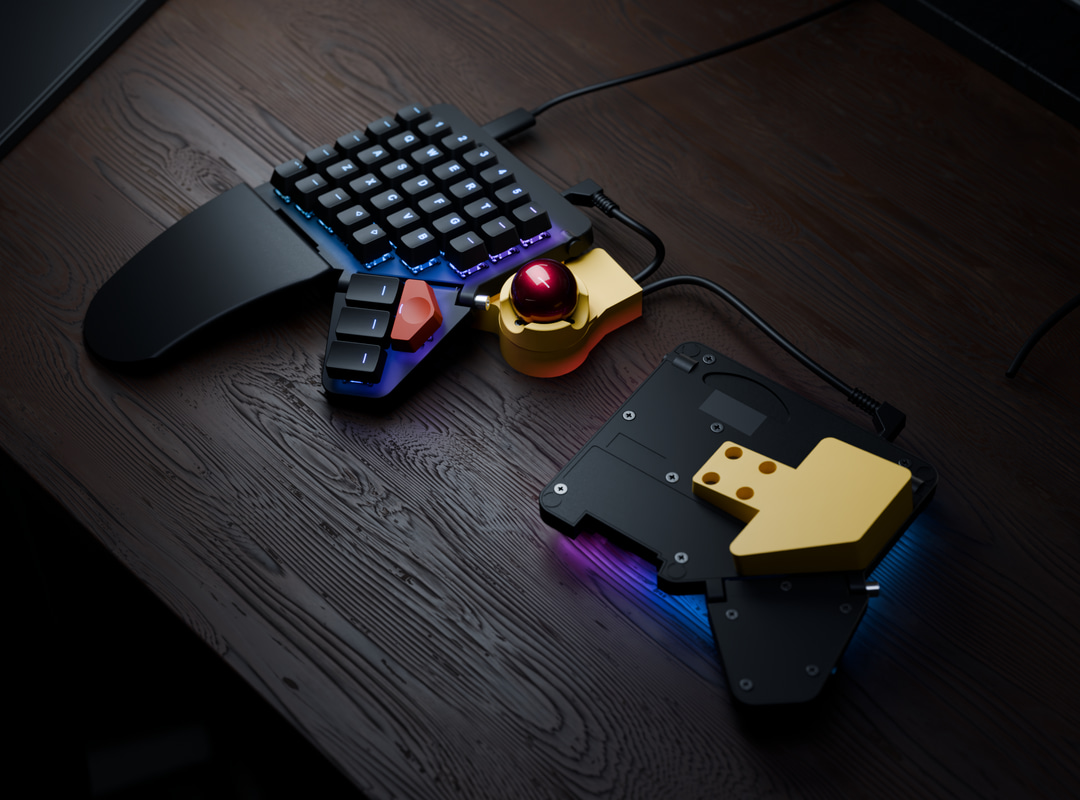
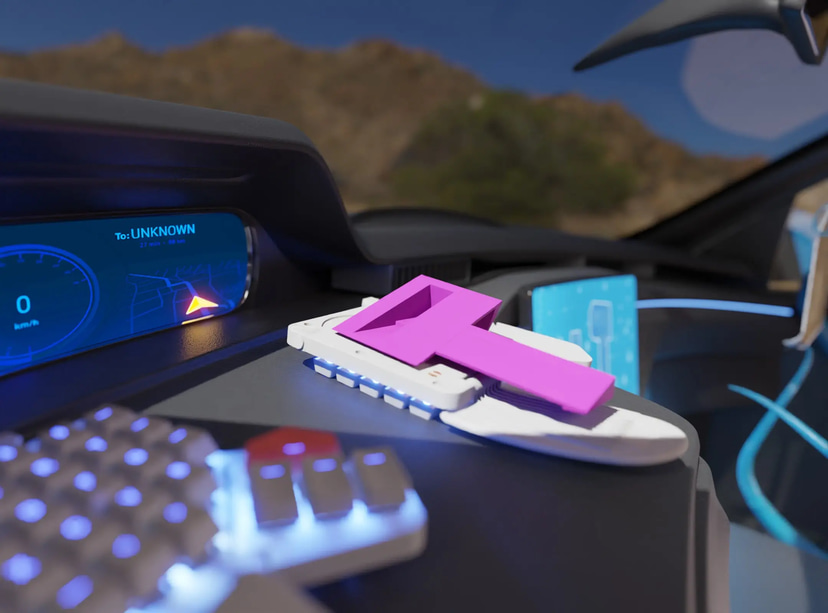
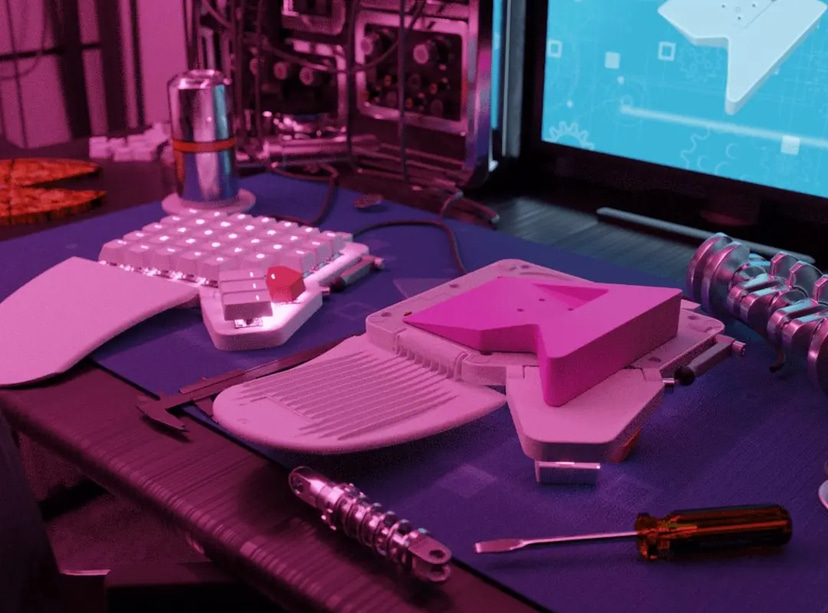
Moonlander Trackball
Perfect integration of a Pimoroni trackball into the right thumb cluster of the Moonlander, while retaining 2 keys.
Moonrover MK2
Replaces the right thumb cluster with a trackball running a PMW3360 sensor on an arduino-based MCU. Connects to the keyboard directly via the original ribbon cable, no external wires to connect, and the keyboard (with trackball) is just as portable as the original keyboard.

Thumb Cluster Leg
I have redesigned a telescopic leg that allows you to have any variable height between 35 to 70mm. This allows a more comfortable tent that allows for the thumb cluster to remain up for easy reach. However, the telescopic leg would require an M3 screw and nut that sort of broke my design philosophy of a tool-less kit. Nevertheless, I'm leaving the original leg design in place if you prefer a tool-less fixed height version.
Moonlander + Platform case
A hard shell case for the ZSA Moonlander keyboard with the platform attachment. Has pegs that fit in the platform holes.
The top and bottom lids can be printed flat side down without support. The middle section is trickier. I printed it peg side down with supports. The supports came off easily with some pliers but the finish is not the best (last picture). Printed with 3 perimeters and 50% infill on an Ender 3 V2 neo and creality PLA. The top and middle sections took about a day each, the bottom about 12 hours.
Note: The rims as-is have some wiggle room, but the friction from where the latches overhang gives a nice firm fit. Adjust “rim_tolerance” in the model file as needed.
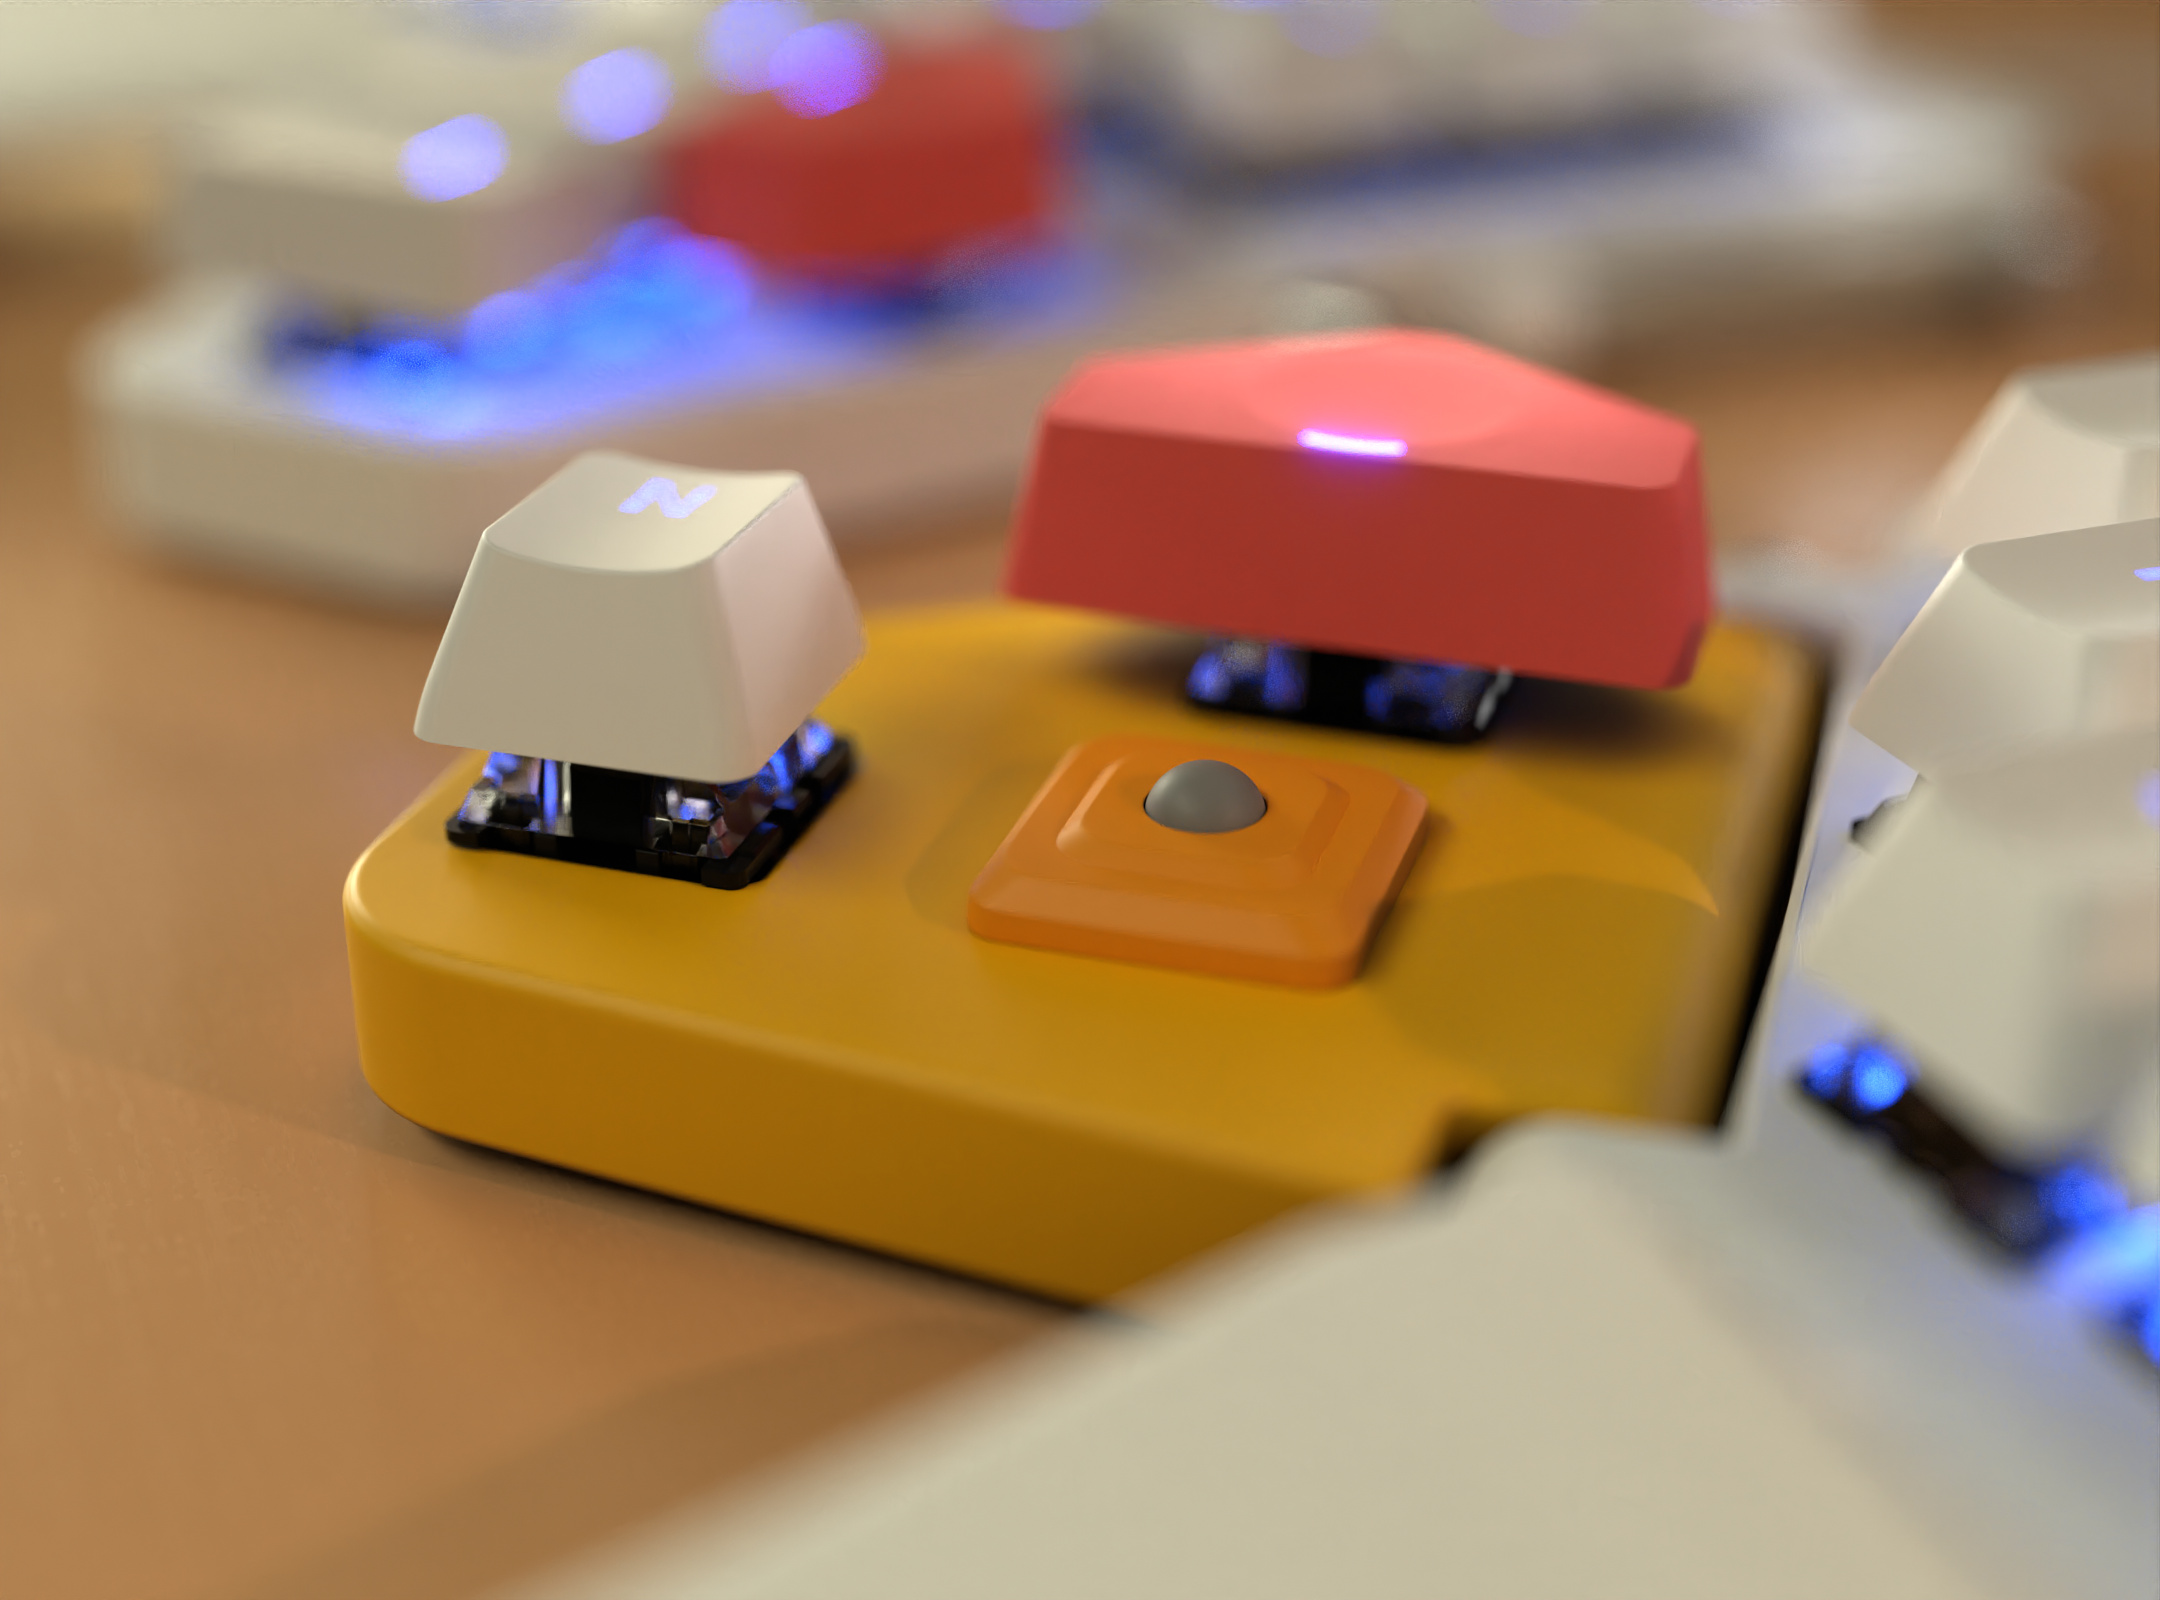
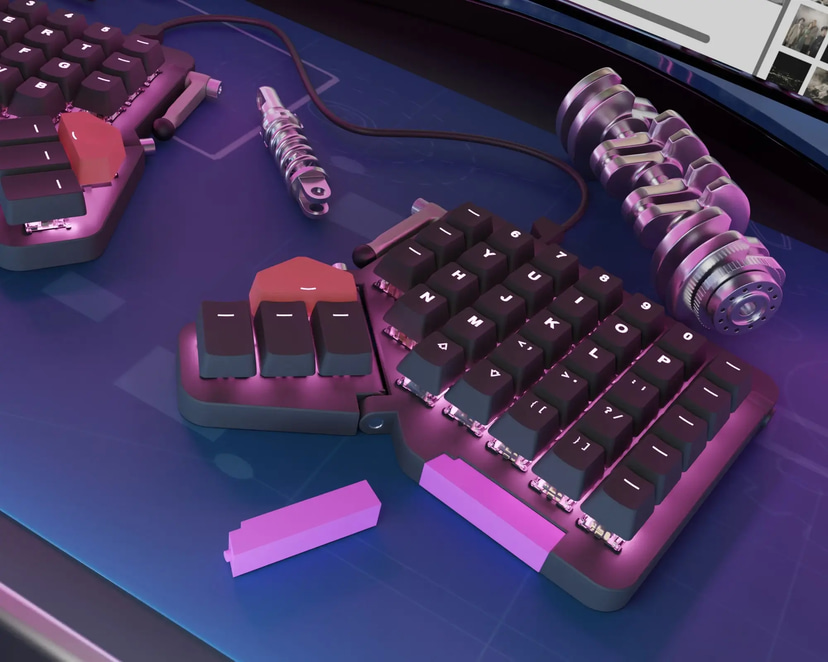
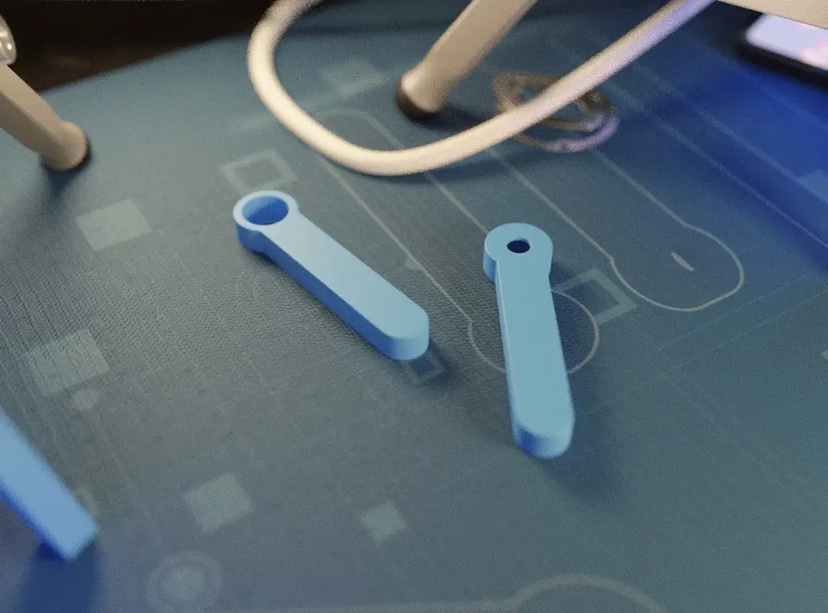
Thumb Keycaps
Custom keycaps for ZSA Moonlander Mark I
I created two sets of keycaps that allow the user to press them more ergonomically. I use these sets for space bar and return. The keycap above the thumb cluster allows thumb to sit slightly towards the center point of two hands, whereas the keycap on the thumb cluster allows thumb to sit slightly away from the center point—giving a more comfortable angle for your thumbs.
Keycap plus holes came out slightly loose for me, but the keycaps were still usable. The mileage may vary depending on the printer and resolution. The wall of holes are really thin, so they are quite prone to crack as you insert them onto switches. I used a liquid resin that's provides more rigidity when cured. For finishing touches, I filed the keycap surface and edges using a dremel with small ceramic grinding ball head and medium to fine grain sandpapers for smoother and sculpted fit.
Zipf Kit
The ZSA Moonlander is a great keyboard, made greater by its customizability. After typing on it for a few months, I've noticed a number of unused keys and wanted to remove them in a graceful way.
ZSA sells the "Zip Kit" with pieces to cover empty key sockets. But at USD$60, I decided to use my 3D printer and Fusion360 skills instead of my wallet to solve this issue. Introducing the Zipf Kit*: because sometimes number 2 is good enough.
Print as many or as few of these key socket covers as you need. They snap into place over the square holes in the Moonlander and spring-loaded arms hold them in place, just like the official Zip alternatives. They pry off with a little finesse.
I've included the design files for easy remixing :) Enjoy!
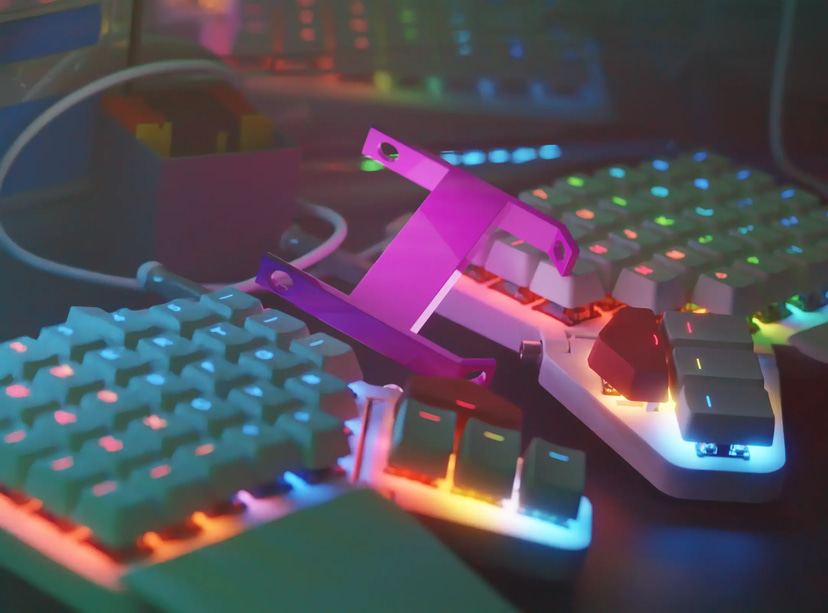
Fixed Bracket
This is a quick model to allow you to attach the two halves of a ZSA Moonlander together so they don't move independently of each other on your desk.
This version does not support using the tenting feature but that is planned for a future version, just need to learn 3d modeling, no biggie ;-)
I found this useful because I tend to move my keyboard around on my fairly small desk to do other things and having a fixed split is much easier on my muscle memory. Getting them the same distance and orientation from each other repeatedly after moving got annoying.
Hoping to figure out how to hinge the linking crossbar so that the tenting can still be used with the bracket attached. Possibly a mechanism, or just different models, for adjusting the angle of the two halves, this model places the two halves directly parallel to each other.
Uses original ZSA hardware to mount.
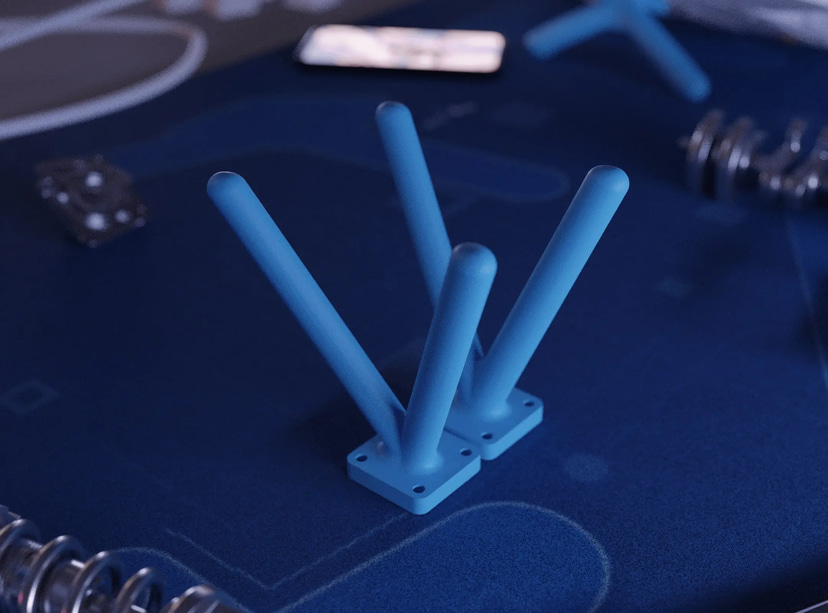
Vertical Tent Kit
Tent Kit for the ZSA Moonlander. It needs M2.6x8mm screws to screw the stand to the bottom of the keyboard. I used a 3/4 inch diameter carbon fiber tube to separate the two halves. The part is symmetric, but will have to mirror one of the prints if you want the screws used to fasten the carbon fiber tube (optional) to be on the same side.
Extended Leg
This is an extended leg for the Moonlander that allows you to tent the keyboard higher than stock.
The tenting angle is 19 degrees - or slightly higher than the highest tenting level with the default tenting legs that come with the Moonlander
Unlike other tenting kits I've seen, this one attaches to the bottom of the keyboard using the mounting bracket on the bottom of the keyboard with 4 M2.6x8 screws.

Tenting Kit
A tenting kit for the ZSA Moonlander keyboard that allows the thumb cluster to remain level or tilted upward.
The tenting angle is 19 degrees - or slightly higher than the highest tenting level with the default tenting legs that come with the Moonlander
Unlike other tenting kits I've seen, this one attaches to the bottom of the keyboard using the mounting bracket on the bottom of the keyboard with 4 M2.6x8 screws.
The main advantage of this is a flat bottom surface which is easier to attach non-stick rubber pads to prevent movement of the keyboard (other leg-based kits tend to slide around in my experience) as well as the ability to remove the tenting legs entirely for a cleaner look.
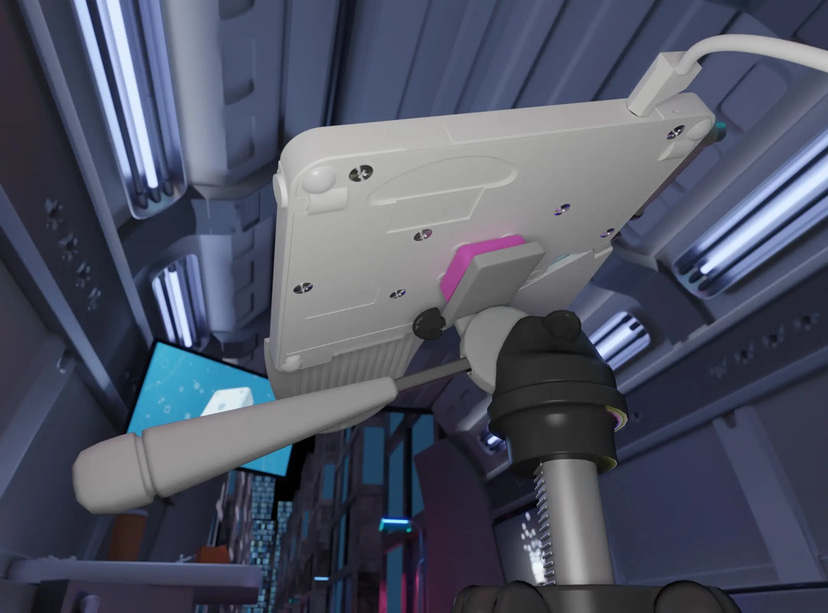
Tripod Kit
This lets you connect your Moonlander keyboard to a standard tripod mount (1/4"). The threads are modeled and they worked fine for me printed on a Prusa i3 MK3S in PETG.
I have the holes 19.5mm apart. This doesn't seem quite right; it's hard to get all 4 screws in, but I don't have the measuring tools to accurately measure this. I'd recommend not using this model, honestly. This is only here because people have asked, and it's enough to get started and refine later if you really need to put more than 2 screws in.
I used M2.5 screws. Some other things on Thingiverse recommend M2.6 screws. I have never seen such a screw and found M2.5 to be perfect. Your mileage may vary.
Wedge
This is a wedge that screws to the bottom of your Moonlander keyboard so that you can tent it while still being able to tilt the thumb extension up.
For extra stability, you can't tilt the thumb cluster down anymore. My first iteration of this design allowed that, but I don't use it and prefer the extra stability of the keyboard with the extra material. You can press the outermost thumb key as hard as you like, and the keyboard doesn't move. If you have big hands, this is not the item for you (but you can slice off the part that prevents movement of the thumb cluster ;).
You will need to mirror this in your slicer to make one for the left hand.
Due to some measurement error, the holes do not quite line up, and you can only get two screws in. I measured the hole spacing as 19.5mm, but it's clearly not.
Notch Blank
“Model for a blank to fit in the wrist rest notch of a ZSA Moonlander keyboard. Flip it on X or Y axis to get the other side. May require a bit of shaving to get in, as well as removing the adhesive rubber grommets around one of the post holes. Supports needed for the pegs on the blank.”
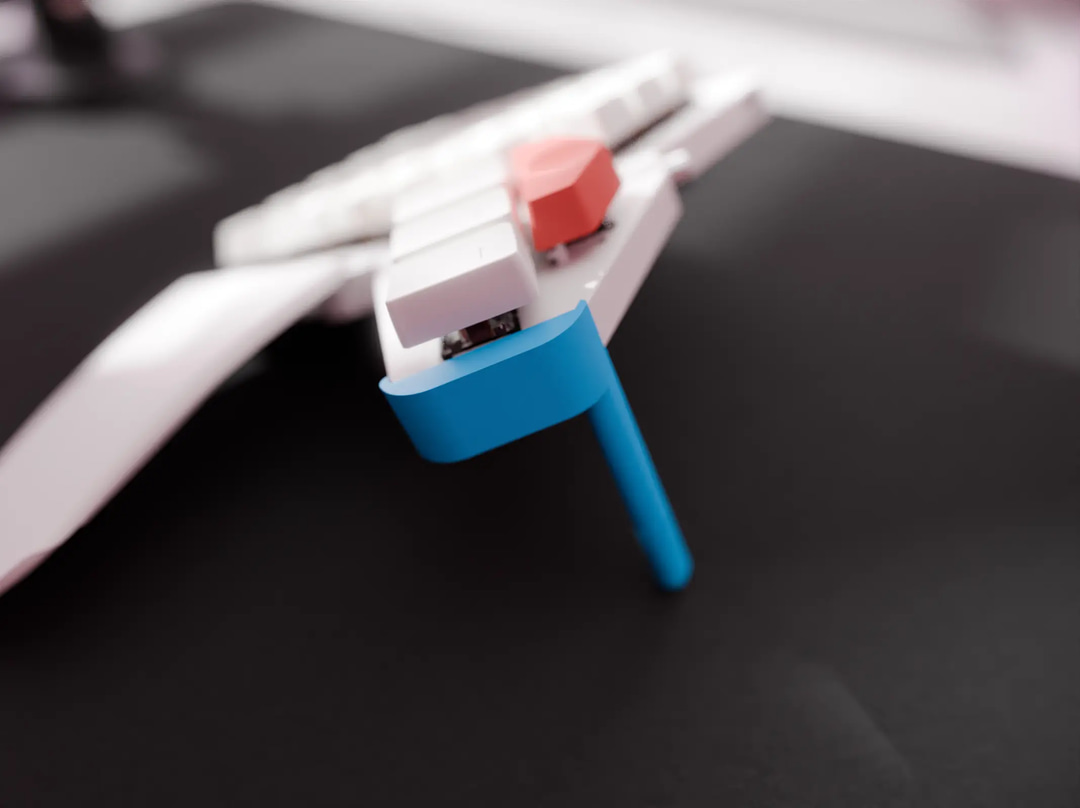
Thumb Cluster Mini-Leg
“A mini-leg for the Moonlander thumb cluster. I wanted something hidden and with a small amount of lift so I could leave the thumb cluster level or tilted up. The amount of lift is fixed, but I'd be wiling to make a larger size if requested.”
Thumb Cluster Leg
Leg design for the Moonlander keyboard allowing independent motion of thumb cluster. Uses original hardware.
Until ZSA comes up with their own solution, I decided to craft some legs to allow tenting of the keyboard and also allow the thumb cluster to move in its upper position. I have "medium" sized hands but I find the cluster is more comfortable up than down, especially for WASD.
Few disclaimers: Since there is no ratcheting mechanism, these will not be as secure as the other legs, however they appear to hold under normal palm/typing pressure with a "sane" amount of torque on the bolts. Also keep in mind there will be fewer threads grabbing the thumb cluster. As with any mod, use at your own risk.
Tent Kit
“Tent Kit for the ZSA Moonlander. It needs M2.6x8mm screws to screw the stand to the bottom of the keyboard. One of the legs will be a bit too long. I just heated and flattened it out.”
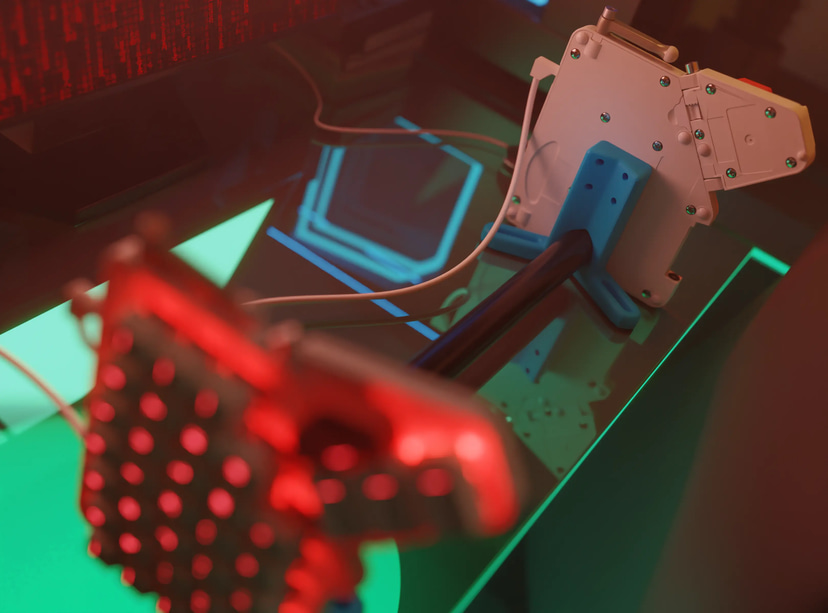
Make Your Own Design
One thing that might help you design a Moonlander accessory is the STL file for the shell of the unit. This contains exact measurements, so you can design around it and make sure your new accessory fits perfectly.
Once you have a design you’re happy with, please feel free to put it up on Thingiverse for others to use. If you’d like to be featured on this page, email us at contact@zsa.io and let’s talk!
The fine print
This is an obvious point but we still have to write it: None of these accessories are officially supported or endorsed by ZSA. These are just cool things other people made. The whole point is to make the unit your own, mod and hack it to your heart’s content. It is possible to void your warranty while doing this (if you break the case, for example). Good luck, and have fun!