Use the right tool for the job
Your keyboard comes with a double-sided key puller, designed to make it easy and safe to pull out both keycaps and the keyswitches that lie under them. Before you begin, make sure you have this key puller to hand.
Next-level customization, out of the box

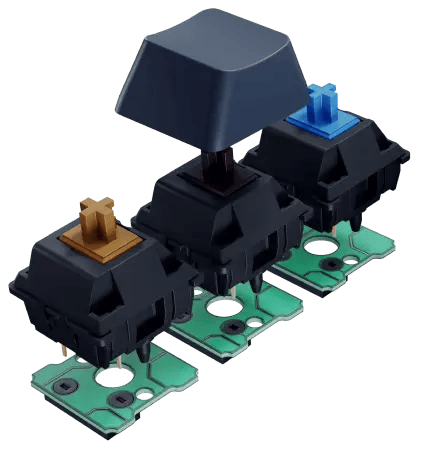
We love keyboards, so we get you. Picking the right switch for your board is hard. It‘s usually a choice you get to make just once. Then, those switches get soldered onto the board, and that‘s it (unless you‘re handy with a soldering iron, that is).
This is not the case with the "Moonlander. The switches aren‘t soldered on: They sit in special sockets. The board comes with a tool in the box that lets you pull switches out anytime, so you can just pop new ones in.
With the Moonlander, you can launch an exploration mission into the universe of mechanical keyswitches!
As you may know, your Moonlander makes it possible for you to switch your switches (sorry for the pun).
This isn't something you're likely to do on day one, but it's nice to know how simple it is. Scroll down to see the procedure, and feel free to refer back to this page when you decide to try out some new keyswitches.

Your keyboard comes with a double-sided key puller, designed to make it easy and safe to pull out both keycaps and the keyswitches that lie under them. Before you begin, make sure you have this key puller to hand.

If you typically tent your Moonlander, use the included hex key to loosen the thumb cluster tenting screw and the leg. Lay the keyboard completely flat on your desk before proceeding, as you will be applying moderate pressure to the unit in some of the following steps.

First, you're going to have to pull out your keycaps. Use the "wire loop" side of the key puller for this.

Now comes the fun part. Here, orientation matters: Insert the tweezers under the switch where you see the little tabs.

Squeeze the tweezers around the switch and pull up with a smooth upward motion. The keyswitch will come out - victory!

Once you have your switch out, you'll see the socket. Before you insert the new switch in, make sure its pins are straight and that it's correctly oriented. Then, simply push straight down, and the switch will click into place.

Repeat for as many keys as you'd like. Then, bask in the satisfaction of a job well done: You just did something most mechanical keyboard owners can't.