Voyager Monolith Wrist Rest Guide
Monolith Overview
Thanks for checking out this wrist rest system!
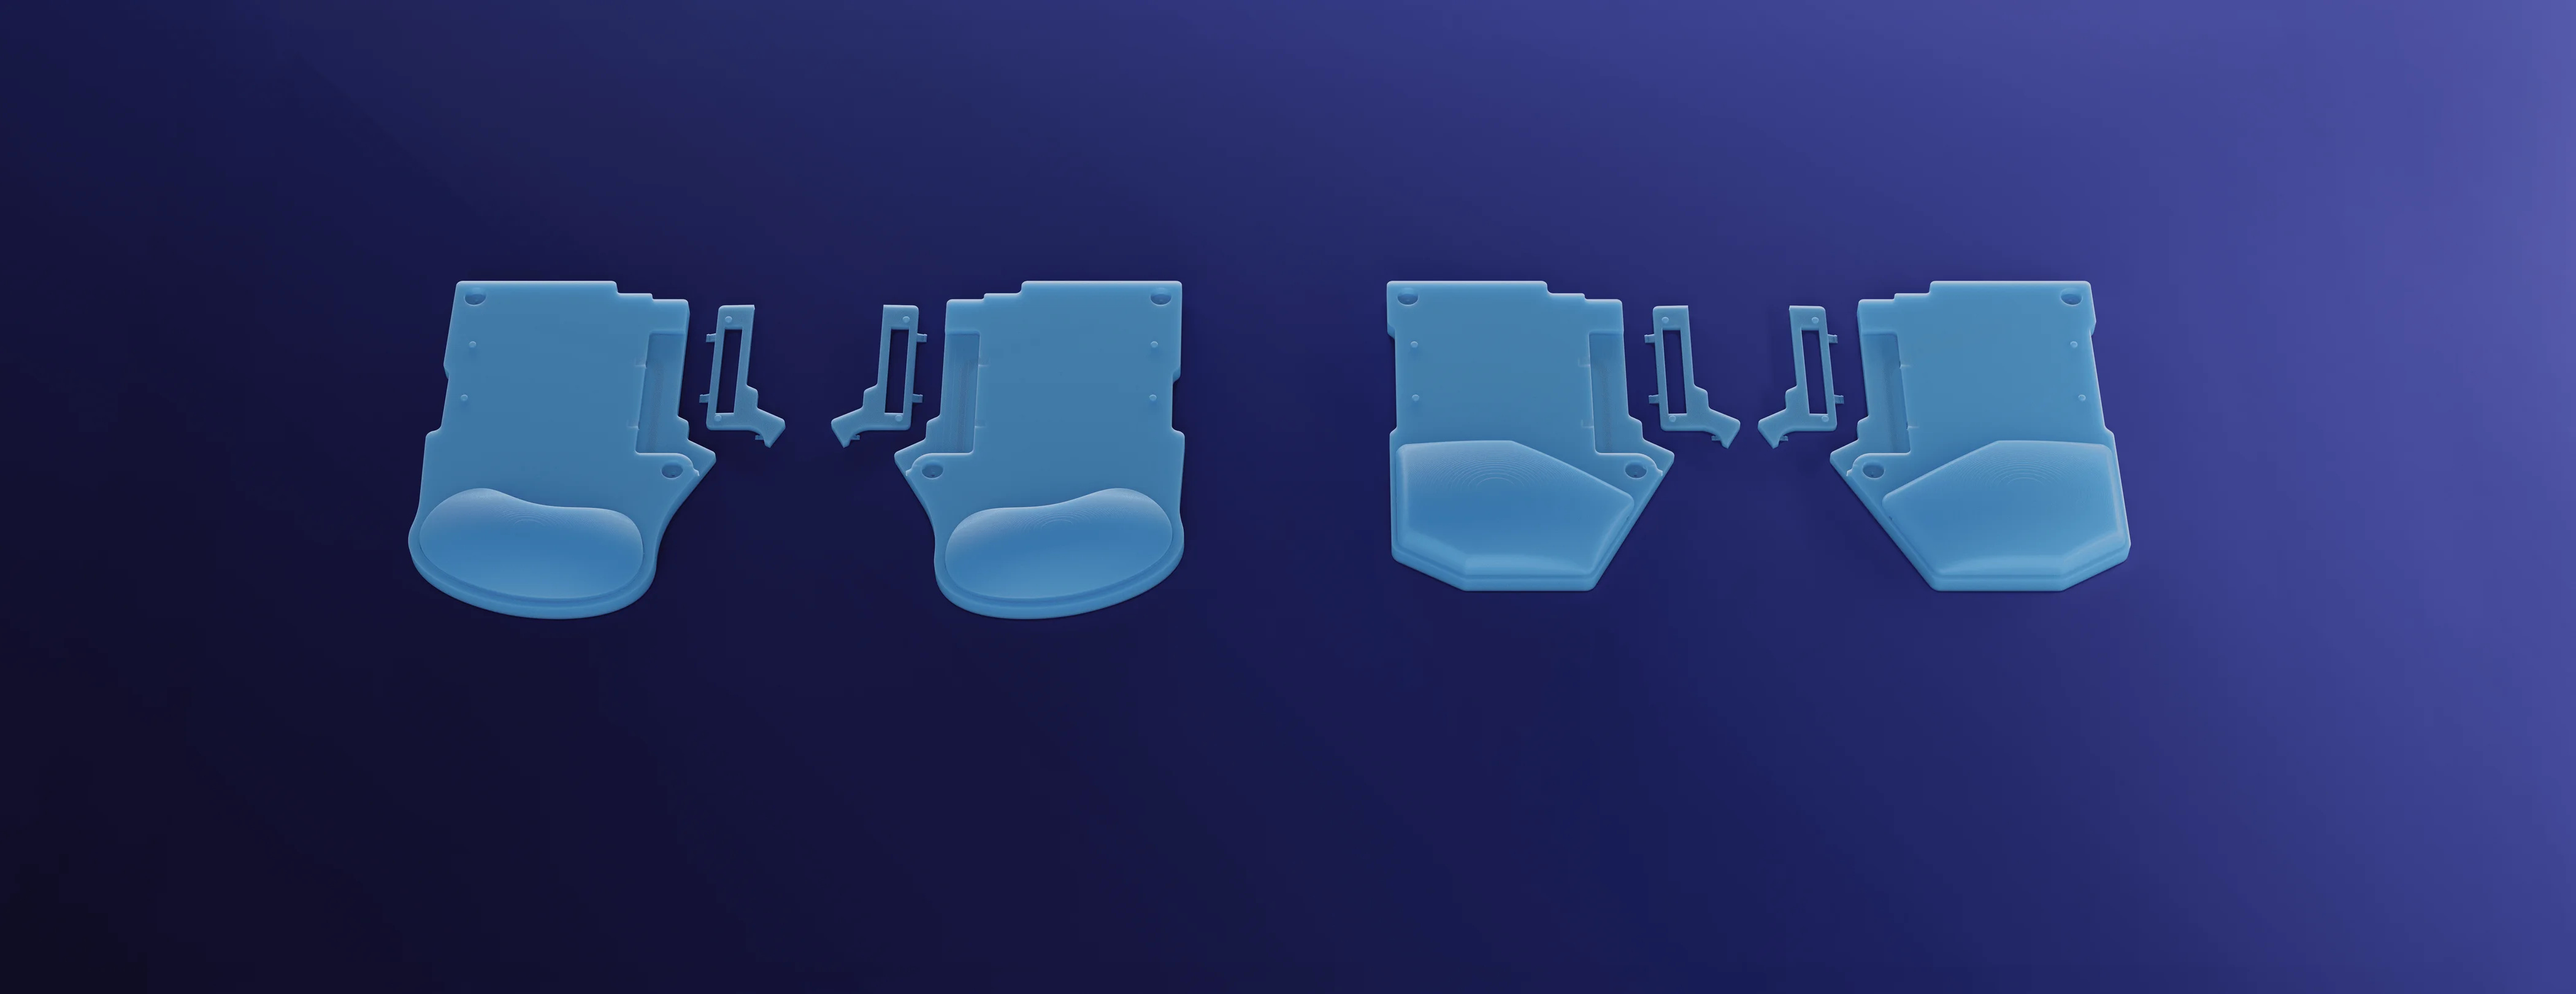
This is a 3D-printable system of palm/wrist rests for the Voyager. You’re currently looking at the free version, called the Monolith version.
The Monolith version is one, fixed configuration for each wrist rest shape. We intend for the Monolith version to be a basic intro to the system, but that said, both Monolith wrist rest designs are fully-functional. If you like the Monolith version as it is, you’re all set. If you want to explore further, the full files will give you many more options for parts and ways to mix and match them, plus instructions for padded wrist rests.
We hope you check out the full files and build a setup that’s custom-made for you, but for now, enjoy the Monolith. :)
Printing and Assembly
There is very little assembly needed for the Monolith version. Just choose a shape (angular or bean), print it, and you’re ready to go. Optionally, you can add hot-glue feet to the base to make it grippier on your desk. Instructions for that below.
Since the Monolith version is pretty simple, you shouldn’t need many special print settings, but here are a few highlights to keep in mind:
- A 0.2mm layer height with a 0.4mm nozzle is ideal. Other setups can work, but they haven’t been thoroughly tested.
- Print these without supports. Supports aren’t needed and will be very difficult to remove from some areas of the design. The only area where this could get tricky is the channels in the base of the design, but we designed around this. Just be sure to set the bridge direction to 45 degrees so it turns out correctly.
- All designs were tested with a 10% sparse infill density. If you want a heavier part, you can increase this percentage, but the print will use more filament, of course. A better approach would be to add a pause and fill the print with something, like cement or sand.
Making hot glue feet
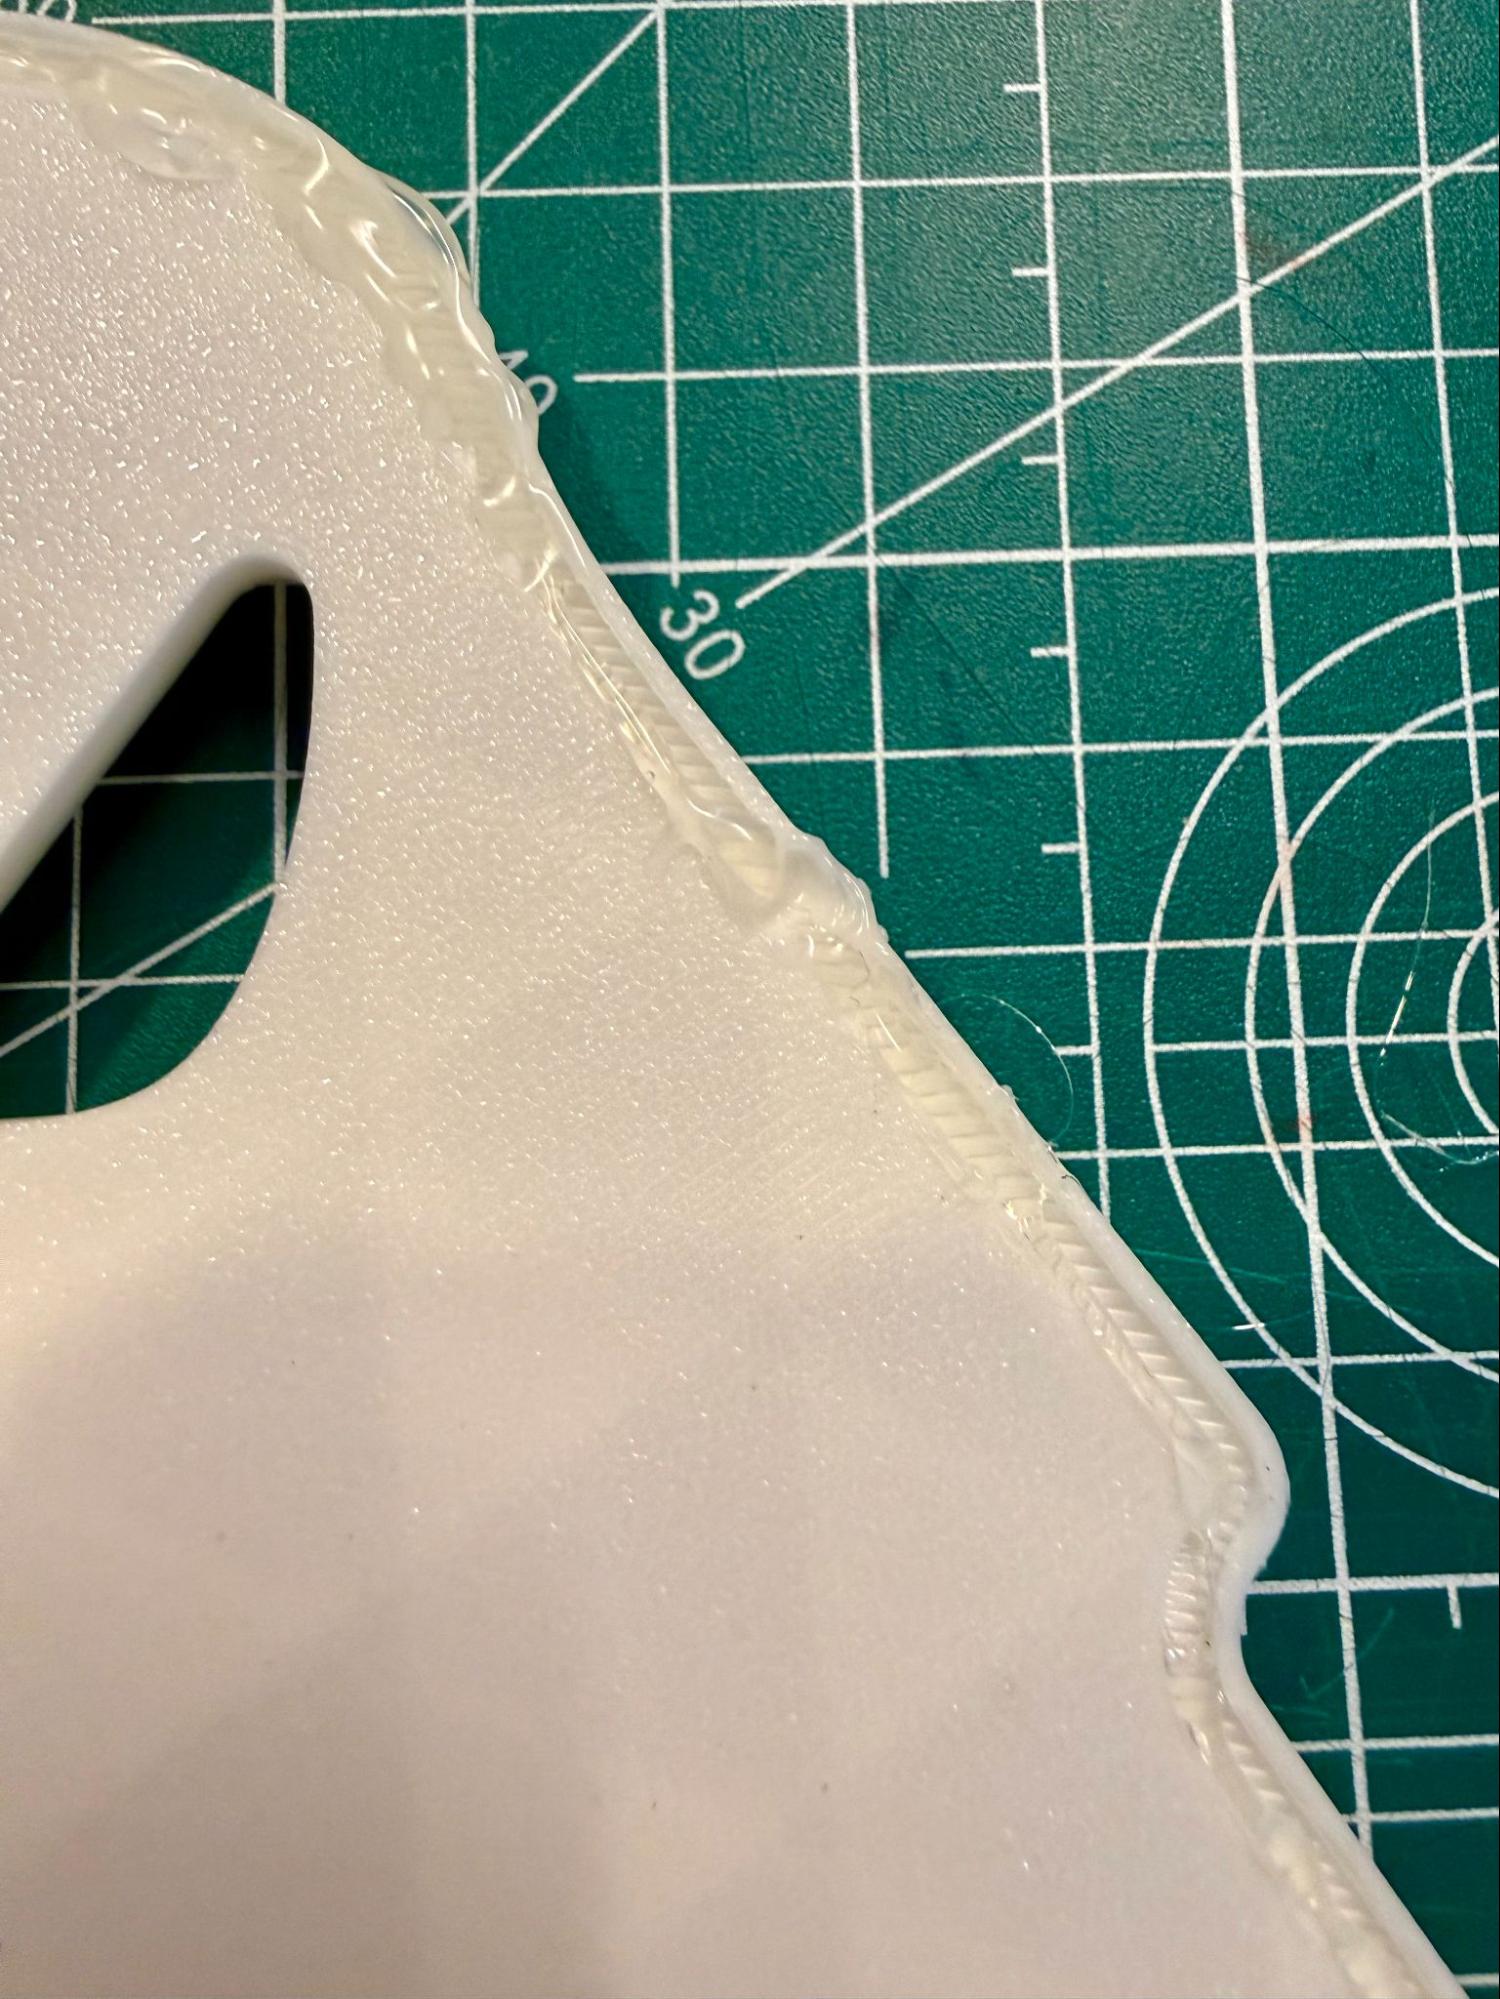
To make the base grippier so it doesn’t slide while you type, the underside of the bases features a channel to use as a guide for hot glue. Given a little time to dry, hot glue is solid and not sticky like glue anymore, but it becomes quite grippy, just like the real feet we use on our keyboards.
Of course, you can also find these feet online or in craft stores (try searching for “cabinet door bumpers”), but most people already have a hot glue gun laying around. You’ll only need around 1-2 sticks of hot glue for this, so the hot glue approach is very economical, too.
Two ways to use the hot glue channels
There are two ways to use the hot glue channels.
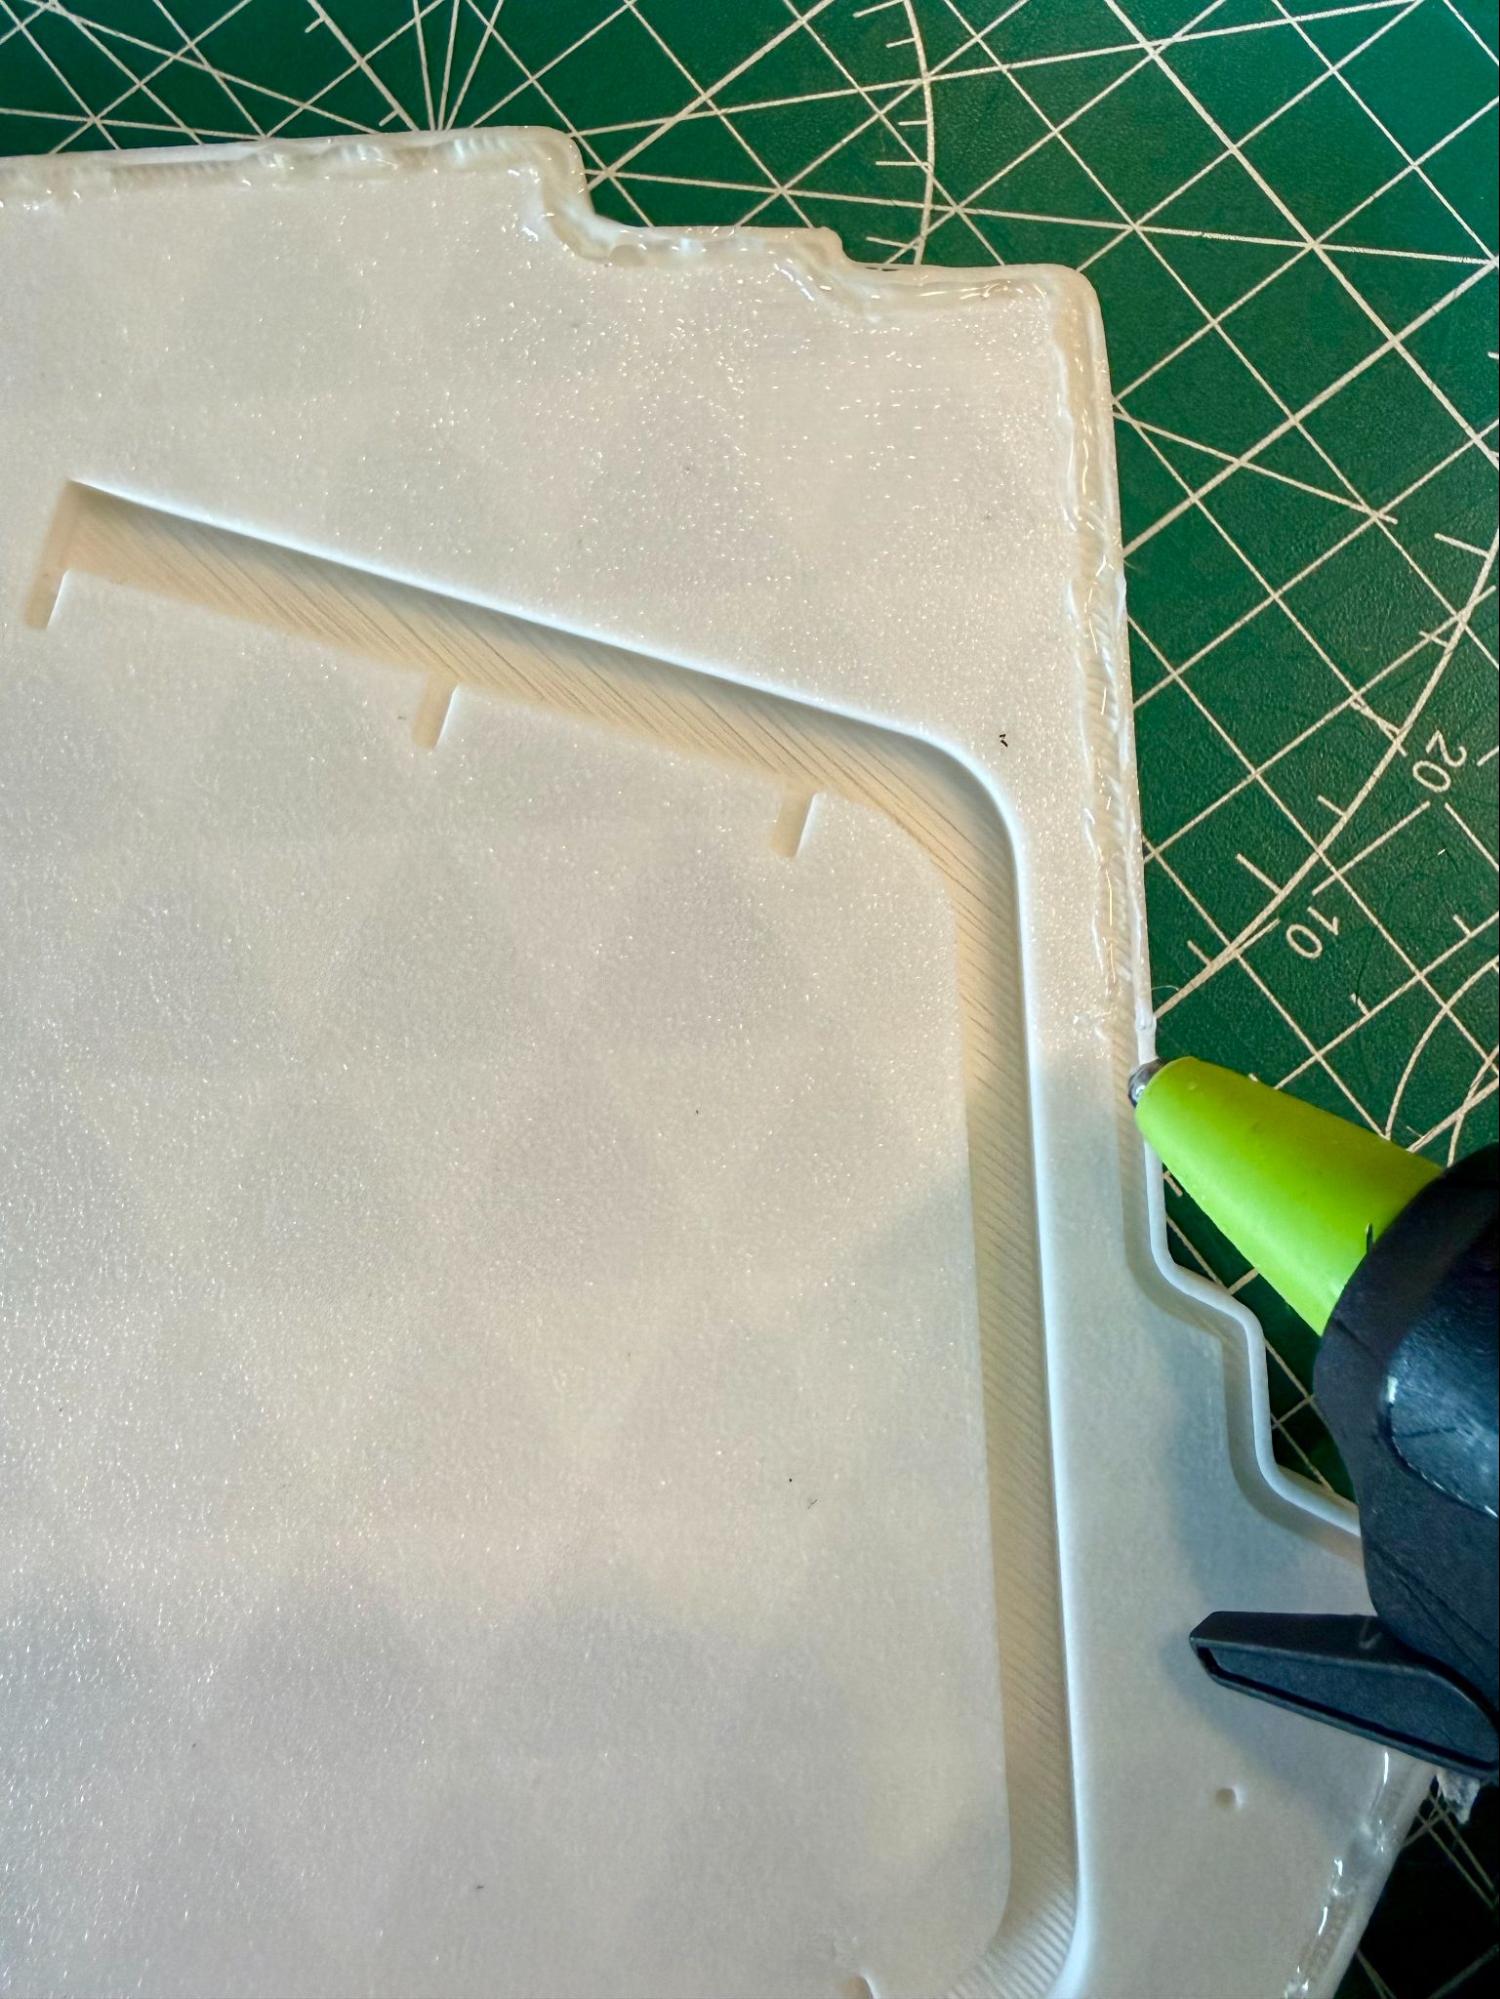
The first way is to position the tip of the glue gun parallel to the channel and draw the glue straight down the line. The goal is to make the glue spill out of the channel just a little bit so that it is the thing that contacts your desk rather than the plastic base.
Don’t worry about being super-exact. This will only be on the bottom of the base where no one will see.
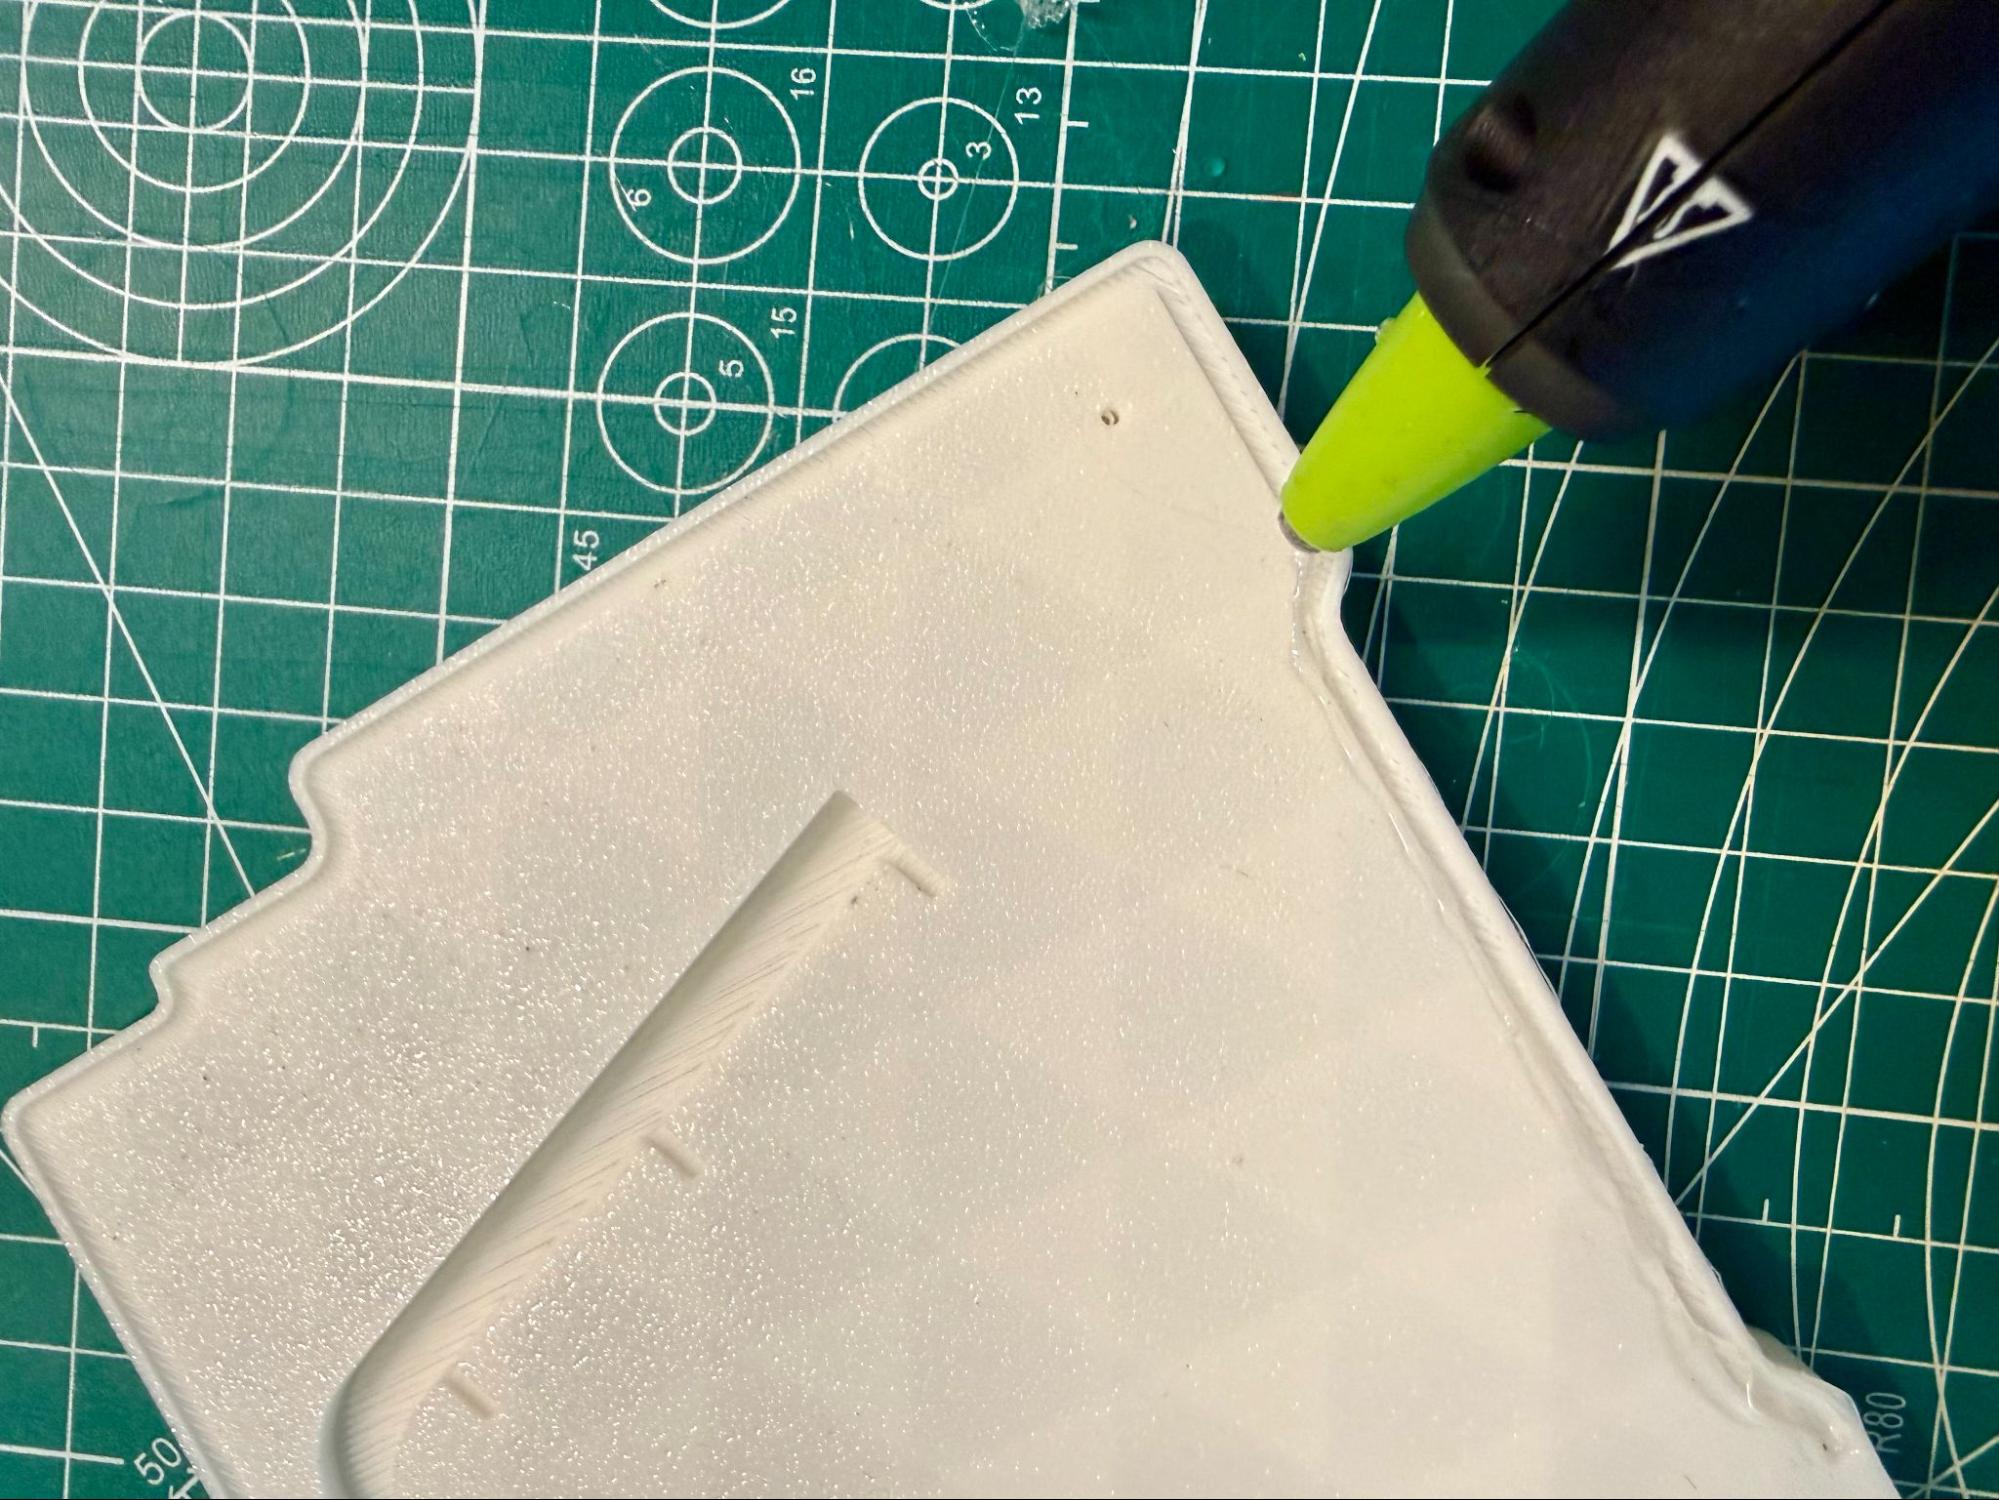
The other option is to position the tip of the hot glue gun perpendicular to the channel and drag it along. This puts the hot glue more on the edge of the channel, which may not look quite as nice, but it can be easier to do.
There should be basically no difference in functionality between the two approaches.
Some hot tips about hot glue
- It is very possible for the glue gun tip to get hot enough to deform the plastic of the base if you leave it in one spot for too long (pictured left). It won’t happen immediately, so you don’t have to go super fast, but try to maintain a nice, even pace as you glue.
- It really helps to release and start pressing the trigger of the hot glue gun regularly as you go. Try only letting the trigger get to around half pull before starting a new pull. If you fully pull the trigger, the glue will stop being pushed out, which usually results in more uneven lines.
- Again, do not worry about perfect neatness. Some bubbles and unevenness are perfectly fine. The only thing to watch out for is huge bubbles. If you notice a spot of glue that is much higher than anything else, try to smooth it out before it dries. A really uneven spot can throw off the balance of the base. You can smooth these out by just dragging the hot tip of the glue gun over it while it’s still drying.