Voyager Printable Wrist Rest Guide
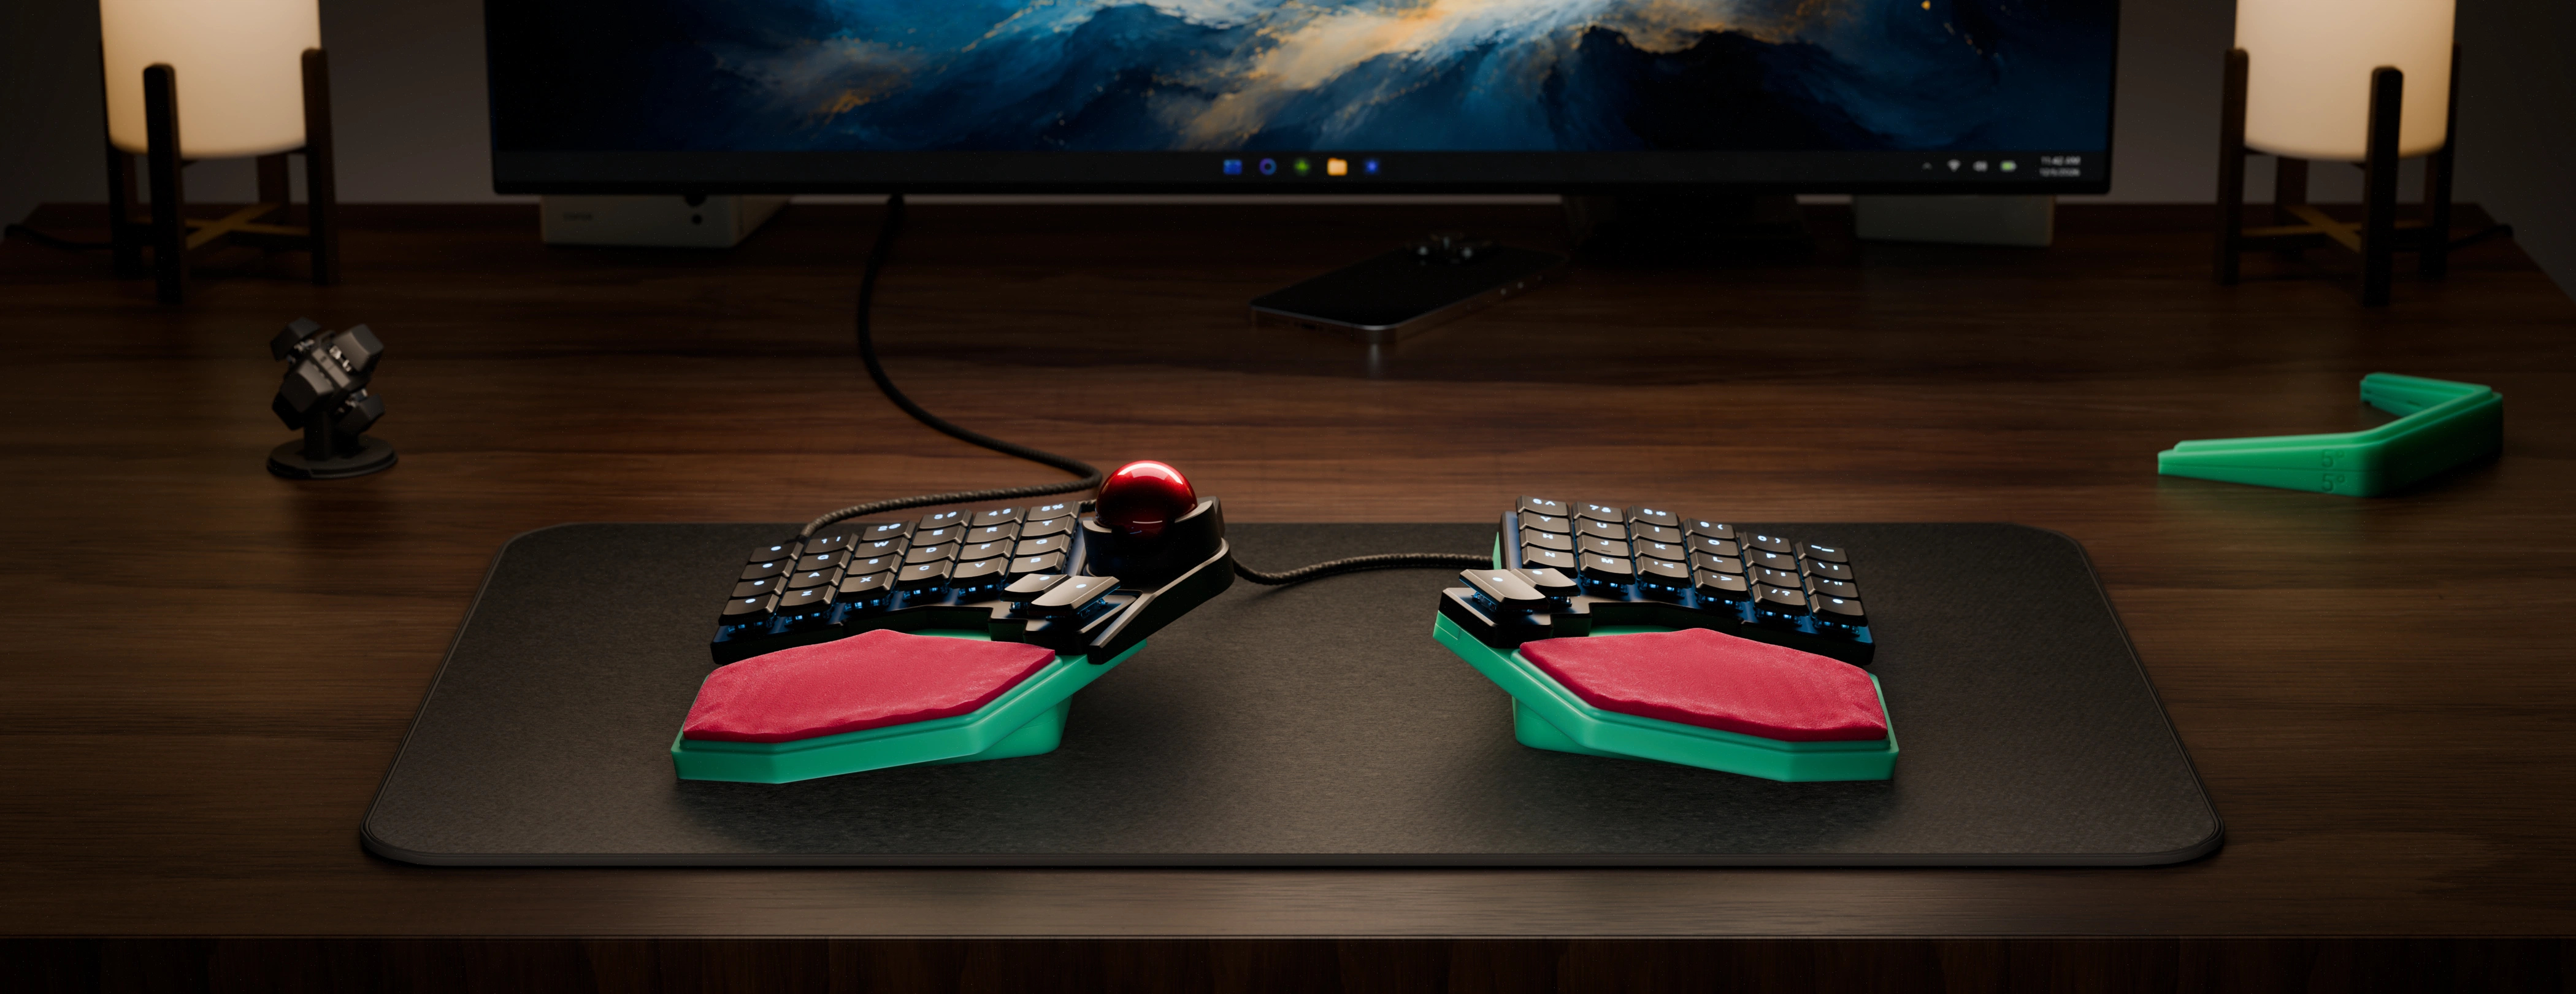
A 3D-printable system of palm/wrist rests for the Voyager. Choose angular or bean, print without supports, and find what feels right.
Part guide
There is a lot here, but don’t be overwhelmed! Here are all the parts you’re seeing.
Wrist Rest Angular
Family A
Left & Right Base
The left and right side bases for angular wrist rests. Includes pegs to align the Voyager and optionally, you can repurpose the Voyager leg magnets by screwing them into the holes to make the base attach magnetically.
Wedge Stacks & Nav Blanks
Wedge(s): Stackable tenting wedges. Note that these wedges include a hot glue channel (detailed below), but you will only want to apply hot glue to the lowest wedge.
Cut out, left and right: The bases include cutouts that fit a Navigator on either side. For the side you don’t have a Navigator on (or if you don’t use a Navigator at all), you can print these blanks to fill in the gap.
Padded Cutting Template
The cutting template for padded angular wrist rests. This one template works for both sides (see instructions for cutting the padding below).
Gasket Left & Right
A printable gasket for the bottom of the angular base that acts as grippy feet. This must be printed in something like TPU to be effective (more on that below).
Solid

WR Low Solid
A solid-plastic slightly convex wrist rest that curves up into your palm.

WR High Solid
A solid-plastic convex wrist rest that is a bit taller.

WR Flat Solid
A solid-plastic flat wrist rest. Some people may like to use this one, but it is mainly here as a starting point to make other wrist rests.

WR Hollow
A solid but hollow, angular wrist rest that can flex slightly as you rest on it.
Padded

WR High 10mm Padding
A tall shell for padded wrist rests. This is for thicker padding (10mm or so), like you would get by cutting up a puzzle floor piece or two yoga mats stacked.

WR High 5mm Padding
A tall shell for padded wrist rests. This works best with padding around 5mm (one yoga mat), and raises it higher relative to the base.

WR Low 10mm Padding
A lower shell for padded wrist rests. This uses the same 10mm thick padding but puts it closer to the base.

WR Low 5mm Padding
The lowest padded shell. This uses 5mm of padding set just at the base.
Wrist Rest Bean
Family B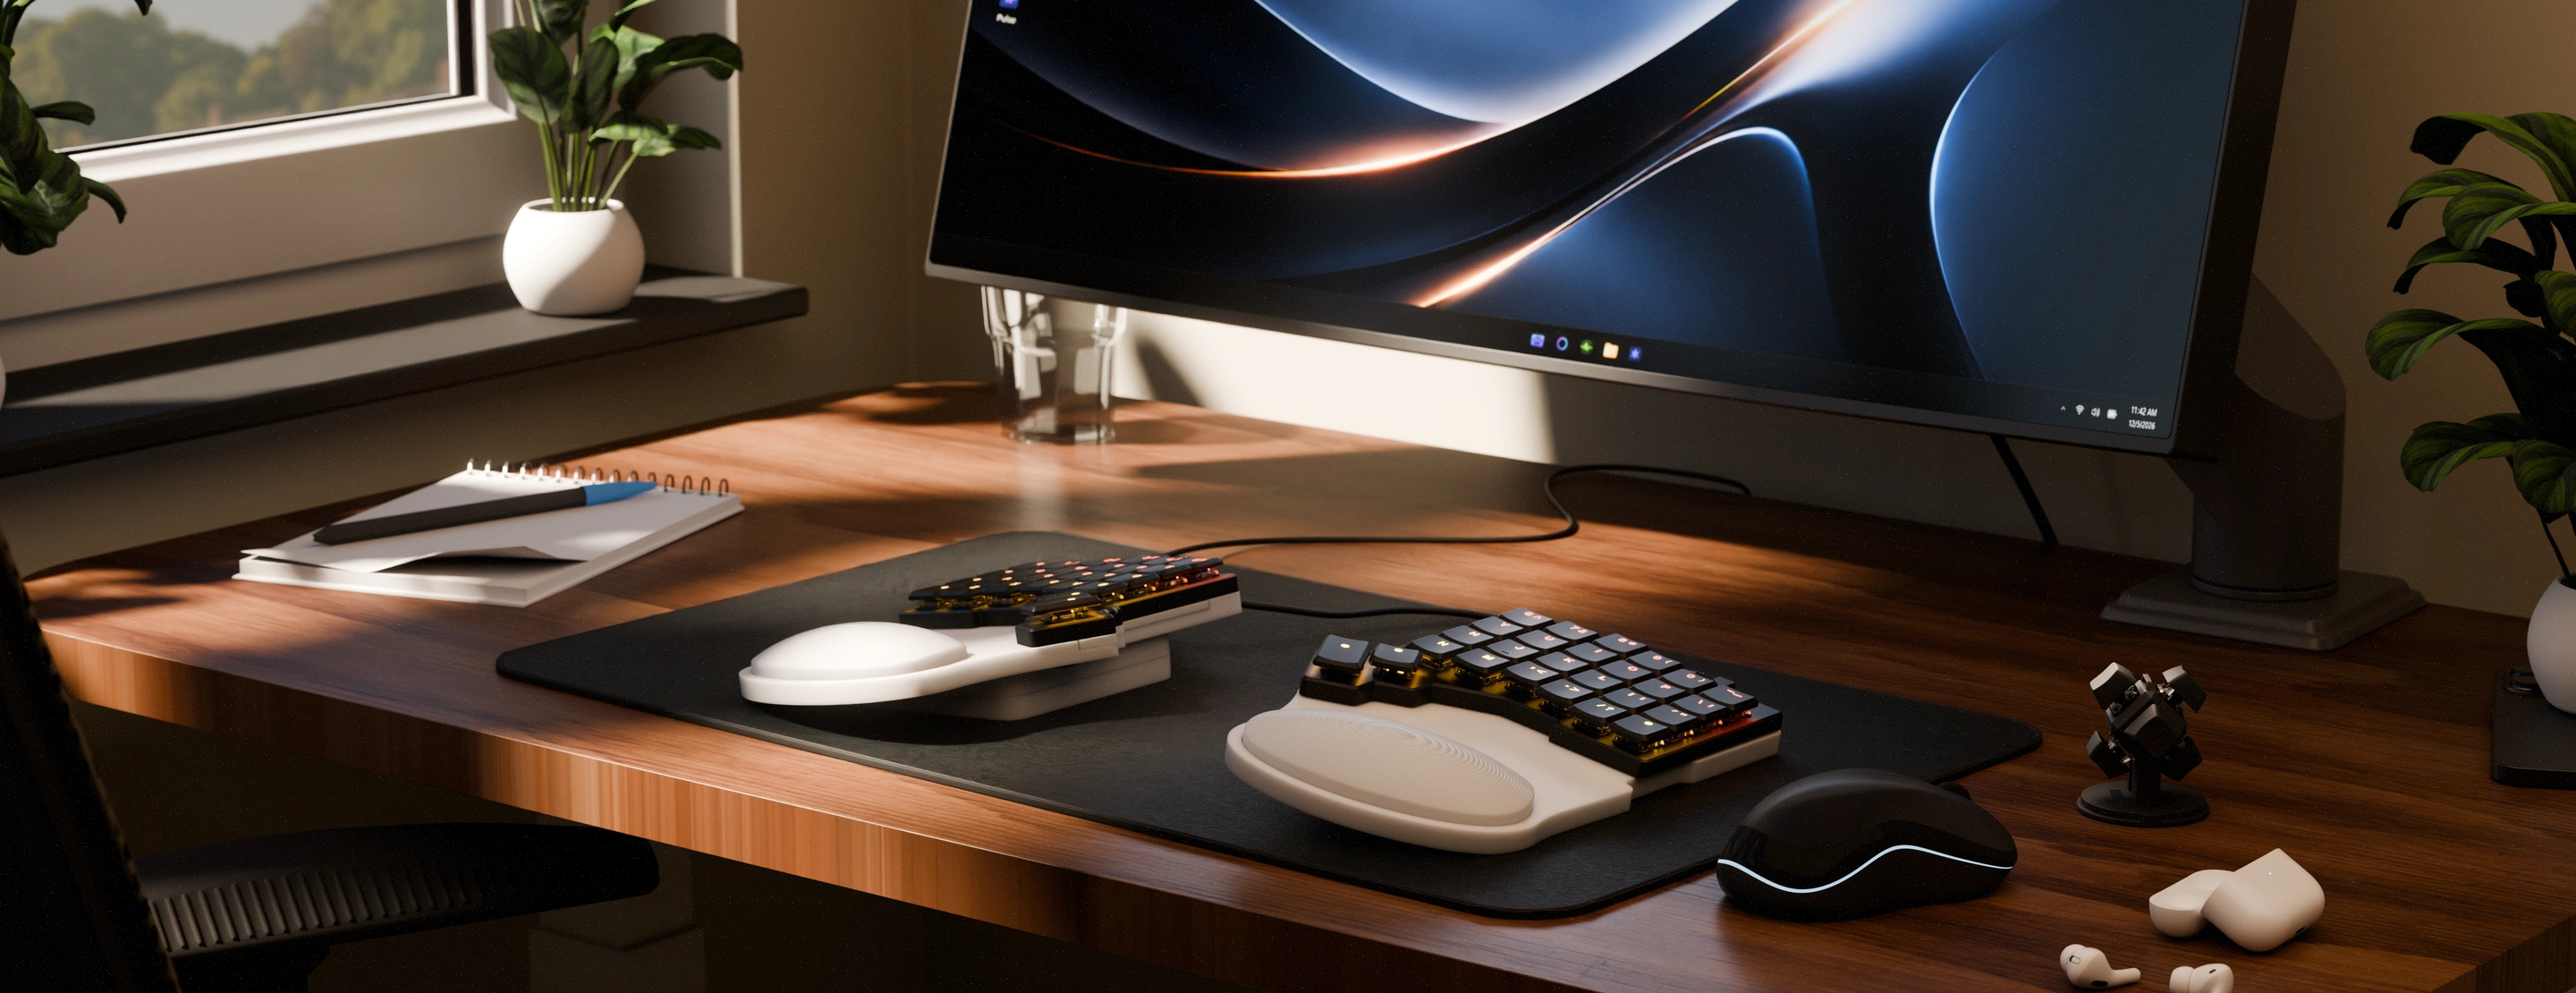
Left & Right Base
The left and right side bases for bean wrist rests. Includes pegs to align the Voyager and optionally, you can repurpose the Voyager leg magnets by screwing them into the holes to make the base attach magnetically.
Wedge Stacks & Nav Blanks
Wedge(s): Stackable tenting wedges. Note that these wedges include a hot glue channel (detailed below), but you will only want to apply hot glue to the lowest wedge.
Cut out, left and right: The bases include cutouts that fit a Navigator on either side. For the side you don’t have a Navigator on (or if you don’t use a Navigator at all), you can print these blanks to fill in the gap.
Padded Cutting Template
The cutting template for padded bean wrist rests. This one template works for both sides (see instructions for cutting the padding below).
Gasket Left & Right
A printable gasket for the bottom of the angular base that acts as grippy feet. This must be printed in something like TPU to be effective (more on that below).
Solid

WR Concave Solid
A solid-plastic rest that curves around the sides of your palm.

WR Flat Solid
A solid-plastic flat wrist rest. Some people may like to use this one, but it is mainly here as a starting point to make other wrist rests.

WR Convex Low
A solid-plastic rest that is low profile and slightly convex.

WR Convex High
A solid-plastic rest that is more convex and taller.
Padded

WR Curved 5mm Padding
A 5mm deep wrist rest shell with a built-in curve for about 5mm of padding. The built-in curve helps make sure your padding stays “plump”. A good option for lots of people.

WR Curved 10mm Padding
A taller wrist rest that has a built-in curve and fits around 10mm of padding. This is the padded bean wrist rest to use if you want something as tall as possible.

WR Flat 5mm Padding
A wrist rest shell with no built-in curve for 5mm padding. This will usually be the shortest padded wrist rest once assembled.

WR Flat 10mm Padding
A 10mm deep wrist rest shell with no built-in curve. A nice balance between a lot of padding while being a little shorter.
Assembly Overview
Because the system is modular, you don’t have to decide on an exact configuration right away. Feel free to experiment with different inserts to find what works best for you.
Deciding between Angular or Bean wrist rests
Deciding between Angular or Bean wrist rests
The one thing you do have to decide is whether you want angular or bean-shaped wrist rests. You can always print the other one, so you’re not totally locked in to this choice, but it will determine what wrist rests inserts you try first.
The choice is mostly aesthetic. There is not a massive functional difference between the two. People with larger hands may prefer the angular wrist rests because they have a larger surface area, but again, either choice can work for most people.
Pick the look you likeDeciding between rigid or padded wrist rests
Try both! If you’ve only tried one style or the other, try the opposite. Rigid wrist rests can actually be surprisingly comfortable for some people, but if you have to pick only one, the padded wrist rests are generally the better choice because they are more flexible. You can make a padded wrists rest quite rigid with the right material and amount of padding, but you can’t make a rigid wrist rest padded, of course.
When unsure → PaddedDeciding between high or low wrist rests
This is really a choice you would ideally feel out yourself by trying both versions. If you have small hands, you may prefer the taller versions of the wrist rests because your hands will naturally sit lower, but the short wrist rests can still work. If you have to choose only one and aren’t sure, the lower wrist rests are usually the better choice. Because the Voyager is so slim, most people don’t need a ton of wrist rest height.
When unsure → LowAssembling the wrist rests
Assembly is very straightforward:
- Print your desired bases.
- Print a Navigator blank for any side you won’t use a Navigator on.
- At the same time or separately (depending on how much a tenting angle you want to try) print your desired number of tenting wedges. We suggest four (stacking two for each side) to start. You can always print more or opt to use less.
- Print any of the wrist rests you would like to try and assemble any padded ones (more on that below).
- OptionalUse hot glue to make the bases and tenting wedges grip your desk better (more on that below).
- Insert any Navigator blanks you’re using into the slots on the bases.
- OptionalUnscrew the magnets from your Voyager’s default tenting legs and transfer them to the printed base. The holes for the screws in the printed base will grip the magnet screws as you screw them in, so you may need to use a little extra force while screwing them in the first time. You are carving out tiny screw threads in the plastic.
- Snap in the wrist rests. To remove them, just push from underneath the base.
- Place your Voyager on the bases, and you’re ready to go.
Printing the parts
We suggest printing from 3MF rather than the STLs. The 3MF files include various helpful setting and spacing tweaks right “out of the box”. They work well with Bambu and Orca.
If you are using a different slicer or would simply like to double-check things, here are the most important configuration details:
The essentials
- All prints are designed for a 0.2mm layer height with a 0.4mm nozzle. Other setups can work, but they haven’t been thoroughly tested.
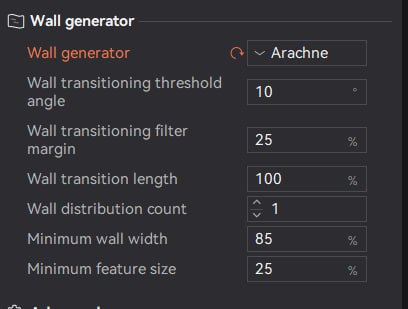
- The only design that requires supports is the hollow angular wrist rest (we suggest printing these on their side vertically). All other designs should be printed without support. Auto-generated supports may be added to small areas that are difficult to remove.
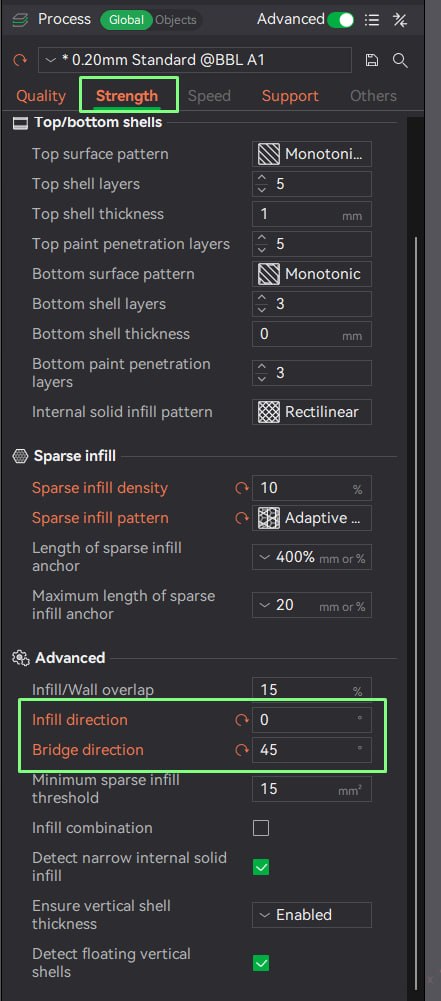
- There is a small bridge in the base models and tenting wedges that is intentionally printed without supports, since they would be difficult to remove. The printer will span that short gap in mid-air using bridging. Be sure to set the bridge direction to 45 degrees.
If you really want a heavier print, adding a pause and filling the shell with something (sand, rocks, concrete, etc.) is usually more economical and effective.
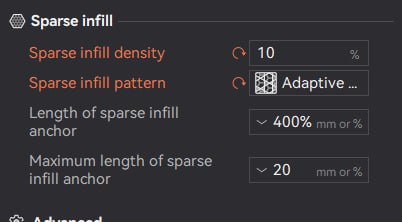
The files also include a gasket print that acts as “feet” for the bottom of the base. If you want to print this, we suggest using TPU. A hard plastic like PLA won’t really work.
Our real recommendation is using hot glue rather than the TPU print, though. That’s detailed below.
Cutting padded wrist rests
You will need:
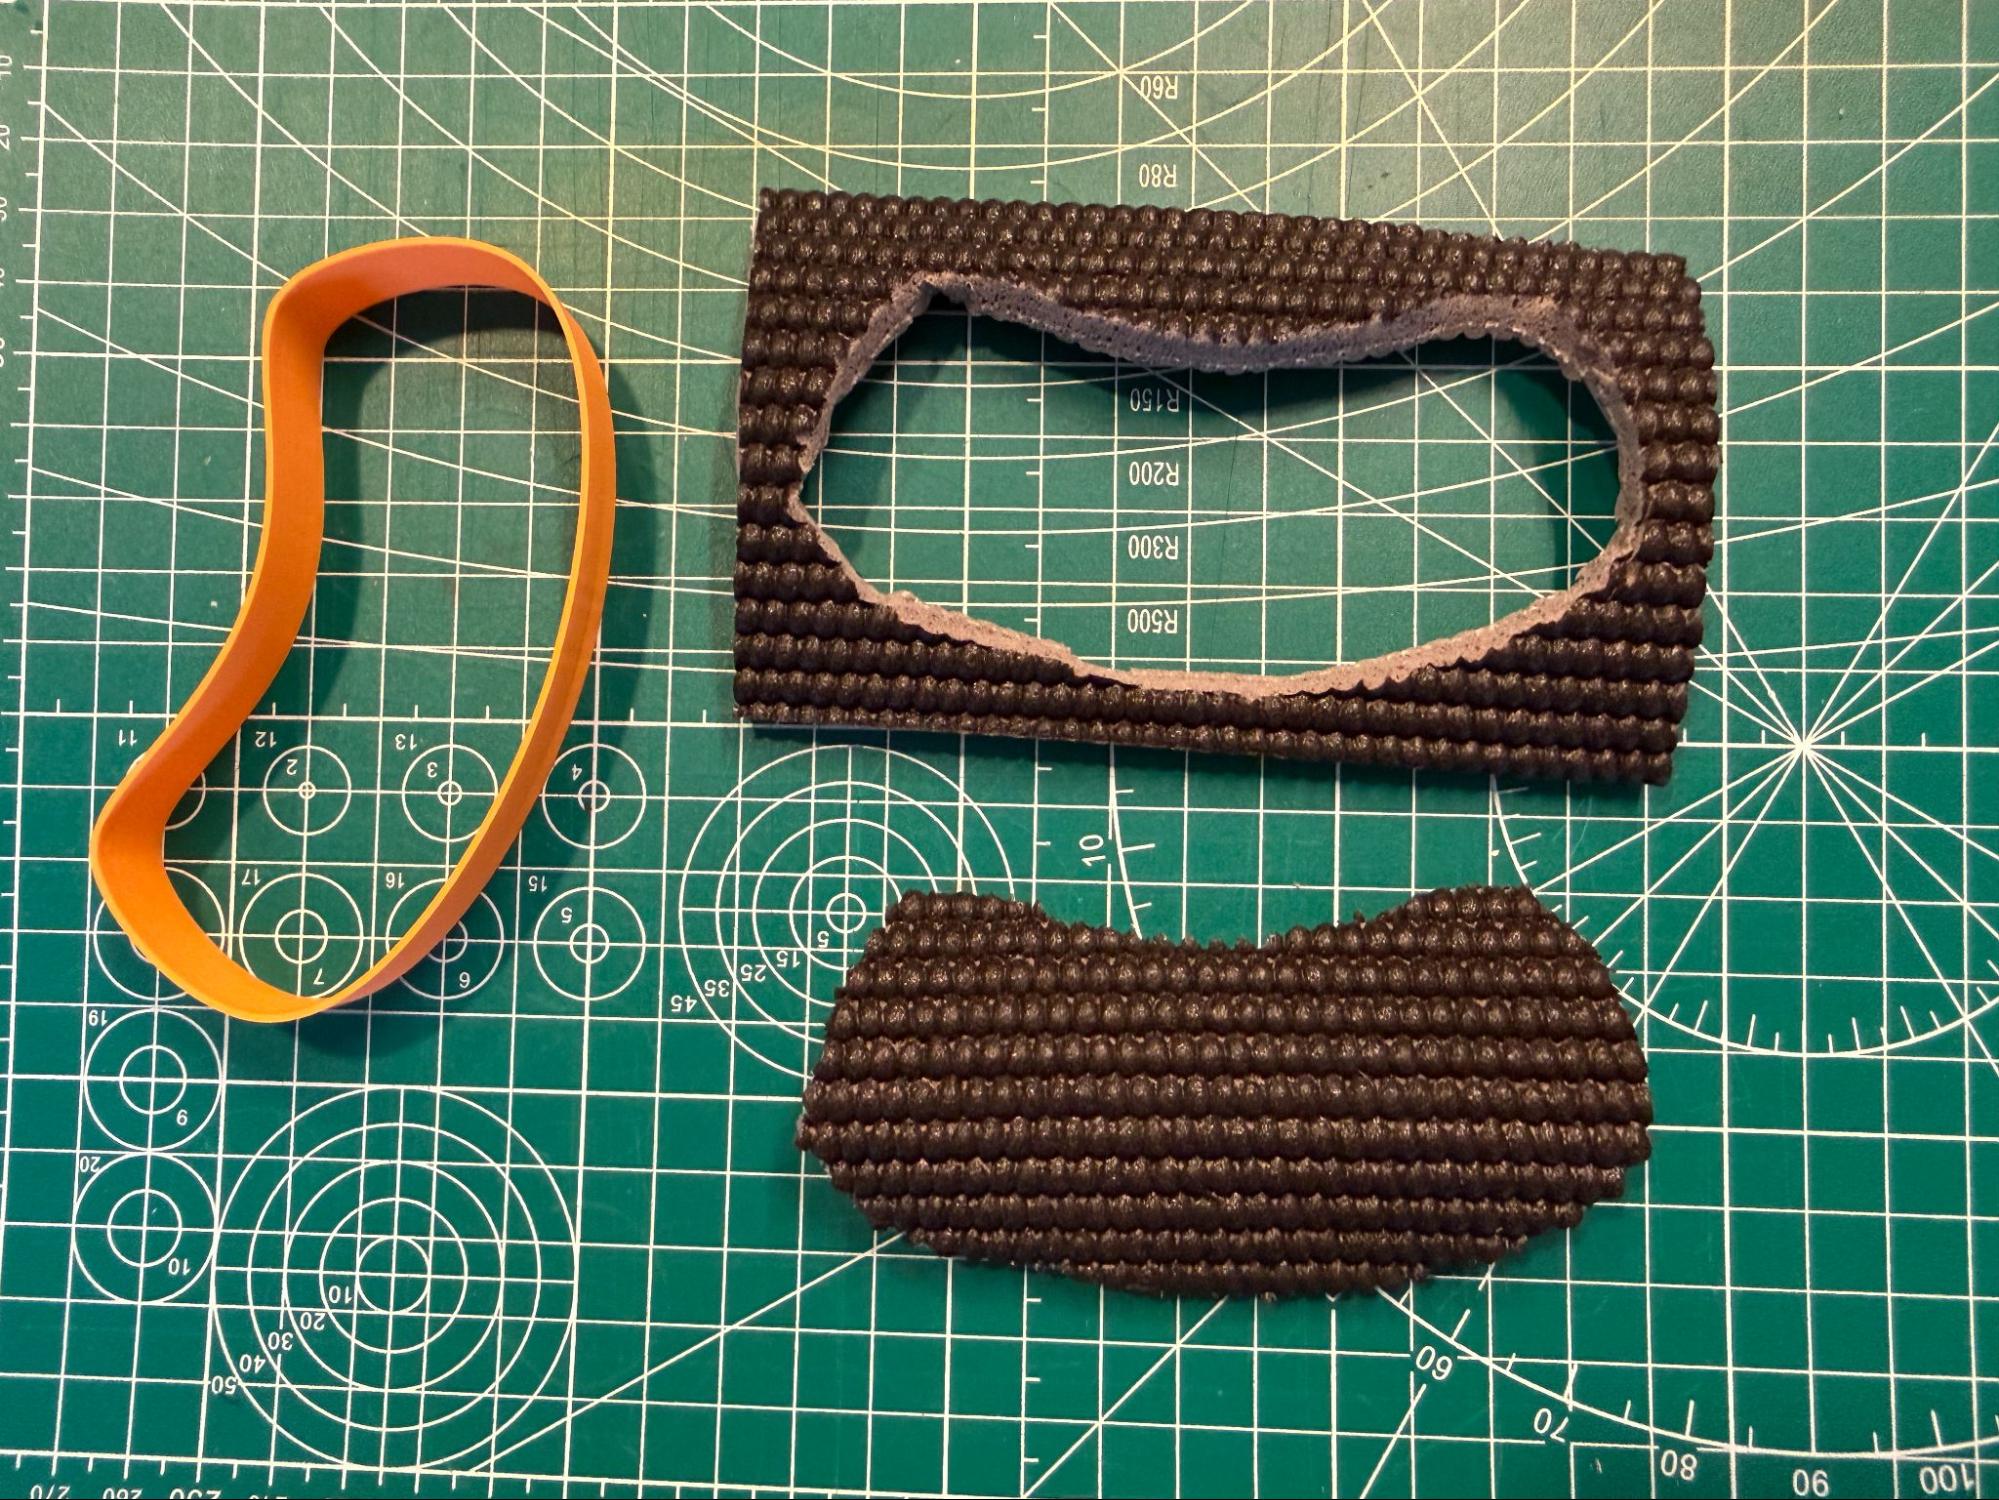
- A soft sheet of your choosing. Yoga mats work well, but you can use anything similar. A thickness of 5-6mm is ideal (this is pretty standard for yoga mats), but thinner sheets can work if you stack them. You can also use a “puzzle floor” tile, which is 10mm thick (the taller shells allow for this thickness). You could even try a thick bottom layer for cushioning and a thin top layer for a different feeling against your skin. These materials are easy to find lying around or at a local thrift store. Feel free to experiment!
- A way to cut the sheet. Scissors work but using a hobby knife and cutting mat will be a little easier.
- The printable cutting guide (included in the 3D files) printed out
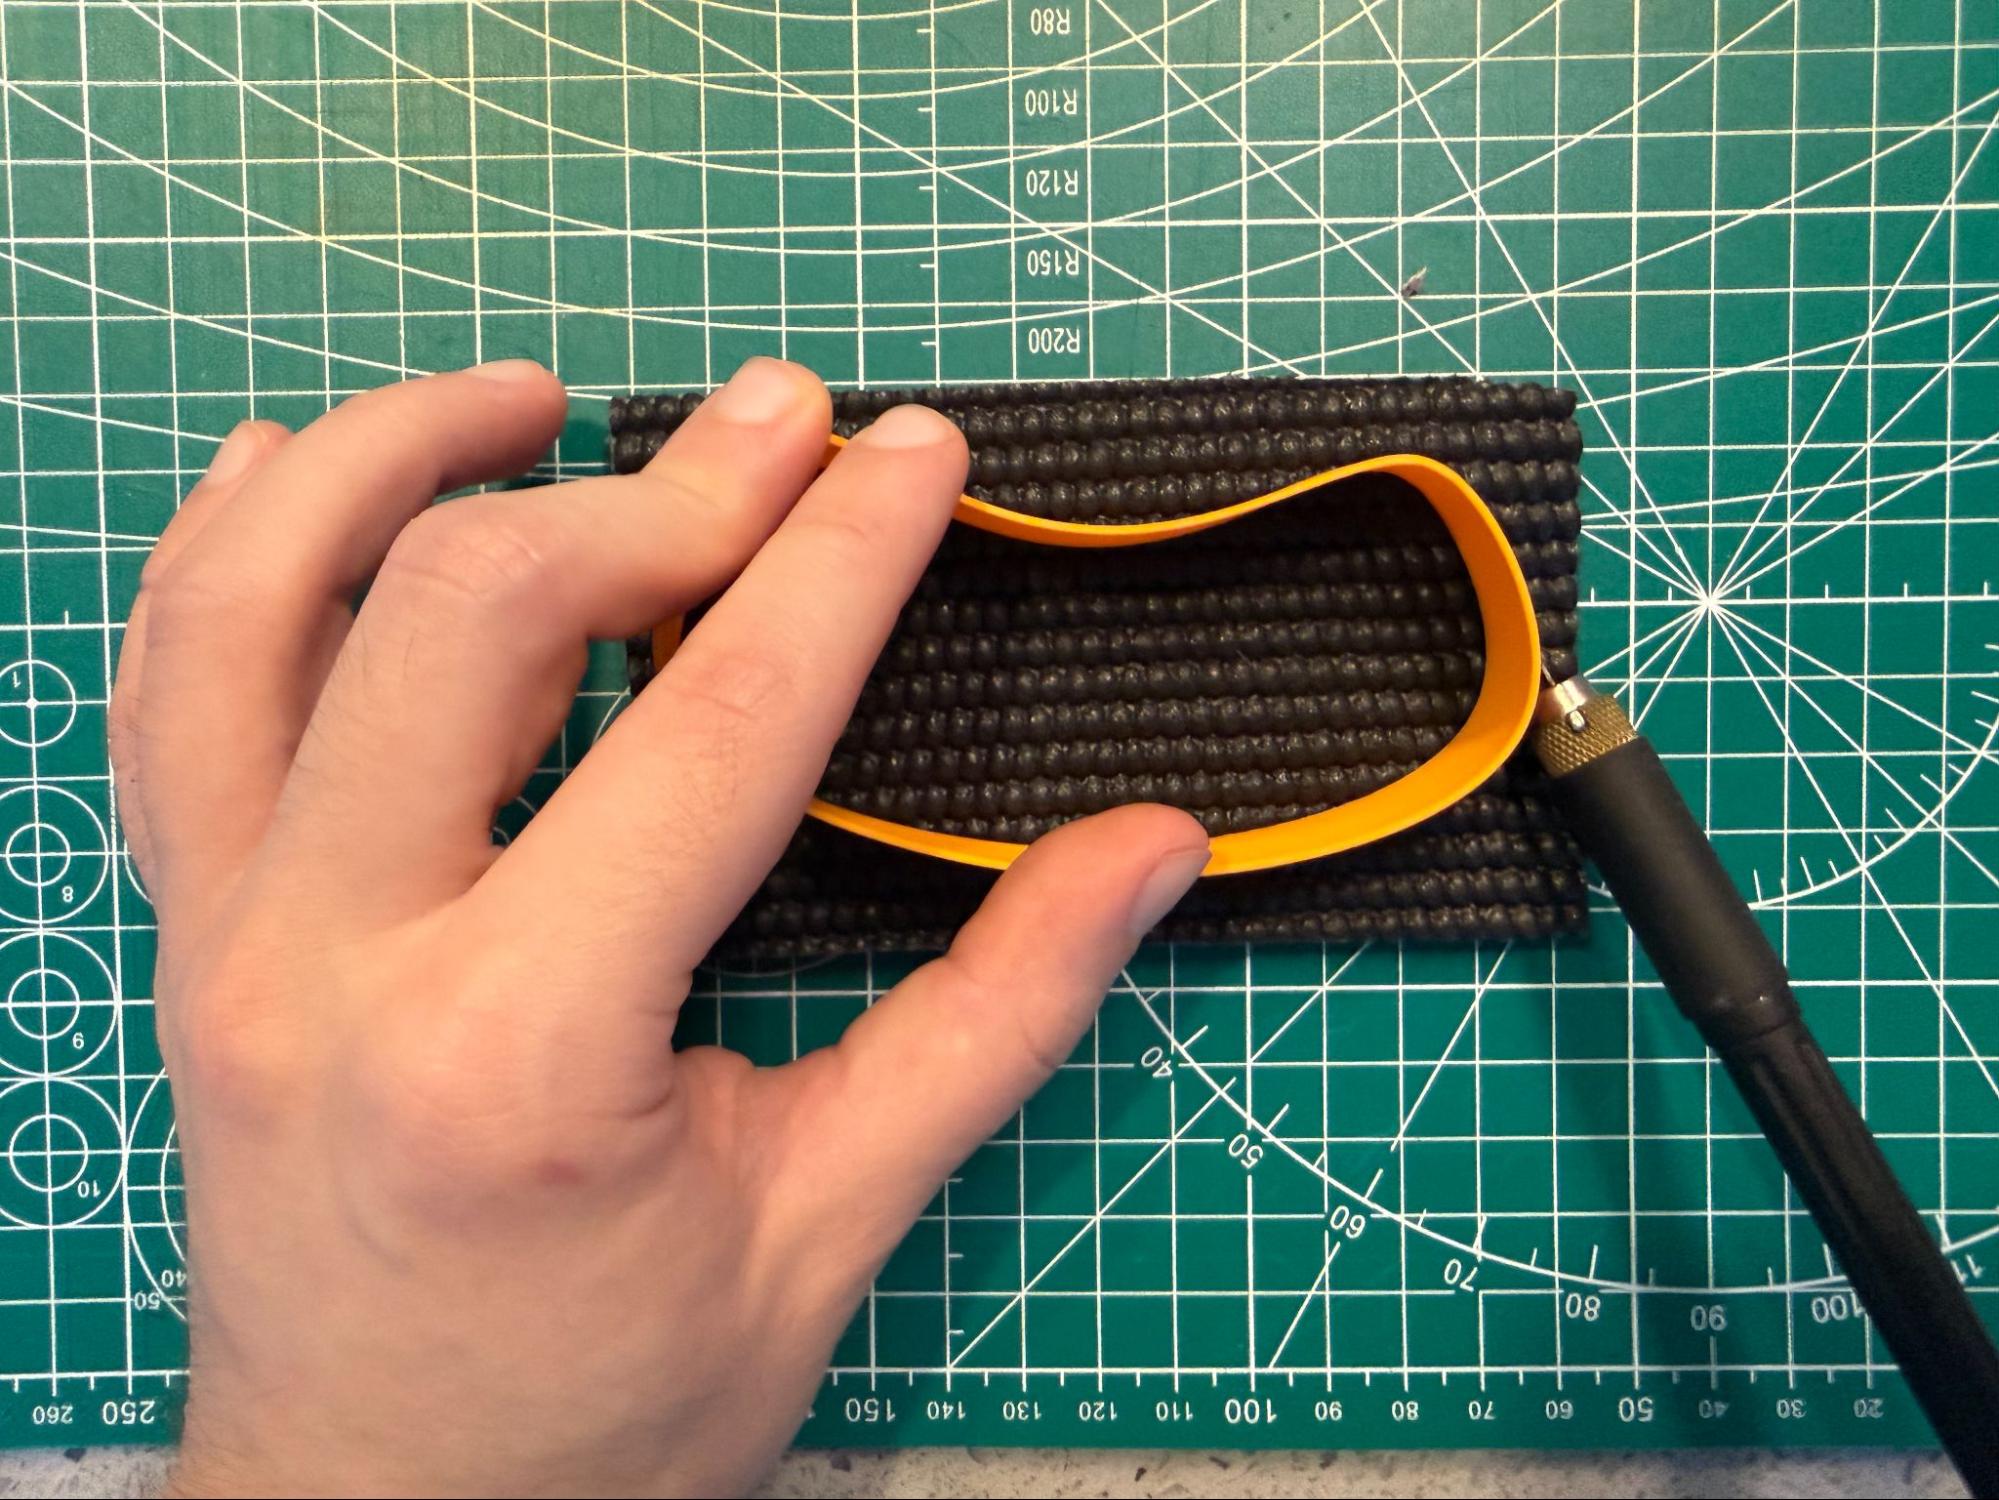
Press the cutting guide down and start cutting around the outside. Since yoga mats and similar are spongy, you will need to apply firm pressure continuously to keep the cutting guide in place and make everything stay flat.
It can help to rotate the cutting mat or physically walk around the table as you cut, rather than rotating the yoga mat itself. Rotating the mat makes it easier to let go of the cutting guide and things may end up off-center.
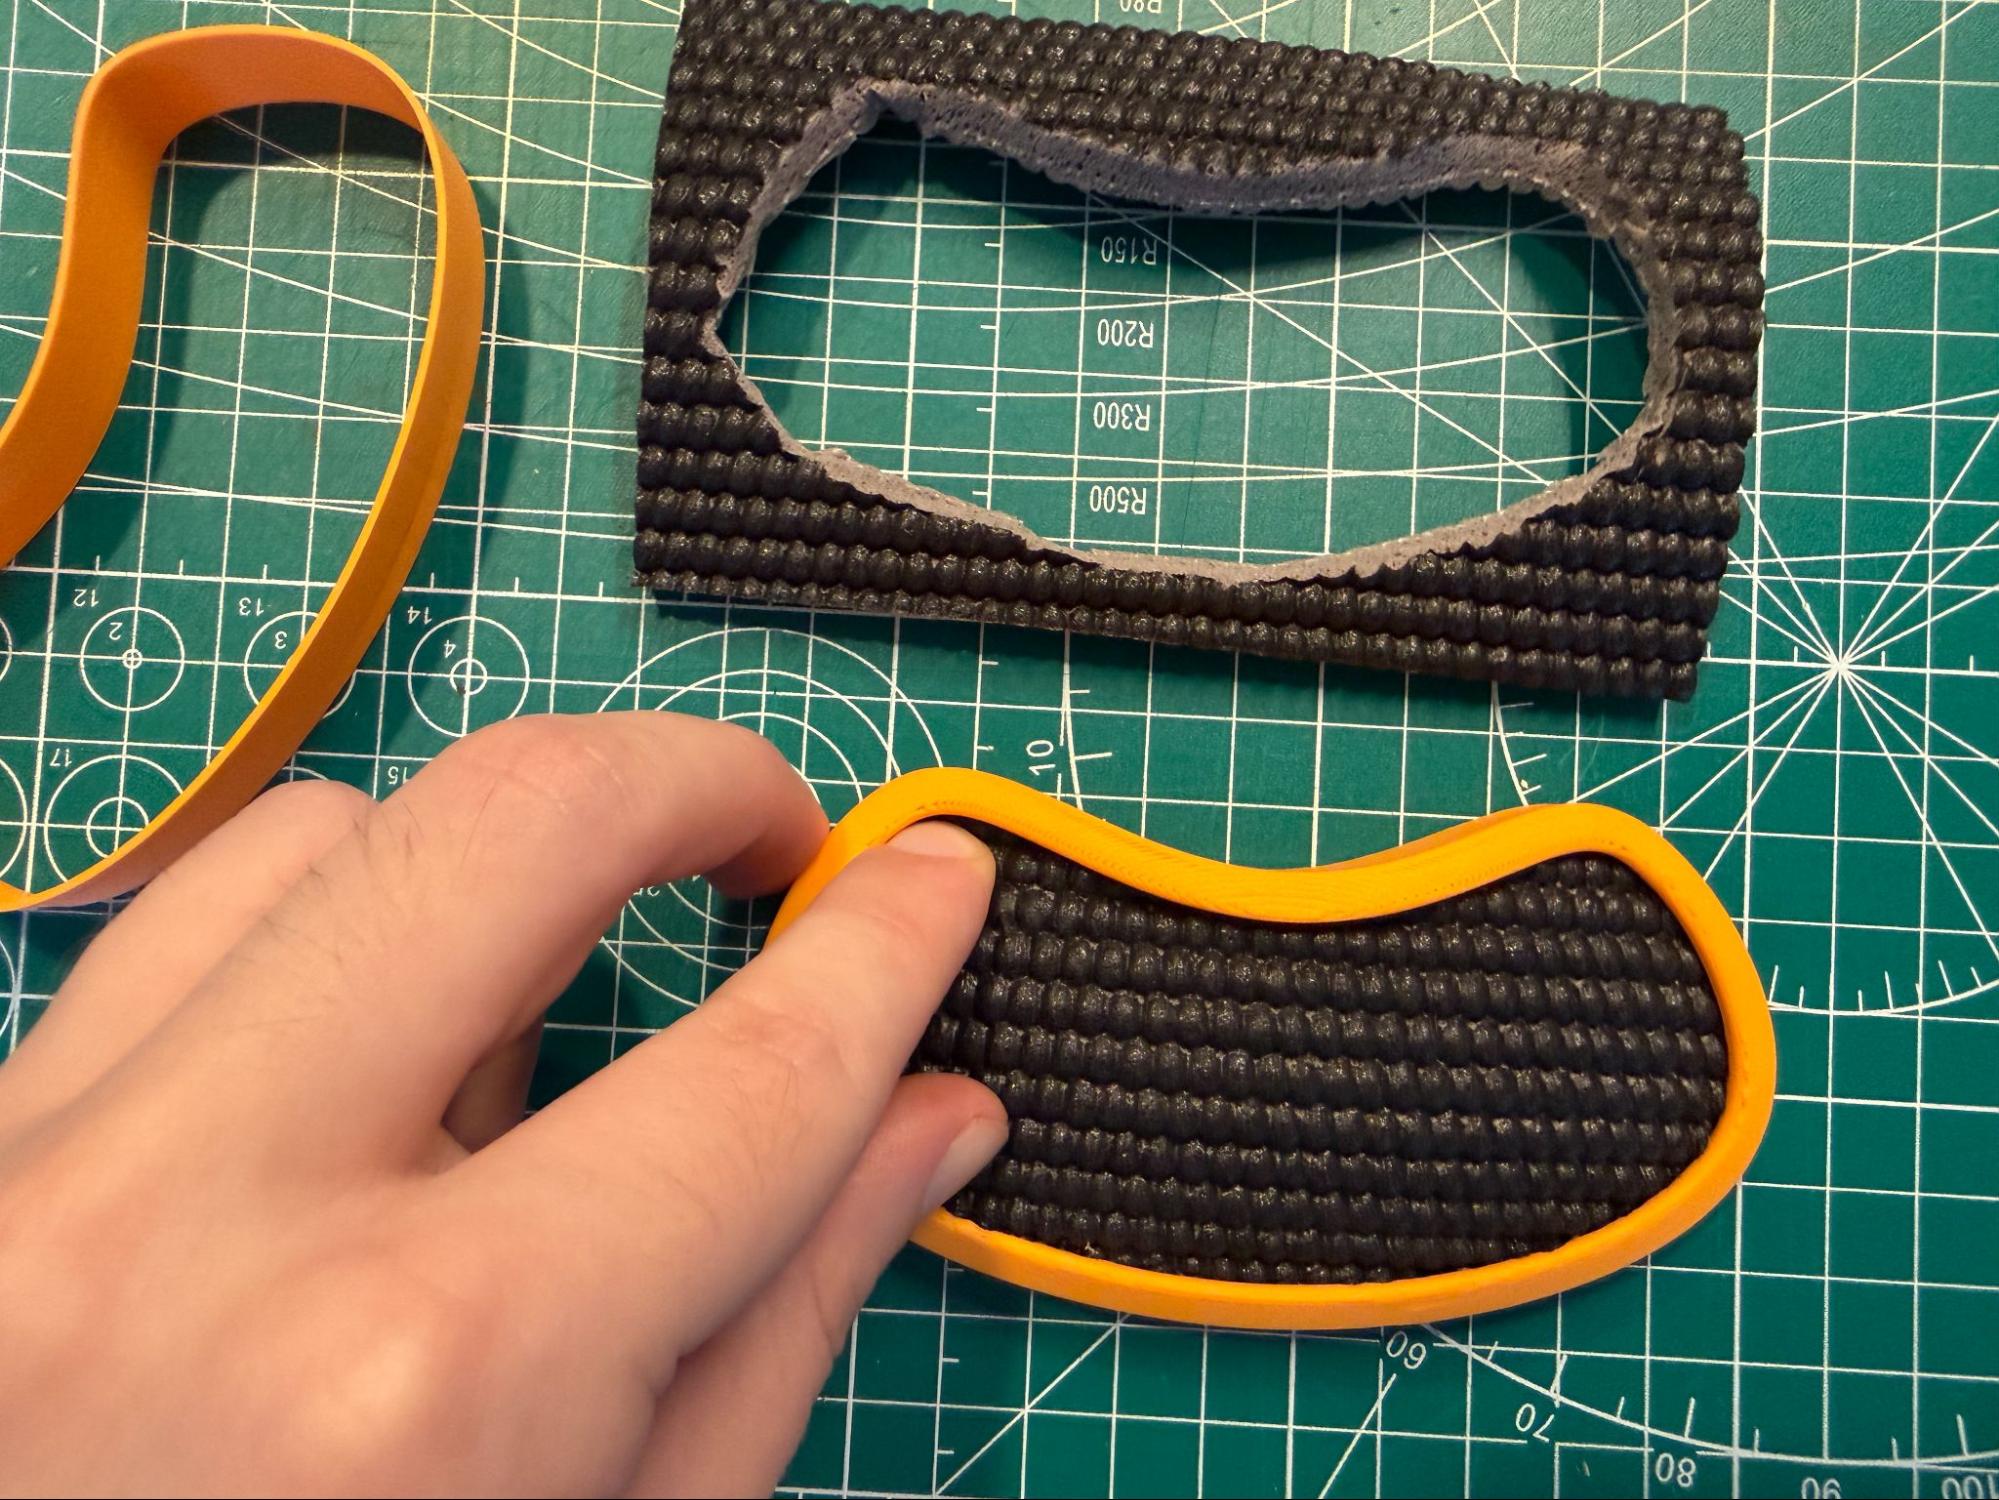
Don’t worry about cutting perfectly along the guide. Each wrist rest has a lip that hides the edges of the mat, and you can always trim down later, so go a little bigger with the cuts if you’re ever not sure. If you’ve cut all the way around, but the mat isn’t quite free yet, that’s okay. It’s a thick material that you may not cut all the way through the first time. Just carefully go back around your cuts and make them deeper. Again, this doesn’t have to be perfect.
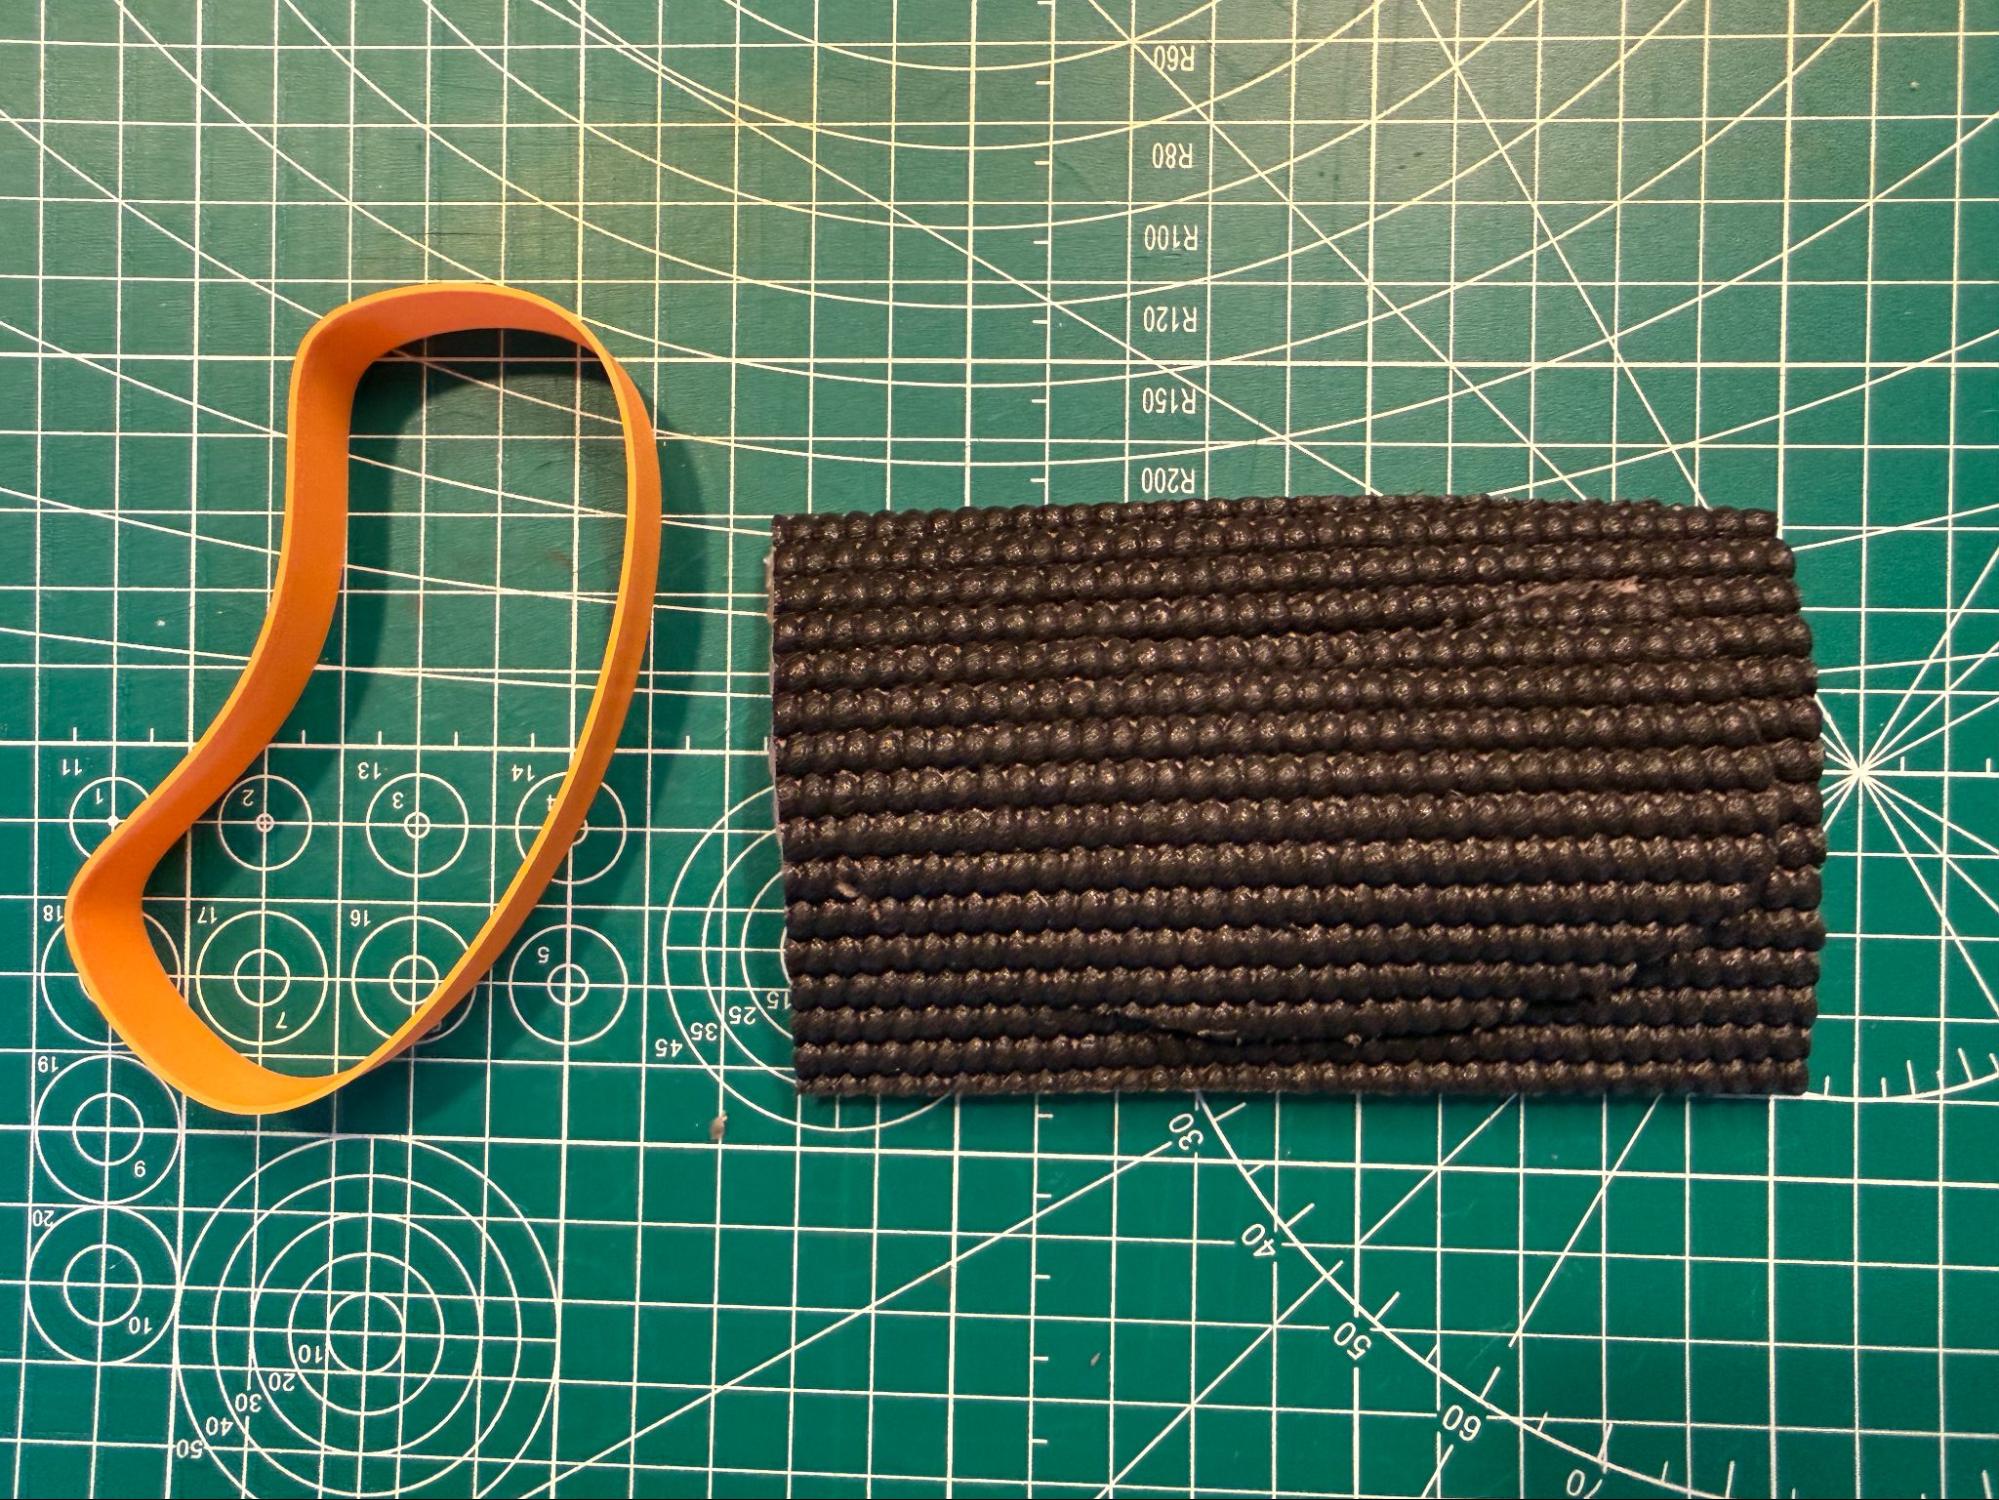
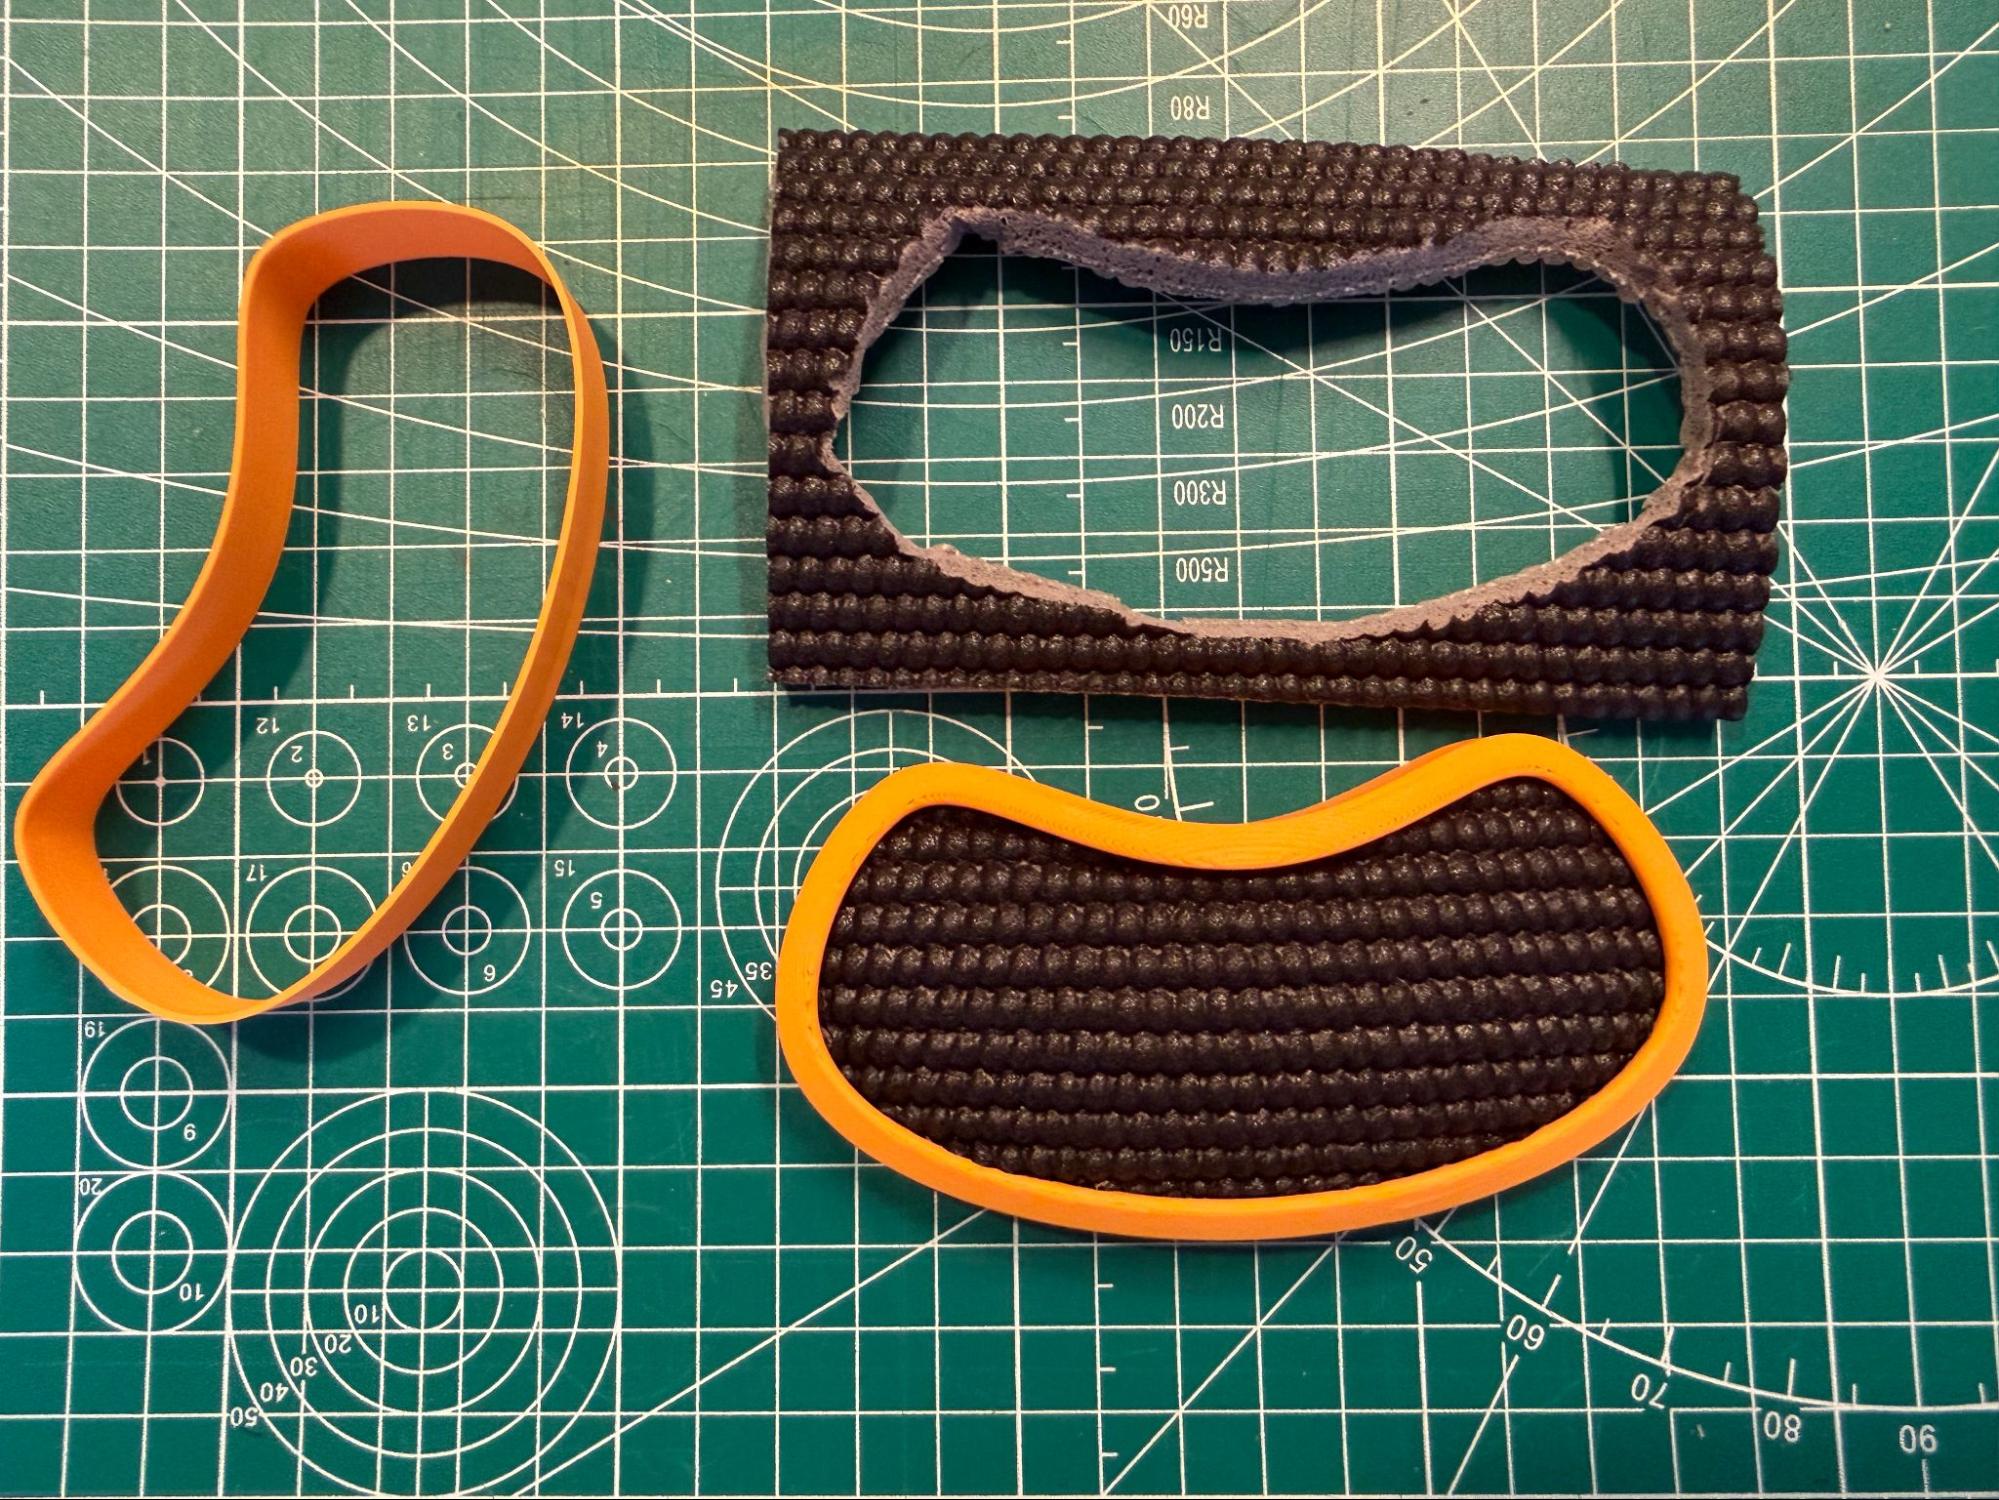
A second, deeper pass frees thick padding cleanly. Once fully cut, the padding should look something like this.
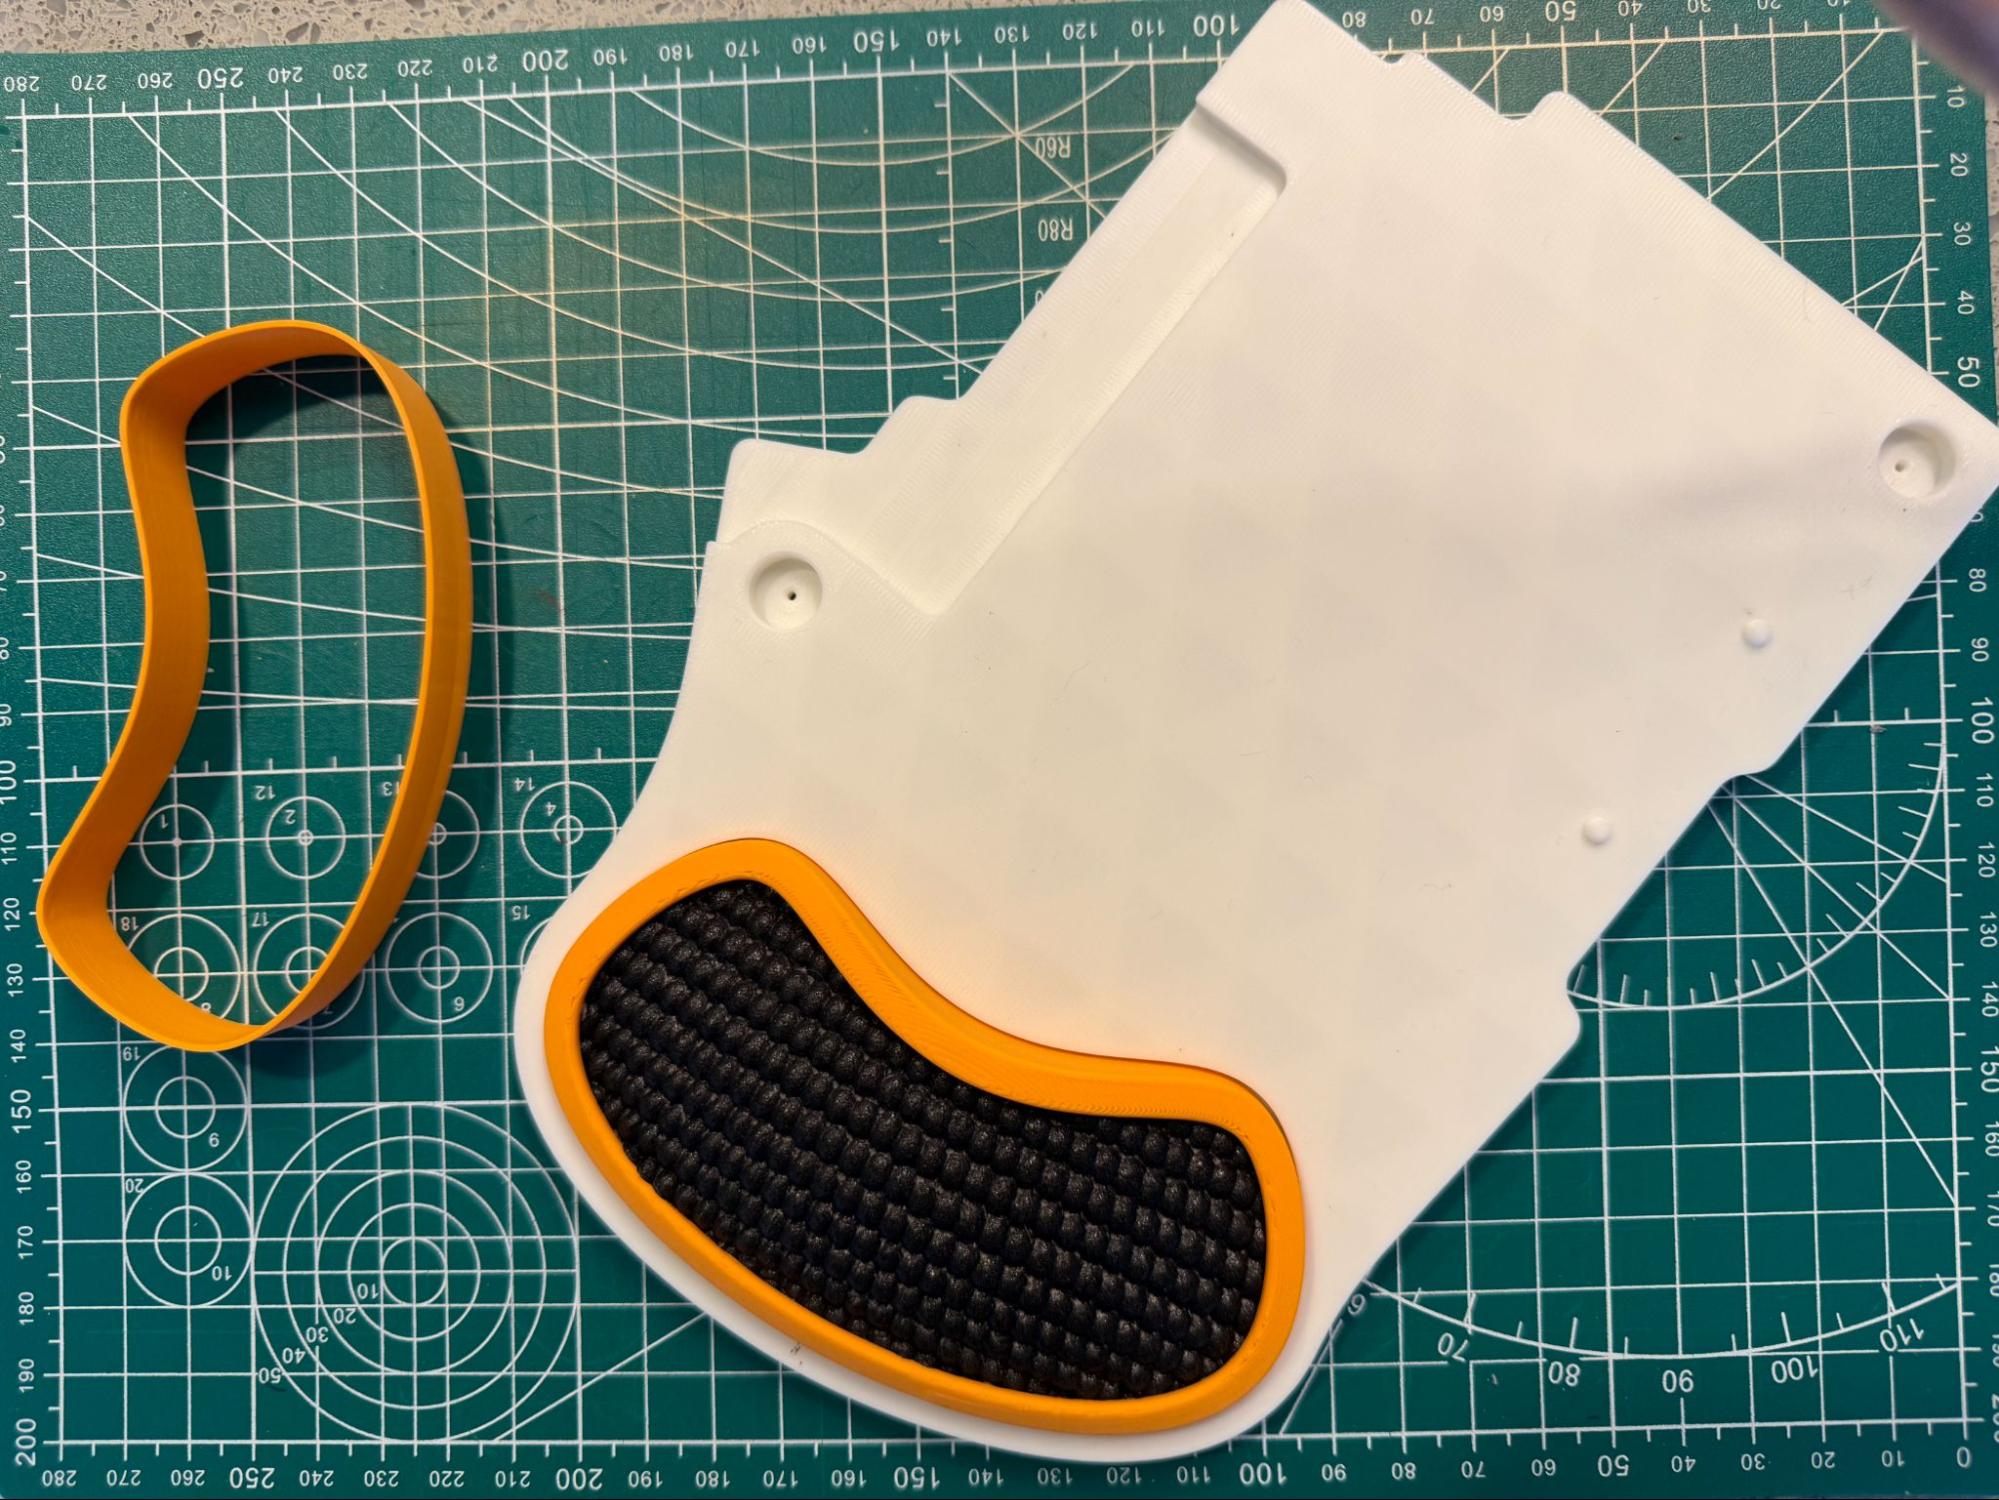
The freed insert, cut slightly oversized — ready to tuck in. Now, just start at one edge of the wrist rest shell and tuck the padding inside. Tuck all the way around the shell for a smooth look.
The shell's lip captures the oversized edge and hides it. Tada! You’ve made a padded wrist rest. You can also add a second layer if you’d like.
A finished padded rest. Add a second layer for more height or a different surface feel.
Once you’re happy with the wrist rest, snap it into your base.
Making hot glue feet
To make the base grippier so it doesn’t slide while you type, the underside of the bases features a channel to use as a guide for hot glue. Given a little time to dry, hot glue is solid and not sticky like glue anymore, but it becomes quite grippy, just like the real feet we use on our keyboards.
Of course, you can also find these feet online or in craft stores (try searching for “cabinet door bumpers”), but most people already have a hot glue gun laying around. You’ll only need around 1-2 sticks of hot glue for this, so the hot glue approach is very economical, too.
Two ways to use the hot glue channels
There are two ways to use the hot glue channels.
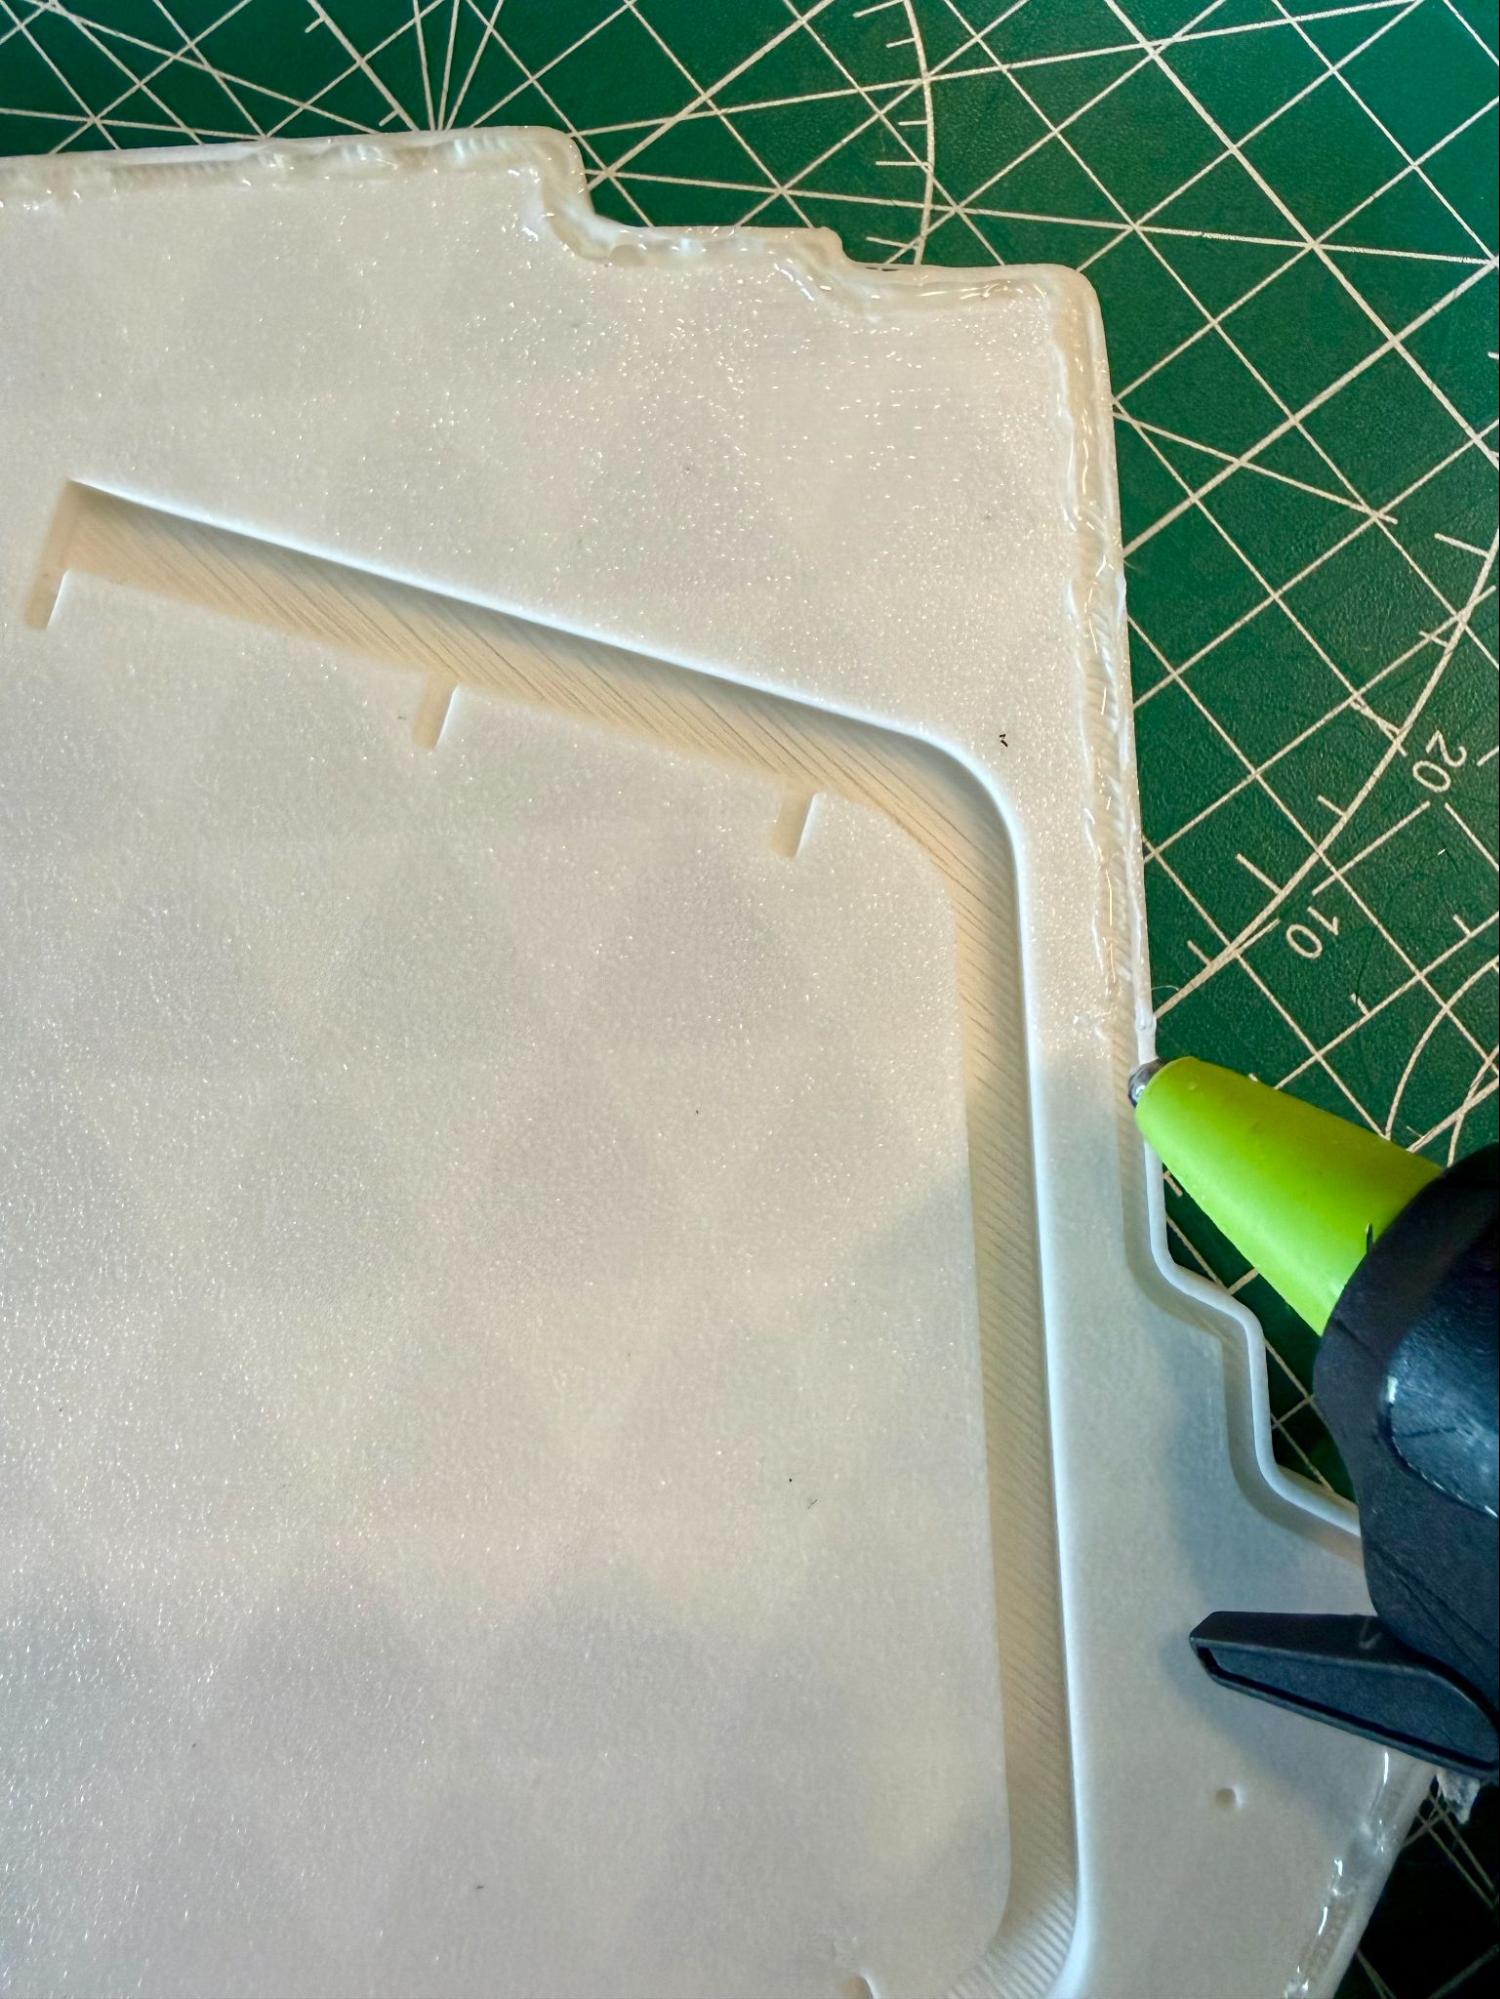
The first way is to position the tip of the glue gun parallel to the channel and draw the glue straight down the line. The goal is to make the glue spill out of the channel just a little bit so that it is the thing that contacts your desk rather than the plastic base.
Don’t worry about being super-exact. This will only be on the bottom of the base where no one will see.

The other option is to position the tip of the hot glue gun perpendicular to the channel and drag it along. This puts the hot glue more on the edge of the channel, which may not look quite as nice, but it can be easier to do.
There should be basically no difference in functionality between the two approaches.
Some hot tips about hot glue
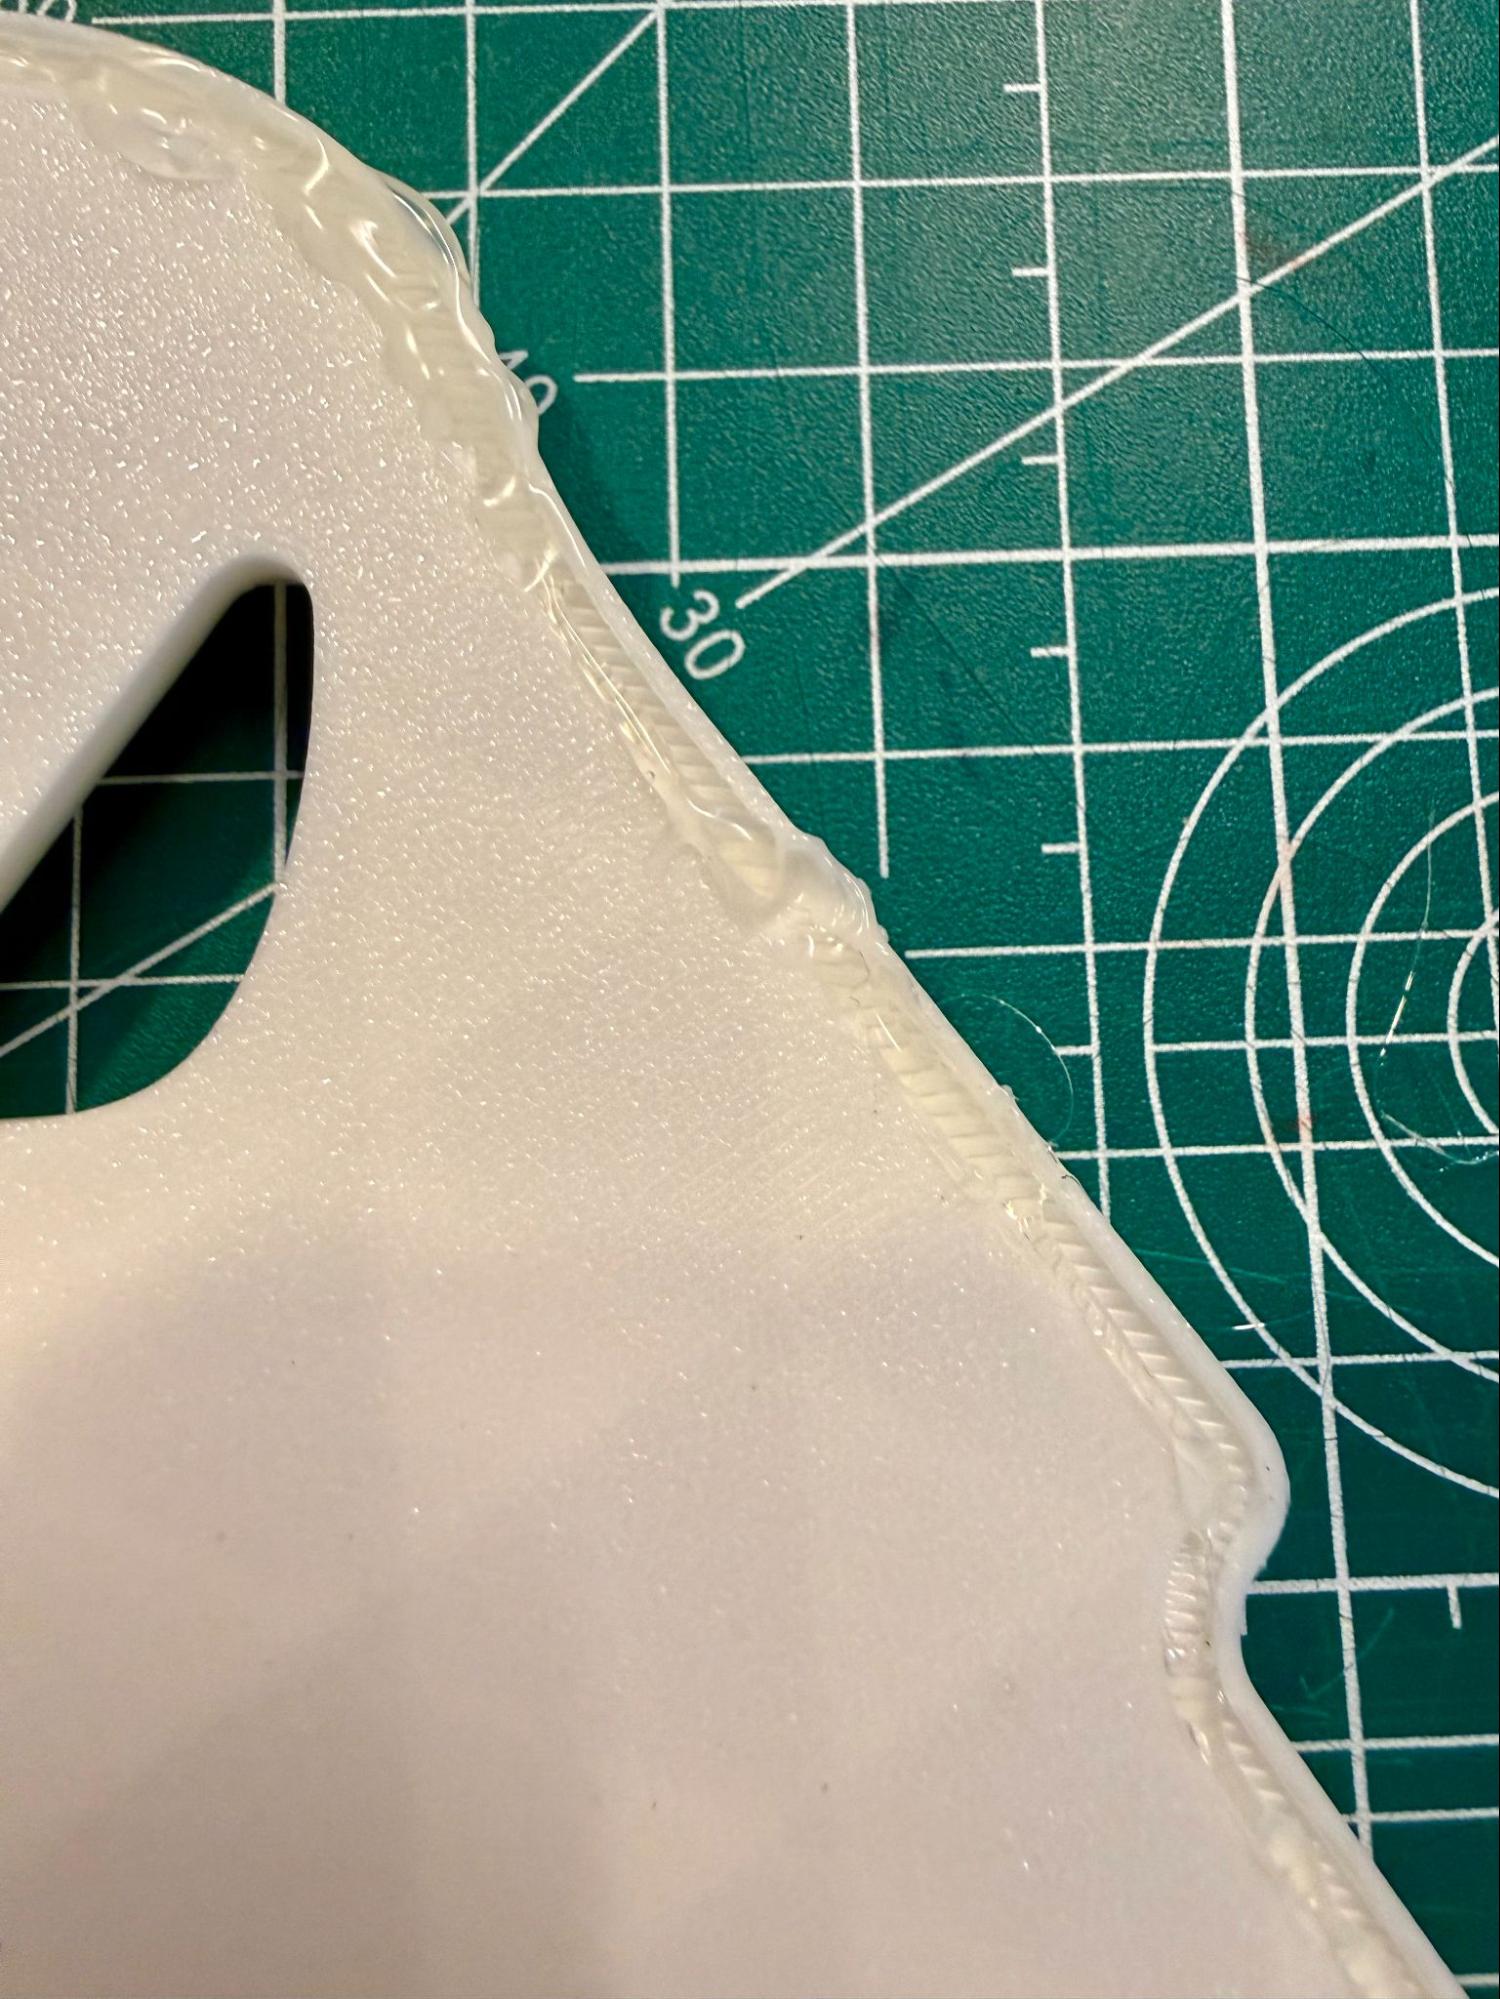
- It is very possible for the glue gun tip to get hot enough to deform the plastic of the base if you leave it in one spot for too long (pictured left). It won’t happen immediately, so you don’t have to go super fast, but try to maintain a nice, even pace as you glue.
- It really helps to release and start pressing the trigger of the hot glue gun regularly as you go. Try only letting the trigger get to around half pull before starting a new pull. If you fully pull the trigger, the glue will stop being pushed out, which usually results in more uneven lines.
- Again, do not worry about perfect neatness. Some bubbles and unevenness are perfectly fine. The only thing to watch out for is huge bubbles. If you notice a spot of glue that is much higher than anything else, try to smooth it out before it dries. A really uneven spot can throw off the balance of the base. You can smooth these out by just dragging the hot tip of the glue gun over it while it’s still drying.